


5
INSTALLATION (continued)
WARNING:
ELECTRIC SHOCK HAZARD
All servicing requiring access to non-insulated electrical components must be performed by a
factory authorized technician.
DO NOT open any access panel which requires the use of tools. Failure to follow this warning
can result in severe electrical shock.
CAUTION:
RISK OF
DAMAGE
DO NOT connect or energize
this appliance until all
installation instructions are
read and followed. Damage
to the appliance will result if
these instructions are not
followed.
CAUTION:
ELECTRIC
SHOCK HAZARD
The ground lug of built-in
fryers must be connected to
a suitable building electric
ground.
IMPORTANT:
Damage due to being
connected to the wrong
voltage or phase is NOT
covered by warranty.
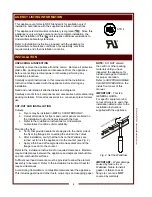
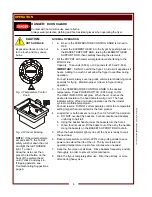
FRYER ELECTRICAL INSTALLATION
Fryers must be connected directly to an appropriately sized electric
circuit. Conduit and strain relief must be provided by the electrician.
Refer to equipment nameplate for voltage and amperage requirements.
If an equipment shutdown interface is required by local fire code, the
flame sensor terminal block may be accessed by removing the back
panel. Replace the jumper of the terminal block with wiring to a
normally closed contact of the building fire management system.
DO NOT connect power to the flame sensor terminal block. Wiring and
contacts must be capable of handling 30 amps.
F-676 and F-856 fryers are shipped from the factory wired for three
phase. Conversion to single phase must be performed in the field by
the electrician.
M
303 p/n 30
7590
OpM
anual Built-In
Std Fr
yer