background image


IFQ332 User Guide 


2 Installation


2.1 

Rack Installation 

IFQ332 

is designed to be mounted in a standard 19” rack. It takes 1RU of rack space. Before 

you start, make sure that the chassis is in good condition and that you have the tools and 

equipment needed. As you unpack the housing, inspect it for shipping damage. If you find any 

damage, contact you dealer or you customer service representative. To install it into a rack, 

please use the following steps: 

1.  Determine the desired position in the rack for the IFQ332. Make sure that the air intake 

on the top of the unit and the exhausts on the back of the unit will not be blocked. The 

unit should run in a temperature below 

25°C (77°F).


2. 

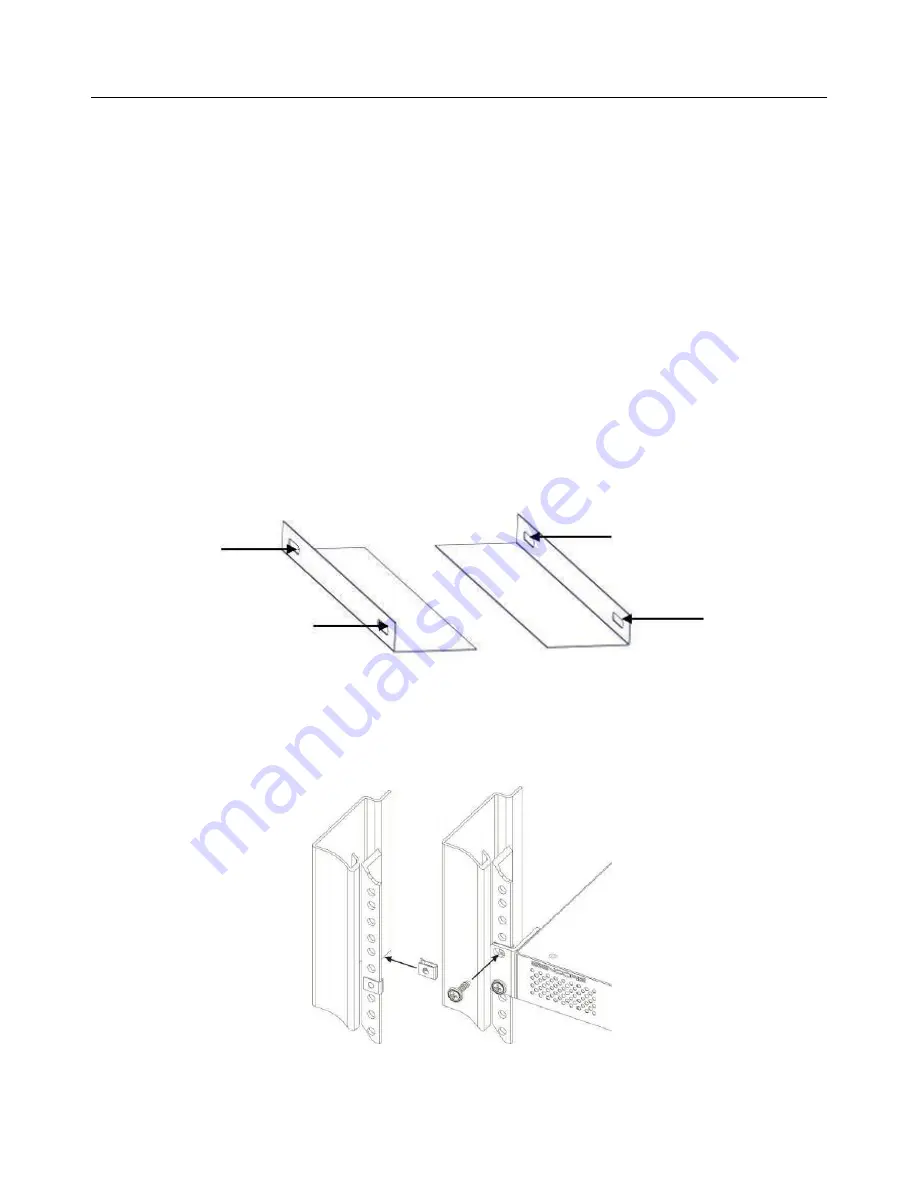
Install the brackets at desired position if there’s no supporting plate in the rack. 


3.  Insert the rack mount clips into place over the mounting holes in the rack. 

4.  Slide the IFQ332 into the position in the rack. 

5.  Secure the chassis to the rack by installing the four supplied screws through the front 

mounting holes and tightening. 


Summary of Contents for IFQ332

Page 1: ...IFQ332 Media Platform User Guide V1 2...

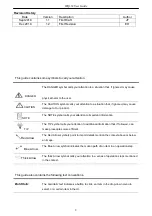
Page 2: ...tion to important information NOTE The TIP symbol calls your attention to additional information that if followed can TIP make procedures more efficient Red Arrow The Red Arrow symbols point to import...

Page 3: ...circuits Do not work on the system during periods of lightning Refer all servicing to qualified service personnel Servicing is required when this unit has been damaged in any way Damage Requiring Ser...

Page 4: ...k Installation 6 AC Power Connect 7 Operation Guide 8 Web Base GUI Introduction 8 Accessing Management 8 Status 10 Parameter Setting 12 Service Configuration 14 Scramble Configuration 18 System Settin...

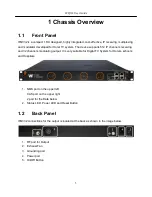
Page 5: ...ls receiving and 32 channels modulating output It is very suitable for Digital TV System for Hotels schools and Hospitals 1 NMS port on the upper left CAS port on the upper right 2 port for the Data b...

Page 6: ...t into a rack please use the following steps 1 Determine the desired position in the rack for the IFQ332 Make sure that the air intake on the top of the unit and the exhausts on the back of the unit w...

Page 7: ...is switched off before plug or unplug the power cable from the panel of IFQ332 When you take the equipment from a cold condition into a much warmer and humid con dition the equipment should be acclima...

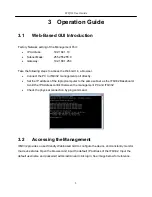
Page 8: ...et the IP address of the laptop computer to the same subnet as the IFQ332 Baseboard Avoid the IP Address conflict between the management PC and IFQ332 Check the physical connection by ping command 3 2...

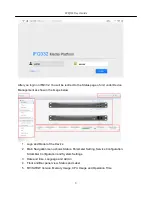
Page 9: ...as show in the image below 1 Logo and Model of the Device 2 Main Navigation menu shows Status Parameter Setting Service Configuration Scrambler Configuration and System Settings 3 Date and time Langu...

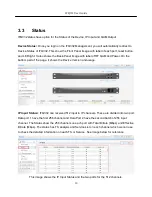
Page 10: ...om part of the page it shows the Device Version and usage IP Input Status IFQ332 can received 512 input in IP channels These are divided into two port Data port 1 have the first 256 channel and Data P...

Page 11: ...tails on the channel click the eye icon under the TS Analysis and it will show the PAT CAT PID etc See image below for reference If the input stream has multiple programs you can click the icon below...

Page 12: ...on the upper left corner See image below for reference 3 4 Parameter Setting IFQ332 Parameter Setting is where we input the parameters for IP Input and QAM Output IP Input Parameter Setting In this pa...

Page 13: ...Once done Click Apply for the changes take effects See image below for reference Batch Setting is the tab where you can Batch input the IP address on a batch of channel You can input the first Multic...

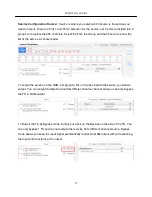
Page 14: ...ndwidth 4400 to 6086 KBaud 8M Bandwidth 4400 to 6956 KBaud You can also set the RF level at range of 0 o 23 as shown in the image below 3 5 Service Configuration Service Configuration have four tabs n...

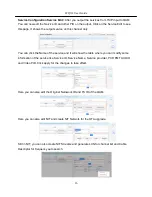
Page 15: ...elow To output the service on the QAM simply put a tick on the box beside the service you want to output You can output multiple Service from different Source channel and you can also bypass the TS to...

Page 16: ...ame of the service and it will show the table where you can modify some information of the service like Service ID Service Name Service provider PCR PMT AUDIO and Video PID Click apply for the changes...

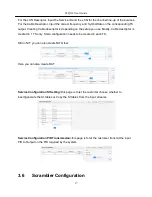
Page 17: ...le descriptor is created in 1 TS only Some configuration needs to be created in each TS Still in NIT you can also create NIT Other Here you can also create BAT Service Configuration SI Setting this pa...

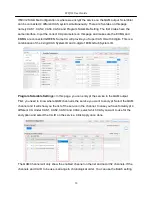
Page 18: ...e 4 digit CAS System ID and 4 digit of ECMG Sub System ID Program Scramble Settings In this page you can encrypt the service in the QAM output First you need to know where QAM channel is the service y...

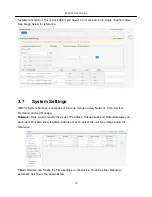
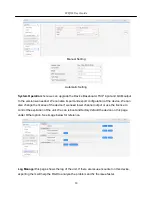
Page 19: ...ings is compose of four sub menus namely Network Time System Operation and Log Manage Network Here we can modify the device IP address Subnet mask and Default Gateway on each port This also show the M...

Page 20: ...ice We can also change the license of the device if we need lower channel output or use the license to control the expiration of the unit We can reboot and factory default the device on this page unde...

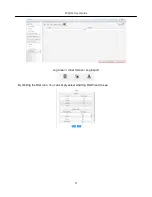
Page 21: ...IFQ332 User Guide 21 Log Clean Clear Screen Log Export By clicking the filter icon You can simply select what log R D need to see...

Page 22: ...t Stream NIT Net work Information Table PAT Program Association Table PID Packet Identifier PMT Program Map Table PSI Program Specific Information PSU Power Supply Unit SD Standard Definition SDT Serv...

Page 23: ...t department by means of email to confirm the need to return the product or parts of the product Collect the serial umbers to obtain RMA Number Serial Number 9SN is printed on a label on the chassis a...

Reviews: