4. Formatting Hard Drive
Once you have created your new array, you will need to initialize it before it will be accessible to your OS. This involves partitioning and formatting
your new RAID volume. This can be done by using the Disk Management Utility of your OS.
How to find your Disk Management Utility ?
Windows :
Navigate to Disk Management : Start Menu > right-click (My) Computer . select “Manage” > select Disk Management
Mac :
Click an empty space on your Desktop. Then select (from the top of the screen) Go > Utilities > Disk Utility.
Initializing and formatting your new array :
Windows XP / Vista / 7 :
A)
Once in Disk Management, look for your drives in the bottom-right window. You may have to scroll down to find it. The disk(s) will most easily
be recognized by their size. Ex. : If you are initializing a 1TB drive, look for a drive that is close to the same size, like 931.51GB. Once you’ve
found it, take note of the disk number.
B)
If the Initialization Wizard does not appear, right-click the disk number, and then select the “Initialize” option. If this option is not available,
click the white box immediately to the right and select “New Partition” for XP and “New Simple Volume” for Vista/7.
C)
Select “MBR/Primary Partition” and “NTFS” for XP, or for drives that are smaller than 1TB. For later versions of Windows (Vista and 7), select
“GPT/GUID” and “NTFS”. Or for drives that are larger than 1TB. Caution! GTP/GUID is not compatible with Windows XP!
D)
Let Windows select a drive letter, as well as the rest of the options. The press “Finish”. Double-check that Windows assigned a drive-letter
to your new drive(s). Otherwise, you will not see the drive(s) in (My) Computer.
E)
Now, look for your drive-letter(s) in (My) Computer and enjoy your new drive.
Mac OS X 10.5 or above
A)
Once in Disk Utility, look for your drive in the left-hand column. It should be easily identified as a USB or DMI drive of a size close to it’s stated
size. Ex. : If you are Initializing a 1TB drive, look for a drive that is close to the same size, like 931.51GB.
B)
Click on the first entry for your drive, the one closest to the top.
C)
On the right, there will be a row listing operations you can perform on your drive. Select “Partition”.
D)
Now select “Volume Format > Mac OS Extended”
E)
Click “Options”, and select “Apple Partition Map”.
F)
Click “Partition”.
G)
Check for your drive in Computer and/or the Desktop and enjoy your new drive!
5. About RAID Mode
※
Normal Mode (Non-RAID) :
Normal mode is the default setting of this product
, and this mode doesn’t refer to any RAID functions. In normal condition, both hard disks are
independent, and will be identified as two separate disks, users can choose any hard disk for storing files. If one of hard disks is damaged, the
other hard disk would keep working correctly.
※
JBOD Mode (Spanning) :
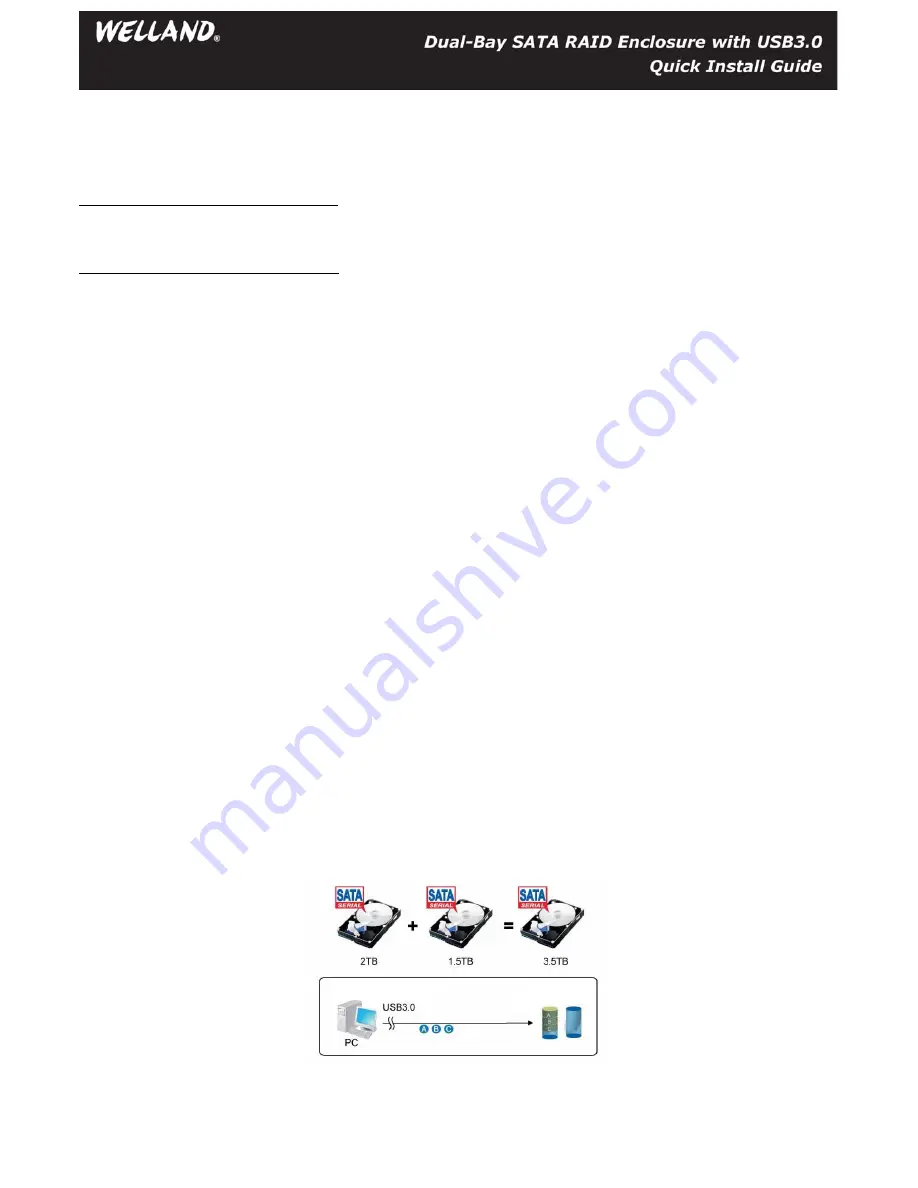
In this mode, the system stores the same data redundantly on multiple disks that nevertheless appear to the operating system as a single disk.
Although, JBOD also makes the disks appear to be a single one, it accomplishes that by combining the drives into one larger logical one. JBOD
doesn't deliver any advantages over using separate disks independently and doesn't provide any of the fault tolerance or performance benefits
of RAID.
※
RAID 0 (FAST) Mode :
2 physical drives are stripped as 1 larger logical volume, RAID 0 offers the maximum possible capacity like in JBOD mode with greater speed than
JBOD mode (each disk runs faster to a certain level).
Note
:
If 1 drive fails, the data on both disks will become inaccessible.
Note
:
When installing 2 unequal drive, the capacity is double of the smaller drive.


