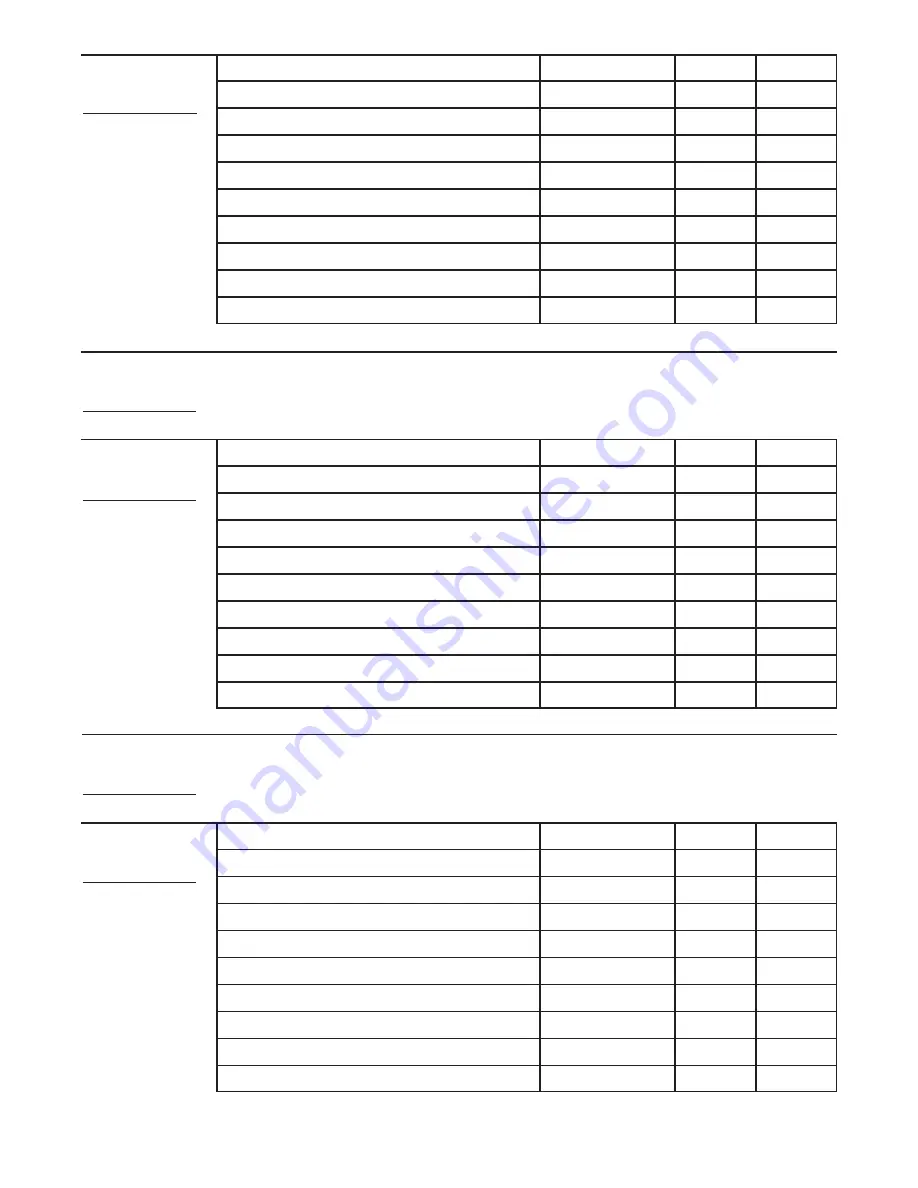
Weider WEBE1296.5 User Manual Download Page 13

13

MONDAY
Date:
 

/

/

EXERCISE

WEIGHT

SETS

REPS

EXERCISE

WEIGHT

SETS

REPS

EXERCISE

WEIGHT

SETS

REPS

AEROBIC EXERCISE

AEROBIC EXERCISE

TUESDAY
Date:
 

/

/

WEDNESDAY
Date:
 

/

/

THURSDAY
Date:
 

/

/

FRIDAY
Date:
 

/

/

Make photocopies of this page for scheduling and recording your workouts.

Summary of Contents for WEBE1296.5

Page 1: ...Care IMPORTANT You must note the product model number and serial number see the drawing above before contacting us CALL TOLL FREE 1 877 992 5999 Mon Fri 6 a m 6 p m MST Sat 8 a m 4 p m MST ON THE WEB...

Page 2: ...DERING REPLACEMENT PARTS Back Cover LIMITED WARRANTY Back Cover TABLE OF CONTENTS The decal shown here has been applied in the location shown If a decal is missing or illegible call the telephone numb...

Page 3: ...mount dismount and use the weight bench 6 Keep children under age 12 and pets away from the weight bench at all times 7 Inspect and properly tighten all parts regular ly Replace any worn parts immedia...

Page 4: ...ease see the front cover of this manual To help us assist you note the product model number and serial number before contacting us The model number and the location of the serial number decal are show...

Page 5: ...21 M6 x 15mm Bolt 22 M6 x 35mm Bolt 28 M6 x 52mm Screw 19 PART IDENTIFICATION CHART See the drawings below to identify small parts used in assembly The number in parentheses by each drawing is the ke...

Page 6: ...enough clearance to walk around the weight bench as you assemble it Place all parts in a cleared area and remove the packing materials Do not dispose of the packing materials until assembly is complet...

Page 7: ...rely on the Front Leg Plate as shown Attach the Front Leg 2 to the Frame 3 with four M8 x 15mm Bolts 17 and four M8 Washers 24 See step 2 Tighten the M8 Nylon Locknuts 25 17 29 24 17 17 24 2 3 25 1 16...

Page 8: ...with four M6 x 52mm Screws 19 and four M6 Washers 27 Do not tighten the Screws yet 5 5 8 27 27 19 19 27 19 Wide End 5 6 28 22 9 Wide End 27 6 6 Orient the Seat 9 as shown Attach the Seat to the Seat...

Page 9: ...21 21 18 Grease 14 26 4 5 6 3 7 7 Pull the Backrest Knob 14 out as far as it will go Insert the Backrest Bracket 4 into the slot in the Frame 3 as shown Engage the Backrest Knob into the Backrest Bra...

Page 10: ...ion of the Backrest 8 first pull the Backrest Knob 14 Raise or lower the Backrest and reengage the Backrest Knob into the Backrest Bracket 4 This section explains how to adjust the weight bench See th...

Page 11: ...combination of strength training and aerobic exer cise will reshape and strengthen your body plus devel op your heart and lungs PERSONALIZING YOUR EXERCISE PROGRAM Determining the appropriate length o...

Page 12: ...he date the exercises performed the resistance used and the numbers of sets and repetitions completed Record your weight and key body measurements at the end of every month Remember the key to achiev...

Page 13: ...GHT SETS REPS EXERCISE WEIGHT SETS REPS EXERCISE WEIGHT SETS REPS AEROBIC EXERCISE AEROBIC EXERCISE TUESDAY Date WEDNESDAY Date THURSDAY Date FRIDAY Date Make photocopies of this page for scheduling a...

Page 14: ...olt 17 4 M8 x 15mm Bolt 18 1 M10 x 181mm Bolt 19 4 M6 x 52mm Screw 20 4 M8 x 43mm Bolt 21 2 M10 Washer 22 2 M6 x 15mm Bolt 23 5 M4 x 15mm Self tapping Screw 24 8 M8 Washer 25 6 M8 Nylon Locknut 26 1 M...

Page 15: ...15 EXPLODED DRAWING Model No WEBE1296 5 R1107A 1 11 7 23 23 16 7 11 26 2 17 11 23 15 18 14 3 25 11 4 25 25 27 19 12 20 20 27 19 24 24 12 5 8 10 9 6 13 22 28 27 17 24 24 21 21 17 29...

Page 16: ...ge This warranty does not extend to any product or damage to a product caused by or attributable to freight damage abuse misuse improper or abnormal usage or repairs not provided by an ICON authorized...

Reviews: