MPEG4 NETWORK IP CAMERA User’s Guide
29
This button is to access the administration menu. However, only the user who has authority as an
administrator can access the page with administrator’s ID and Password
(please refer to
Configuring
Administration Menu
).
User can go back to Camera Login Page by using Logout button.
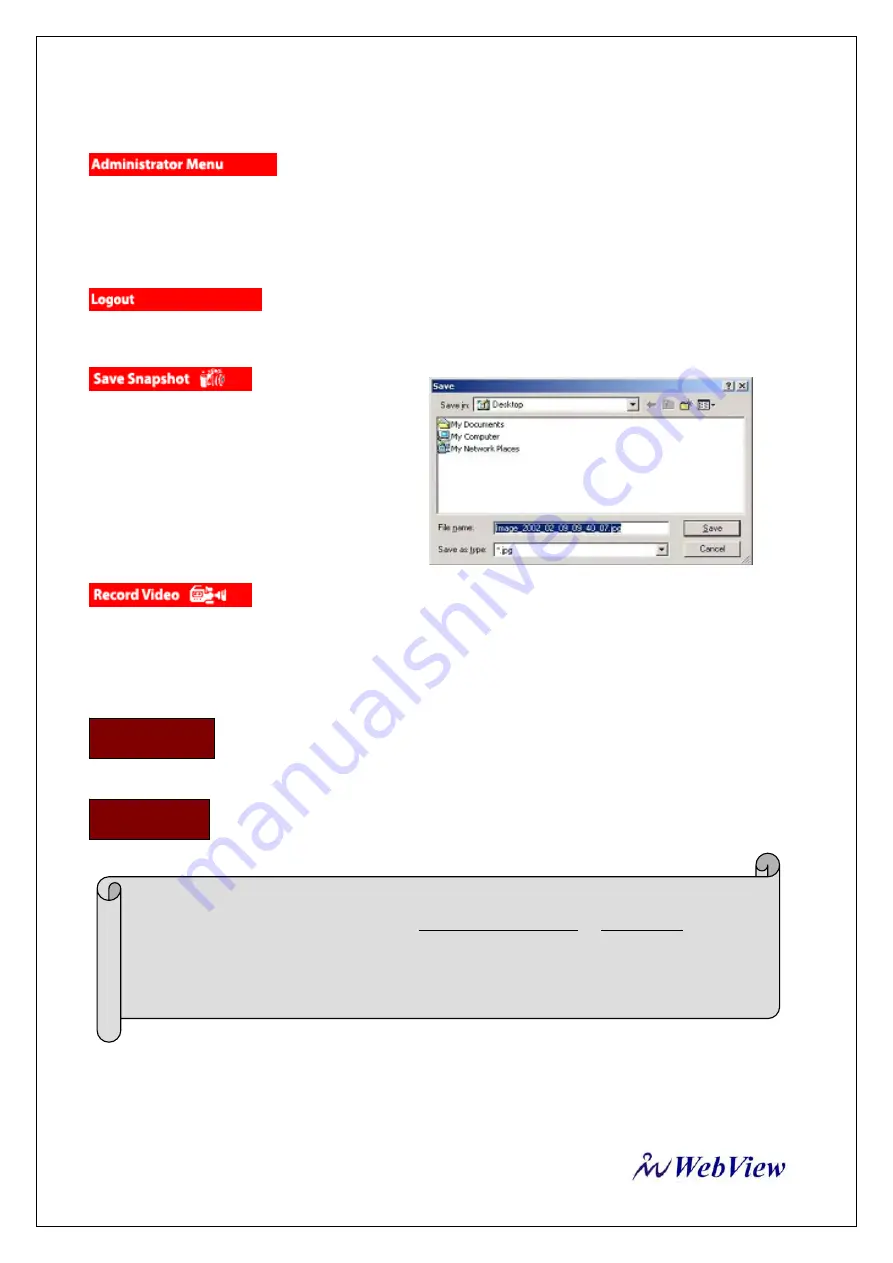
To save only one
image, press “snap shot” button and then select
a folder.
Then, the image is saved as JPG file. (Default
file name is composed with the date and time)
Ex) image_yyyy_mm_dd_hh_mm_ss.jpg
Users can save real time images from Mpeg4 Network IP Camera on PC. Press
‘start’ button then select folder that you want to save images. (The image is saved as an AVI file.) Once it
starts to save images, The green LED indicator will start blinking.
To stop saving, press “stop” button & the LED indicator will stop blinking.
It displays the camera Name entered via system configuration menu. You can set a
camera name (please refer to Chapter 6.7 - System Configuration)
This shows where the camera is located (please refer to Chapter 6.7 - System
Configuration).
NOTE
You may see the saved image by Window Media Player or Real Player.
For initial playback of saved image, please click the “Install XviD”
The AVI saving will be split every 20 minutes
For example)
file name2002_04_22_15_00, file name 2002_04_22_15_20…
Camera Name
Location


