Please retain your instruction Manual for future use.
If you need some assistance with your Watts Clever AUTO Powerboard,
please email us to [email protected] or visit us on our website at
http://support.wattsclever.com
Turning ON
1. Turn ON the Computer in the normal way.
2. Once this is done then the power will be supplied to the other connected
equipment.
In order to further save your energy and money the unit will also turn
OFF the power to your Computer and consequently other connected
equipment (except the
“ALWAYS
On
”
socket).
Turning OFF
1. Turn OFF your Computer in the normal way
2. After approximately 60 seconds the power to the Computer and all other
connected equipment (except the
“ALWAYS
On
”
socket) will be cut.
1. Turn OFF the power to any equipment you will be connecting to the
AUTO Powerboard.
2. Connect your computer to the socket marked
“CONTROL”
.
3. Connect the equipment you wish to turn OFF automatically when the
computer is turned OFF into the sockets marked
“AUTO
On / Off
”
.
4. Connect the equipment that you wish to have left with power supplied
to it all the time into the socket marked
“ALWAYS
On
”
.
5. Turn ON your computer and the AUTO Powerboard will automatically
turn the power back ON to all the connected equipment.
The board will sense when
the power usage of the
computer has dropped when it
enters standby mode or switch
off . It will then cut the power
completely to the computer and
the other equipment connected
to the
“AUTO
On / Off
”
sockets. When
power is restored to the board
and the computer turned back on
it will then resupply power back
to the equipment connected to
“AUTO
On / Off
”
sockets.
Power wastage happens frequently when kids leave the television or games
on, or when one falls asleep in front of the television.
The power board works by having several diff erent types of sockets into
which diff erent types of equipment are connected. The diff erent types of
socket on the board are:
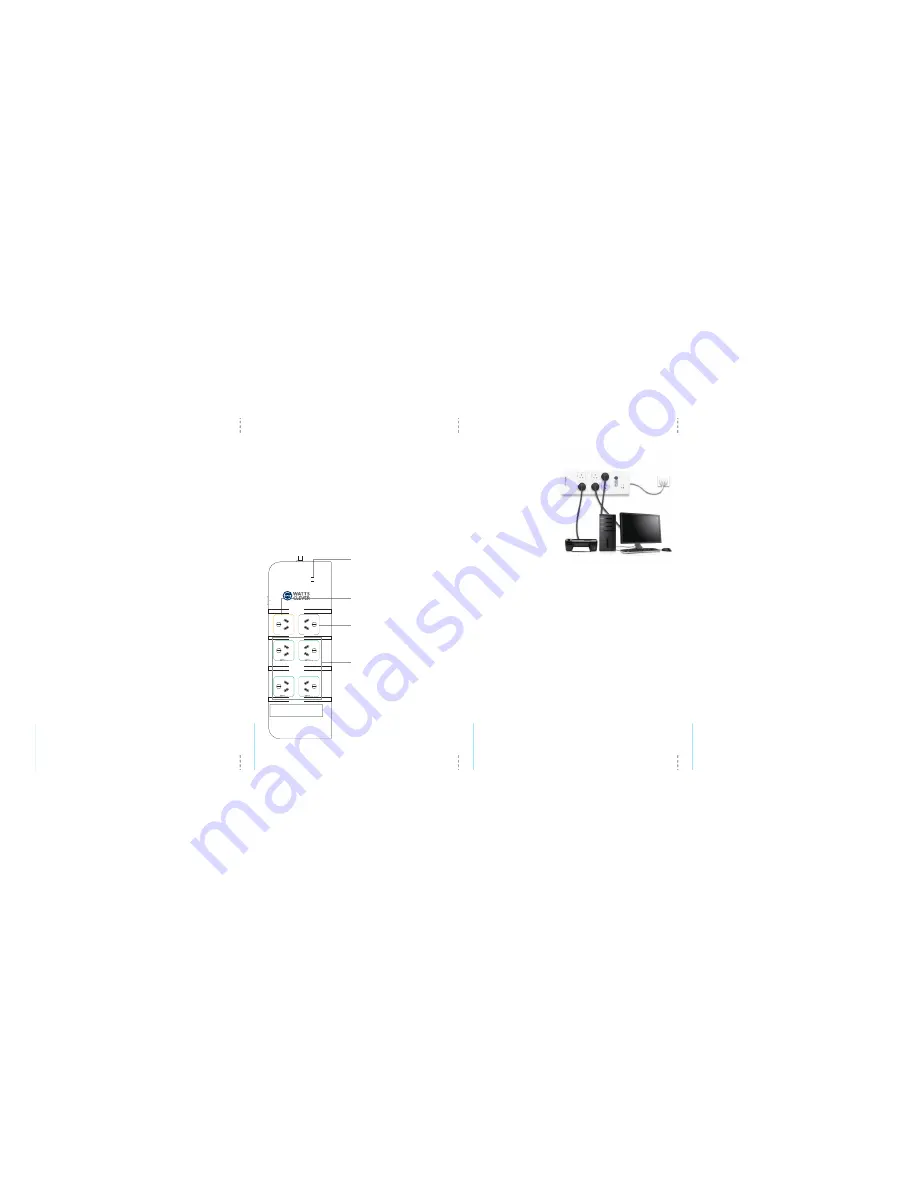
This is the socket the Computer is connected
to and is used to control the “
AUTO
On/Off
”
sockets.
CONTROL
socket x 1
POWER On Indicator light
The light indicates the AUTO Powerboard is connected to the
wall socket properly.
CONTROL On indicator light
The light indicates the Auto Power Board are fed with power.
Indicated light
This is where you can connect equipment
that you wish to be left “
ALWAYS
on
”. This for
examples may be a Set Top Box, or some type
of recording equipment that works on a timer
and always needs power.
ALWAYS
On
socket x 1
There are the sockets where you connect
equipment that you are wish to be
automatically turned when not in use.
AUTO
On/Off
sockets x 4
The auto Power Board is designed to ensure that PC’s and other IT
equipment such as printer, scanner, the monitor and internet and internal
network system etc are turned off when not in use. This will stop you
wasting energy and money by leaving them in standby mode or operating
them in full power mode when you do not intend to use them.
1
2
3
4
OVERVIEW
IMPORTANT
How do I set up the AUTO Powerboard correctly?
How does the AUTO Powerboard work?
How do I use the AUTO Powerboard correctly?
Auto Power Cut off
What do the diff erent types of sockets do?
POWER
On
CONTROL
On
RESET
AUTO
PowerBoard
ALWAYS
On
CONTROL


