8
f
The softener or filter is now charged with softening resin.
g. It is recommended that the softener or filter tank now be completely filled with water (SLOWLY) to soak the resin or filtra-
tion media before startup. This will allow the media to absorb water as well as help displace any trapped air. This will
reduce the chance of backwashing resin or filter media out of the tank during the initial backwash on startup.
3. Outside faucets used to water lawns and gardens should not supply softened water. A new water line is often required to
be connected to supply hard water to the inlet of the water softener and to the outside faucets.
Cut the water line between where it enters the house and before any lines that branch off to feed the hot water heater
or other fixtures in the house and as near the desired location of the water softener as possible. Install a tee fitting on
the feed end of the cut pipe, and an elbow fitting on the other end. Install piping from the tee to the inlet of the water
softener and from the elbow to the outlet of the softener. To sever the water lines which branch off to feed any outside
faucets, cut the branch lines approximately two inches from the fitting on the main water line. Install an elbow on the
end of the pipe nearest the outside faucet and a cap on the end connected to the existing water line. Install piping from
the tee installed on the inlet line to the water softener to the elbow installed on the pipe to the outside faucet. Following
this procedure will result in all lines in the house, with the exception of the outside faucets, but including the water heater
and therefore the hot water lines, being supplied with soft water.
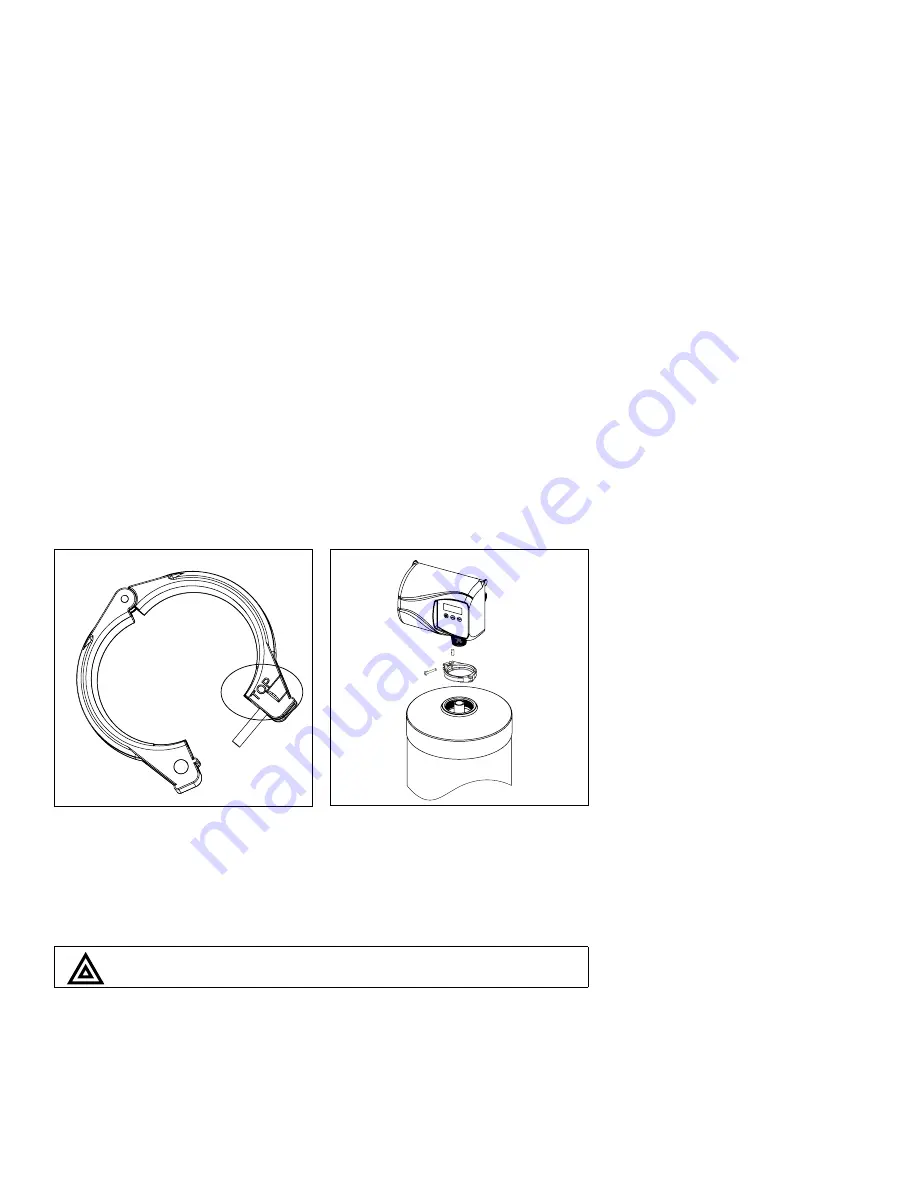
1. Clamp Ring – The clamp ring con-
nects the control valve to the tank
and provide an easy way to discon-
nect tank during control valve servic-
ing. Make sure that the clamp ring
screw is tightened.
The “Clamp Ring” should secure the valve with the top of the flange
facing up. Please note “top” on the clamp ring.
1
Installation Steps:


