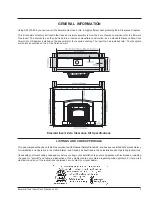
Emerald Gas Insert Zero Clearance Kit
15
Dia. 4
Dia. 5
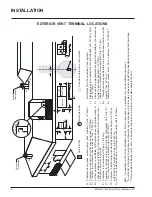
Note: If installing termination on a siding covered wall, a
vinyl siding standoff or furring strips must be used to
ensure that the termination is not recessed into the
siding.
7)
Before connecting the horizontal run of vent pipe to the
vent termination, slide the Wall Thimble (Part # 620-926)
over the vent pipe.
8)
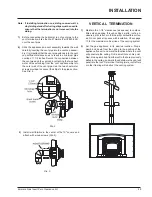
Slide the appliance and vent assembly towards the wall
carefully inserting the vent pipe into the vent cap assem-
bly. It is important that the vent pipe extends into the vent
cap sufficient distance so as to result in a minimum pipe
overlap of 1-1/4 inches. Secure the connection between
the vent pipe and the vent cap by attaching the two sheet
metal strips extending from the vent cap assembly into
the outer wall of the vent pipe. Use the two sheet metal
screws provided to connect the strips to the pipe section.
See Dia. 4.
9)
Install wall thimble in the center of the 10" square and
attach with wood screws (Dia 5).
VERTICAL TERMINATION
1)
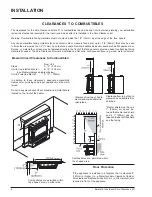
Maintain the 1-1/2" clearances (air spaces) to combus-
tibles when passing through ceilings, walls, roofs, en-
closures, attic rafter, or other nearby combustible surfac-
es. Do not pack air spaces with insulation. Check page
13 for the maximum vertical rise of the venting system.
2)
Set the gas appliance in its desired location. Drop a
plumb bob down from the ceiling to the position of the
appliance flue exit, and mark the location where the vent
will penetrate the ceiling. Drill a small hole at his point.
Next, drop a plumb bob from the roof to the hole previously
drilled in the ceiling, and mark the spot where the vent will
penetrate the roof. Determine if ceiling joists, roof rafters
or other framing will obstruct the venting system.
INSTALLATION
Summary of Contents for E61
Page 16: ...Printed in Canada...


