2
Hard Drive Installation Instructions for Firebox® X Core™ and Firebox® SSL Core
SUPPORT:
www.watchguard.com/support
[email protected]
U.S. and 877.232.3531
All Other Cou1.206.613.0456
COPYRIGHT © 2005 WatchGuard Technologies, Inc. All rights reserved.
WatchGuard, the WatchGuard logo, Firebox, and Core are registered trademarks or trademarks of WatchGuard Tech-
nologies, Inc. in the United States and/or other countries.
DocID: x2-001
P/N 2206-001
4
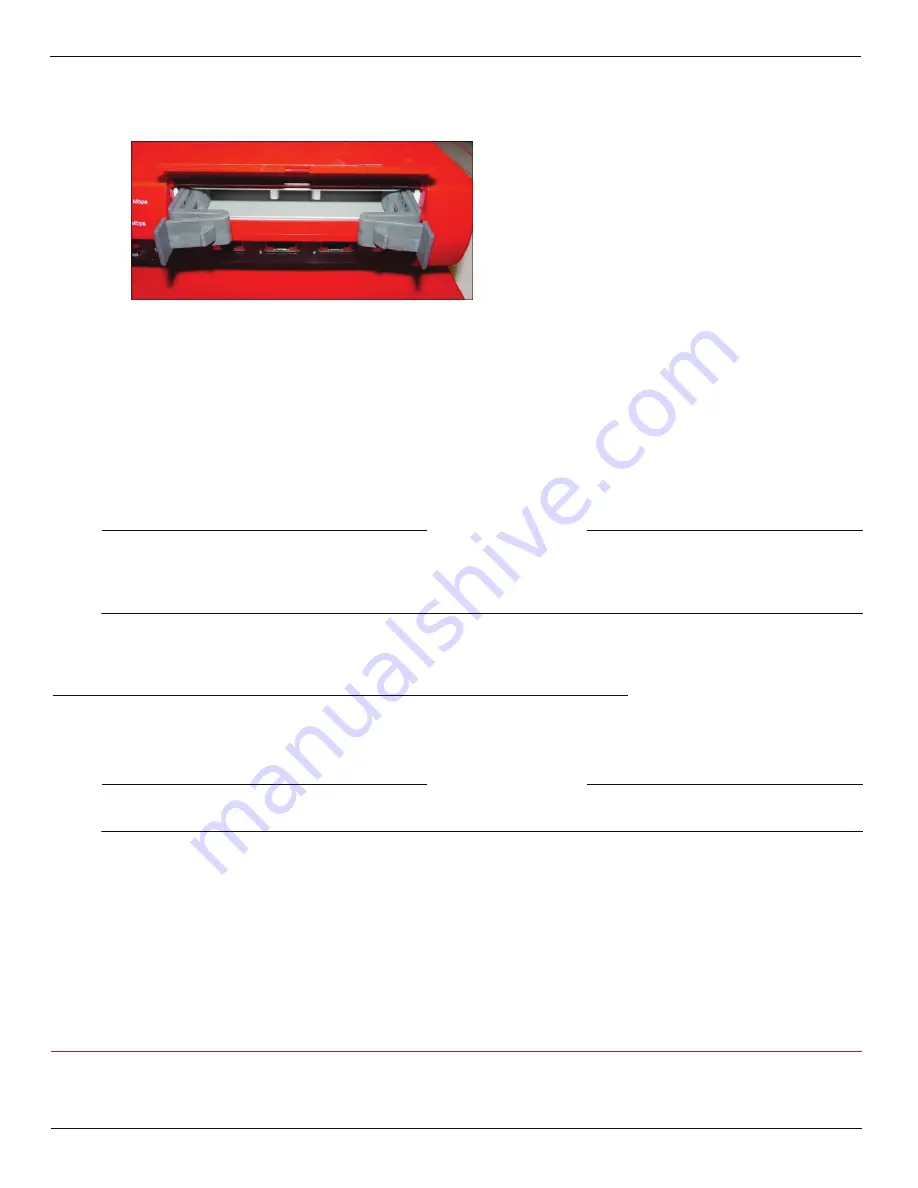
With your thumbs, press the two tabs in the center of the hard drive tray outward slightly to release the tray arms.
Pull the arms gently until they are fully open.
5
Remove the tray by pulling on the arms until the tray slides out of the Firebox. Keep the tray in a safe place. If you
ever remove the hard drive from your Firebox, you must replace the original tray at that time.
6
Remove the new hard drive from its packaging. Prepare it for installation by using your thumbs to press the two
tabs in the center slightly outward to release the tray arms. Pull the arms gently until they are fully open.
7
Insert the hard drive tray into the hard drive slot on the front of the Firebox. Using the tray arms, push the tray in
until the tray is fully seated.
If you have trouble pushing the hard drive in, move it slightly from side to side while applying firm inward pressure.
8
Push the tray arms toward the center and push gently on the two tabs until they click to lock the arms into place.
If the two tabs do not click, the tray is not fully inserted into the Firebox. Extend the tray arms and push the tray in further.
9
Close the door.
If the door does not close completely, the tray is not fully inserted into the Firebox. Extend the tray arms and push the tray in
further.
C
AUTION
The hard drive tray must be fully inserted into the Firebox before you turn the Firebox power on. The hard drive tray is
installed correctly if:
*the hard drive tray arms swing in completely and the two tabs click into place; and
*the door covering the hard drive slot on the front of the Firebox closes fully.
10
Turn the Firebox power on.
If the Firebox does not successfully boot, turn the Firebox power off and check to make sure that the hard drive is fully inserted.
Removing the Hard Drive
You can remove a hard drive from a Firebox® X or move a hard drive from one Firebox to another. Before you remove or
add a hard drive, you must turn the Firebox off. The hard drive is not a hot swap device. If you move a hard drive to a
different Firebox, the Firebox will automatically reformat the hard drive if necessary.
C
AUTION
If you have trouble removing a hard drive from a Firebox, use a slight up and down motion while pulling the hard drive
out of the hard drive slot.


