- 36 -
Port Forwarding
Log into the router and click on the
Advanced
tab:
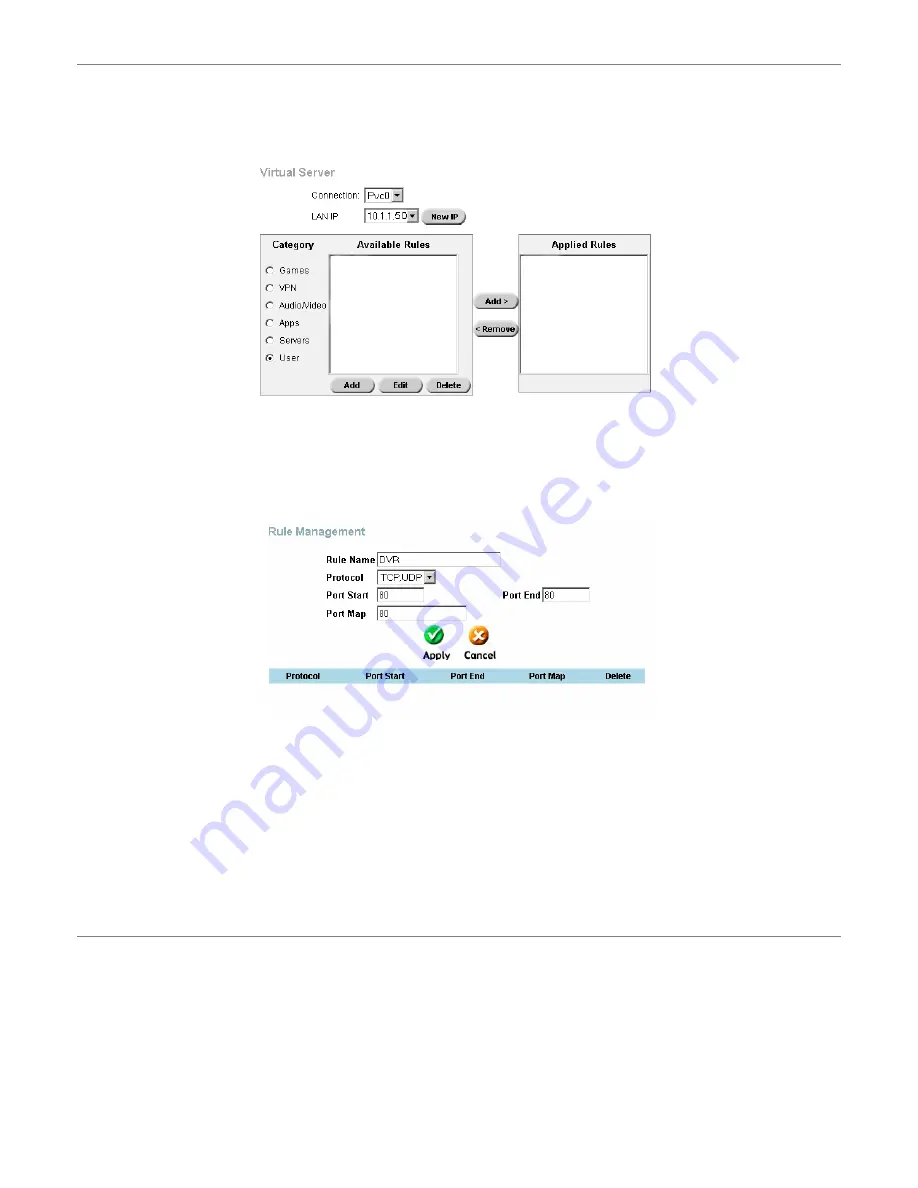
Click on the
Virtual Server
menu item
From the LAN IP drop down list make sure
10.1.1.50
is selected
Select
the
User
check box from the
Category
list on the left and wait for the page to reload
Press
the
Add
button in the bottom left
When the page loads:
Set
the
DVR
as the
Rule Name
Set
the
Protocol
to
TCP, UDP
Set
the
Port Start
,
Port End
and
Port Map
to
80
Press
the
Apply
button.
Once the page reloads:
Click on the
Virtual Server
menu item
From the LAN IP drop down list make sure
10.1.1.50
is selected
Select
the
User
check box from the
Category
list on the left and wait for the page to reload
Select
the
DVR
item from the
Available Rules
and press the
Add>
button to the right of the
Available Rules
list.
Once the page reloads:
You should now have the
DVR
item in the
Applied Rules
list.
Click
the
Tools
tab
Click
the
System
menu item
Click
the
Save and Reboot
button
Connecting Remotely
Note: If connecting from the local network, you
MUST
use the internal IP address (eg 10.1.1.50). For more information
on connecting using Internet explorer, see page 29.
You should now be able to remotely access your DVR. If you have a static IP you should type this into your web browser:
http://<static-ip>/
(replace <static-ip> with the actual number)
If you have a Dynamic DNS type this into your web browser:
http://<dynamic-dns>/
(replace <dynamic-dns> with your full hostname – e.g.
mydvr.dyndns.org
)
When you are connecting using the AP software, enter either you static IP address or your dynamic DNS as the IP
Address.


