


48
Water filling
One or several water valves can be selected.
If you decide to use hot and cold water, both
valves will be open while filling is in progress. The
hot water valve will be automatically closed if the
pre-set temperature is exceeded. The valve will
open again if the temperature drops below the pre-
set value.
Supply injector
The supply injector valves can be controlled in two
different ways. Select one of the methods for each
activated valve:
•
1. By answering YES to the first five questions,
the respective supply injector valve will be open
all the time water filling is in progress.
•
2. By stating the times for the last five
questions, the respective supply injector valve
will open for the pre-programmed time. The
valves will start to open when water is filled.
Programming complete
•
When ’’END OF SEQUENCE’’ appears on the
third line of the display window and all
questions are answered, press EDIT DOWN.
•
Answer NO to the question ’’END PROG.
SESSION Y/N?’’ if there are more sub-
programs to be answered. Answer YES if the
sub-program is the last in the completed
program The continue under the heading
’’Looking through the program’’..
Press:
Press:
0193
0194
Press:
0195
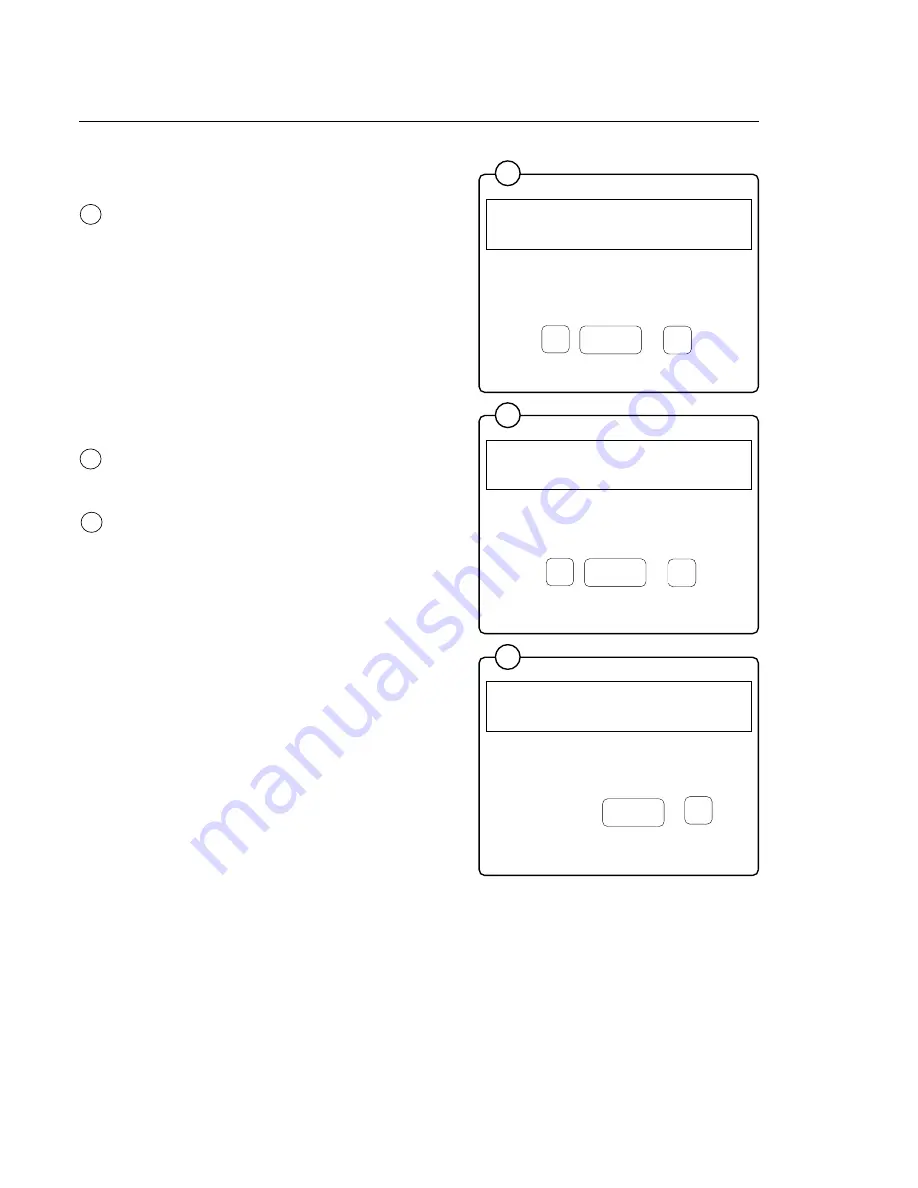
100
Programming
PROGR.MODE SELECT SEQUENCE PREWASH
01
WASHTIME 00 MIN. 00 SEC.
COLD WATER Y/N
N
HOT WATER Y/N
N
PROGR.MODE SELECT SEQUENCE PREWASH
01
HOT WATER Y/N
N
COMP. 1. (LEVEL CONTROLLED) Y/N
N
COMP. 2. (LEVEL CONTROLLED) Y/N
N
PROGR.MODE SELECT SEQUENCE PREWASH
01
COMP.3. (LEVEL CONTROLLED) Y/N
N
DET.1. SIGNAL TIME 0 MIN. 00 SEC.
DET.2. SIGNAL TIME 0 MIN. 00 SEC.
RED.
NED
Number
keys
KLAR
ENTER
JA
JA
KLAR
ENTER
YES
RED.
NER
RED.
NED
JA
KLAR
ENTER
YES
RED.
NER
RED.
NED
EDIT
DOWN
or
EDIT
DOWN
or
or
EDIT
DOWN
FIg.
98
Fig.
100
Fig.
99
98
99


