background image

     o  

To assign the MIDI device channel

         1. Hold down both stomp switches at power up then release once the LEDs begin flashing white.
         2. Now send a MIDI Program Change message on the desired MIDI channel for the pedal.
         3. The LEDs will flash green momentarily, and the pedal will save that MIDI channel and only  
         respond to messages on that channel until the user changes it again. 
     o  

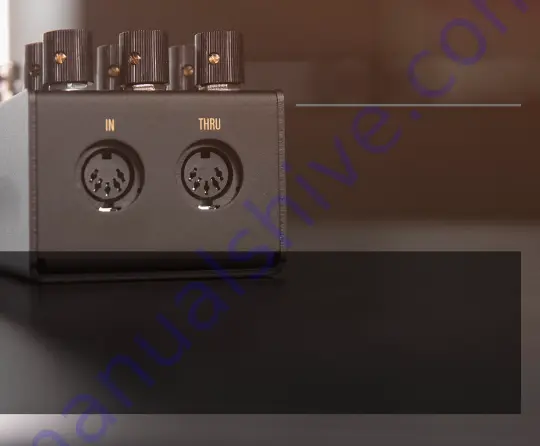
MIDI In

 – Connect upstream MIDI devices or your MIDI controller to the R1 MIDI “IN”.

     o  

MIDI Thru 

– Connect downstream MIDI devices to the R1 MIDI “THRU”. 

     o  

MIDI PC

 – Presets on the R1 are able to be recalled via MIDI program change messages. Simply  

         send a program change message corresponding the desired preset to be recalled on the R1  
         MIDI channel. See the table on next page for a list of R1 presets and how they map to program  
         change messages. 

The R1 is able to be controlled via standard MIDI 
messages. Simply connect your MIDI controller 
to the R1 MIDI “IN”. Downstream MIDI devices 
can be connected to the MIDI “THRU” which 
simply lets all incoming MIDI messages pass 
through to your other devices.  The R1 ships with 
the MIDI channel set to 1 by default.

MIDI

Summary of Contents for MAKOSERIES R1

Page 1: ...INSTRUCTION MANUAL R1 HIGH FIDELITY STEREO REVERB...

Page 2: ...tomized studio quality programs Spring Hall Plate BFR RFRCT Refract and Air Every program has the option to be tuned and tweaked from short and subtle room sounds to massive washes of experimental eup...

Page 3: ...D Output Left mono Bypass Switch Output Right Preset LED Input Left mono Sustain Latch Switch Input Right MIDI In The use of an isolated power supply is recommended for powering all Walrus Audio Pedal...

Page 4: ...into the plate BFR BFR is a no holds barred big f______ reverb This is more than a giant arena reverb It s a hall esque reverb with rich and lush decay in a vast cavern filled with choirs of angels X...

Page 5: ...ial in the desired level of the effected signal Tweak The Tweak knob and switch offer creative control over three different parameters that allow you to shape each reverb program to taste Simply move...

Page 6: ...ition and use the Tune knob to adjust See the program overview section to learn what the x knob does Stereo Width The R1 has a stereo width control built in to all the algorithms This control is usefu...

Page 7: ...the currently selected preset to let you know its last saved position This is helpful when you want to tweak a parameter on a preset but cannot remember where a knob was last saved Audio Input and Out...

Page 8: ...Bypass mode the R1 uses relays to bypass the pedal In DSP True Bypass mode the R1 uses relays to bypass the pedal after the reverb decay dies out In DSP Bypass mode the R1 locks the relays on and use...

Page 9: ...Thru Connect downstream MIDI devices to the R1 MIDI THRU o MIDI PC Presets on the R1 are able to be recalled via MIDI program change messages Simply send a program change message corresponding the de...

Page 10: ...BFR 4 RFRCT 5 Air 6 Lo 24 0 127 High 25 0 127 X 26 0 127 Tweak Switch 27 Rate 0 42 Depth 43 85 Pre Delay 86 127 A B C Switch Bank 28 A 0 42 B 43 85 C 86 127 Tune Switch 29 Left 0 42 Middle 43 85 Righ...

Page 11: ...DATES We occasionally may have new features and updates for the R1 These will be made available through walrusaudio io Scan the code below to be the first to know when any firmware updates are availab...

Page 12: ...stions customerservice walrusaudio com Need a repair repairs walrusaudio com All our pedals come with a limited lifetime warranty Visit walrusaudio com pages warranty and repair for more info WALRUSAU...

Reviews: