background image

English

   - 13 -

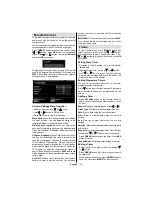
First Time Installation

IMPORTANT: Ensure that the aerial is connected 
before switching on the TV for the first time 
installation.

When the TV is operated for the 

fi

 rst time, installation 

• 

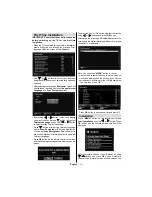
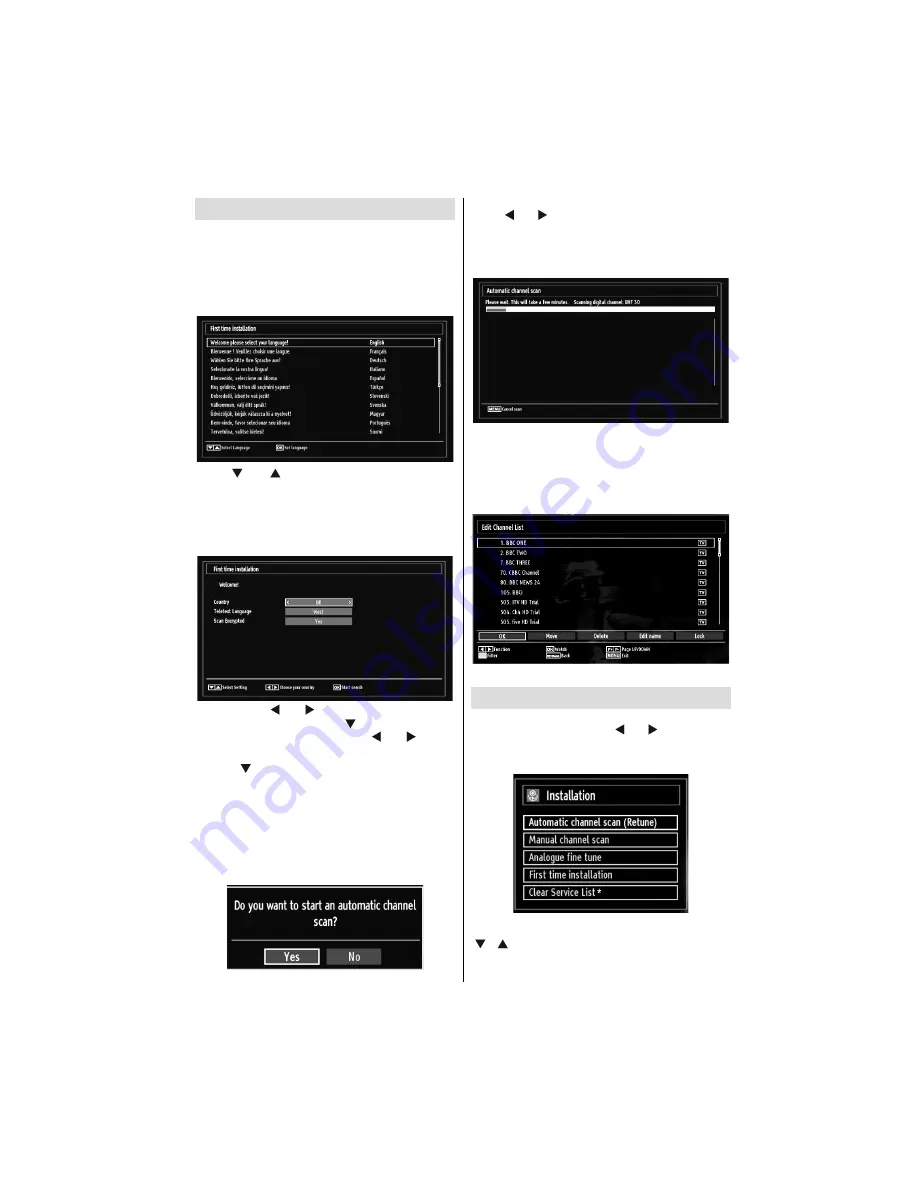
wizard will guide you through the process. First, 
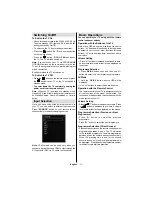
language selection screen will be displayed:

Use “

• 

” or “ ” buttons to select your language 

and press 

OK

 button to set selected language and 

continue.
After selecting the language, “

• 

Welcome!

” screen will 

be displayed, requiring you to set 

Country,Teletext 

Language 

and

 Scan Encrypted 

options.

By pressing “

• 

” or “ ” button, select the 

country


you want to set and press “ ” button to highlight 

Teletext Language

 option. Use “ ” or “ ” button 

to select desired Teletext Language.
Press “

• 

” button after setting Teletext Language 

option. 

Scan Encrypted

 will be then highlighted. 

You can set 

Scan Encrypted 

as 

Yes

 if you want to 

scan coded stations.Afterwards select the desired 
Teletext Language.
Press 

• 

OK

 button on the remote control to continue 

and the following message will be displayed on the 
screen:

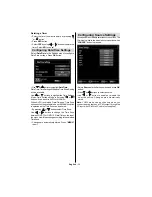
To select the “Yes” or “No” option, highlight the item by 
using “ ” or “ ” buttons and press 

OK

 button.

Afterwards, the following OSD will be displayed on the 
screen and the digital television will search for digital 
terrestrial TV broadcasts

Note: You can press 

“MENU”

 button to cancel. 

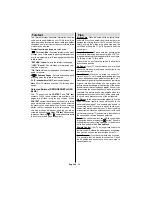
After all the available stations are stored, Channel 

• 

List will be displayed on the screen. If you like the 
sort channels, according to the LCN,please select 
“Yes” and than press “OK”.

Press 

• 

OK

 button to quit channel list and watch TV.

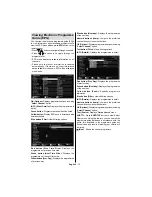
Installation

Press 

“MENU”

 button on the remote control and 

select 

Installation

 by using “ ” or “ ” button. Press 

OK

 button and the following menu screen will be 

displayed.


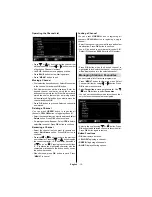
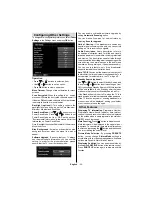
Select Automatic Channel Scan (Retune) by using 

“ ”/“ ”

 button and press 

OK

 button. Automatic 

Channel Scan (Retune) options will be displayed. You 

Summary of Contents for Saorview WP19LEDVD

Page 1: ...COLOUR TELEVISION WITH REMOTE CONTROL OPERATING INSTRUCTIONS WP19LEDVD BE WALKER WISE logon to www walker ie...

Page 2: ...Analogue Fine Tune 14 Managing Stations Channel List 14 Operating the Channel List 15 Moving a Channel 15 Deleting a Channel 15 Renaming a Channel 15 Locking a Channel 15 Managing Stations Favourites...

Page 3: ...phone connection Automatic programming system Forward or backward manual tuning Sleep timer Child lock Automatic sound mute when no transmission NTSC playback AVL Automatic Volume Limiting Auto power...

Page 4: ...mains lead or pinch the cord Handle the power cord by the plug Do not unplug the appliance by pulling from the power cord and never touch the power cord with wet hands as this could cause a short cir...

Page 5: ...lable LCD Screen The LCD panel is a very high technology product with about a million thin film transistors giving you fine picture details Occasionally a few non active pixels may appear on the scree...

Page 6: ...consumption you should take the following steps You can use Power Save Mode setting located in the Feature menu If you set Power Save Mode as On the TV will switch to energy saving mode and luminance...

Page 7: ...re mode selection Changes picture mode 19 in Media Browser video mode Exit USB menu 20 No function 21 Play in Media Browser mode 22 No function 23 No function 24 Rapid reverse in Media Browser mode 25...

Page 8: ...sockets can accept either 720p or 1080p signals No sound connection is needed for an HDMI to HDMI connection RF Input 2 connects to an aerial antenna system Note that if you use a decoder or a media r...

Page 9: ...e supplied AV connection cable Colours of the connected jacks should match To enable audio connection you must use RED and WHITE inputs of the side AV connection cable Afterwards insert your device s...

Page 10: ...re not supported Connecting the LCD TV to a PC For displaying your computer s screen image on your LCD TV you can connect your computer to the TV set Power off both computer and display before making...

Page 11: ...as an HDMI socket you can connect via HDMI for better video and audio quality HDMI 1 SPDIF Coax OUT 12V DC IN External device not supplied HDMI Cable When you connect to DVD player as illustrated abov...

Page 12: ...e control and onset buttons Operation with the Buttons of the TV Main menu OSD cannot be displayed via control buttons buttons will function as volume up down as default Even if you set other function...

Page 13: ...s of the next time slice Yellow button Prev Day Displays the programmes of previous day Blue button Next day Displays the programmes of the next day Numeric buttons Jump Jumps to the preferred channel...

Page 14: ...crypted as Yes if you want to scan coded stations Afterwards select the desired Teletext Language Press OK button on the remote control to continue and the following message will be displayed on the s...

Page 15: ...the multiplex or frequency are entered manually and only that multiplex or frequency are searched for the channels After selecting search type as Digital you can enter the multiplex or frequency numbe...

Page 16: ...haracter Pressing or button toggles the current character i e b character becomes a by and c by Pressing the numeric buttons 0 9 replaces the highlighted character with the characters printed above th...

Page 17: ...hannel default code is 0000 Enter PIN will be displayed on the screen in such a case Media Playback Using Media Browser If the USB stick is not recognized after power off on or First Time Installation...

Page 18: ...disable both Loop and Shuffle Press once more to enable only Shuffle Press again to enable all You can follow the disabled functions with the change of the icons RETURN Back to file list INFO Display...

Page 19: ...function correctly due to poor WSS signal quality or when you want to change the ZOOM mode change to another ZOOM mode manually 16 9 This uniformly stretches the left and right sides of a normal pict...

Page 20: ...Normal option Setting Warm option gives white colours a slight red stress Noise Reduction If the broadcast signal is weak and the picture is noisy use Noise Reduction setting to reduce the noise amoun...

Page 21: ...NU button and select the first icon by using or button Press OK button to view Sound Settings menu Operating Sound Settings Menu Items Press or button to highlight a menu item Use or button to set an...

Page 22: ...access module CAM can be necessary This module must be inserted in the CI slot of your TV Obtain the Conditional Access Module CAM and the viewing card by subscribing to a pay channel company then ins...

Page 23: ...he broadcaster supports Otherwise settings will not be available to be changed Audio Changes the audio language for the current channel Subtitle Sets the subtitle language for the current channel Note...

Page 24: ...ic buttons to enter a new pin number You will need to code your new pin a second time for verification purposes IMPORTANT The factory default pin number is 0000 if you change the pin number make sure...

Page 25: ...to be set If MANUALoption is selected as the Time Zone can be altered By pressing or buttons select Time Zone Use or buttons to change the Time Zone between GMT 12 or GMT 12 Date Time on the top of th...

Page 26: ...rs of visual media including television and movies The description narrator talks through the presentation describing what is happening on the screen during the natural pauses in the audio and sometim...

Page 27: ...e Please note that ghosting may occur while displaying a persistent image LCD TVs image persistence may disappear after a short time Try turning off the TV for a while To avoid this do not leave the s...

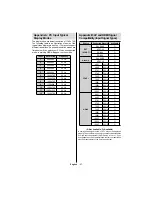
Page 28: ...12 1360x768 60 Hz Appendix B AV and HDMI Signal Compatibility Input Signal Types Source Supported Signals Available EXT SCART PAL 50 60 O NTSC 60 O RGB 50 O RGB 60 O Side AV PAL 50 60 O NTSC 60 O YPbP...

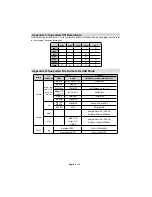
Page 29: ...Format Remarks Video Audio Maximum resolution Bit rate etc Movie mpg dat vob mkv rmvb ts trp tp MPEG1 MPEG Layer 1 2 3 20Mbit sec MPEG2 MPEG2 XviD 3ivx PCM MP3 XviD Verson up to 1 1 2 Mpeg2 TS H264 T...

Page 30: ...n Press OK to continue with the reboot operation 2 Over Air Download If Automatic scanning in Upgrade Options menu is enabled the TV wakes up at 03 00 and searches broadcast channels for new software...

Page 31: ...W 50 W max 1 W Standby PANEL 19 Screen Size DIMENSIONS mm DxLxH With foot 134 x 459 x 341 Weight Kg 3 35 DxLxH Without foot 34 x 459 x 307 Weight Kg 3 10 Digital Reception MHEG 5 ENGINE compliant wit...

Page 32: ...icture through antenna position or set TV channels again if necessary 4 Switching the TV Off Press the 1 button on the remote control or press the switch on the TV so the TV will switch to standby mod...

Page 33: ...green or green and yellow The wire which is coloured blue or black must be connected to the terminal which is marked with the letter N or coloured Black The wire which is coloured brown or red must b...

Page 34: ...CD CD R CD RW MP3 JPEG MPEG DivX playback NTSC PAL playback according to disc content LPCM audio via coaxial digital audio output optional Multi Audio up to 8 support According to disc content Multi...

Page 35: ...the disc to direct sunlight or heat sources such as hot air ducts or leave it in a car parked in direct sunlight as the temperature can rise quickly and damage the disc After playing store the disc i...

Page 36: ...g a file you should press STOP button three times to eject Overview of the Remote Control Standby 1 Pause 2 Stop 3 Skip next 4 Rapid advance 5 Subtitle 6 Title 7 Root 8 Numeric buttons 9 OK Select 10...

Page 37: ...mode selection during playback Press repeatedly to switch between modes LANG Audio language X X MENU Displays TV menu OK SELECT Enter View Play REPEAT Displays repeat options RETURN Returns back to t...

Page 38: ...cted not supported by the 7 disc the subtitle language will automatically be set to the disc s priority language Usually a circulation will happen while switching 8 to another language that is you can...

Page 39: ...technical service SPDIF OUTPUT You can set Spdif Output as PCM or RAW If you select PCM from SPDIF Output in DVD menu and play DVD with Dolby audio you can get audio output with two channels via the s...

Page 40: ...Incorporating a new video compression technology MPEG II and high density recording technology DVD enables aesthetically pleasing full motion video to be recorded over long periods of time for instanc...

Page 41: ...o rd in g Ty p es D is c S ize M a x P layin g Tim e 74 m in 20 m in S ing le sid ed 240 m in D o u b le sid ed 480 m in S ing le side d 80 m in D o u b le sid ed 160 m in C h aracteristic s D V D co...

Page 42: ...a pixel Support format 444 440 422 420 Grayscale External Subtitles optional srt Support Text File Format but do not support Picture File Format smi sub ssa ass Note It is not guaranteed that all DivX...

Page 43: ...50179861...
Reviews: