Carina Indoor Surface Mount IP Intercom User’s Guide Page 10
v
3.0.0.20201022
4.
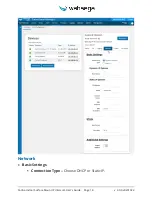
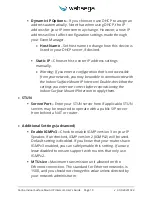
To change the IP address settings, go to the
Network
page and
modify settings in the
WAN
section. To set the network for DHCP,
click the
Dynamic
IP
radio button. For static IP addressing, click the
Static
IP
radio button and fill in the relevant IP address fields with
values from your network administrator.
5.
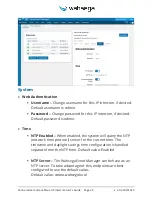
Set time and date and change username or password on the
System
page. Please note that the Carina Event Manager may be used as a
system NTP server for consistent date and time across the network.
Simply enter
carina.wahsega.local
as the NTP server and make sure
that NTP is enabled for this endpoint.
6.
To change the SIP account settings, go to the
Accounts
page and
modify settings in the account. Most users will only need to set
Username
/
Number
(the phone number or extension assigned to this
speaker),
Domain
(the hostname or IP address of your SIP server)
and
Password
(password for this SIP extension, if needed). You may
also provide a
Display
Name
, which may be used by your SIP server
depending on its configuration.
If your SIP server or proxy server requires an authentication
username that is different from the name entered in
Username
/
Number
, enter it under the
Authentication
Username
field.
7.
Load new firmware, backup configuration, or restore a configuration
file on the
Management
page.


