43
43
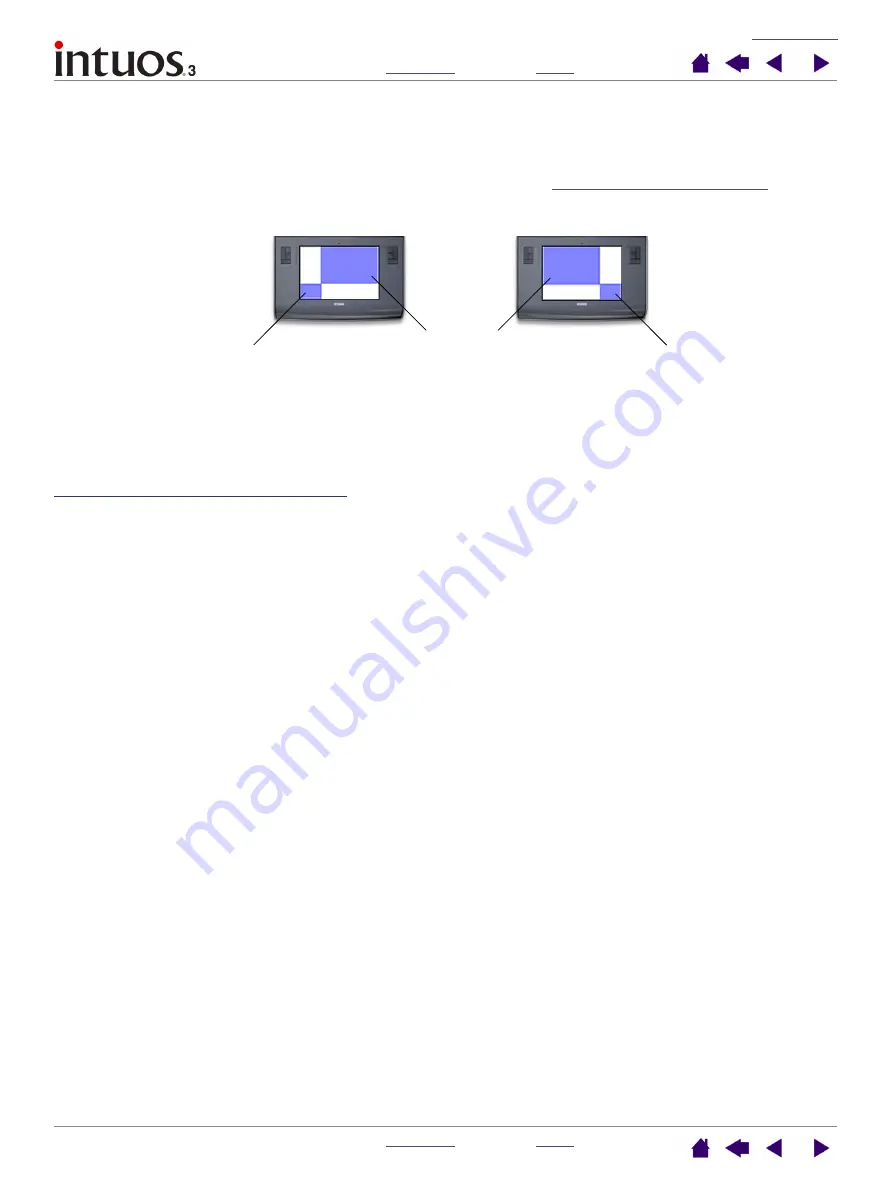
•
Q
UICK
P
OINT
L
EFT
and Q
UICK
P
OINT
R
IGHT
.
These options (available for Intuos3 9x12 / A4-regular,
12x12 / A4 Oversize, and 12x19 / A3 Wide tablets) divide the tablet into two independent areas: a large
area for drawing, and a small area for quick navigation. Both areas are mapped to the screen area
defined in the P
ORTION
OF
S
CREEN
dialog box, or to the entire display by default. These options can also
be selected and deselected using the screen Pop-up Menu. See
for more
information.
Mapping to multiple monitors
When you are working with more than one monitor, your tablet will map to the monitors based upon how
your system is configured. By default, if more than one monitor is in use and you are in extended monitor
mode, the tablet will map to all monitors as if they were one large display. If you are in mirror mode, the
tablet will map to the entire space on each monitor and the screen cursor will be displayed on each monitor
simultaneously.
Please refer to your hardware and operating system documentation for details on configuring your computer
and operating system for use with multiple monitors.
After you have correctly configured your computer for use with multiple monitors, you can then adjust the
tablet mapping by opening the Wacom Tablet control panel and changing the appropriate options.
Note:
The QuickPoint area and drawing area are indicated by crop marks on the tablet work surface.
Drawing areas
Q
UICK
P
OINT
L
EFT
sets the
QuickPoint area to the lower
left corner of the tablet.
Q
UICK
P
OINT
R
IGHT
sets the
QuickPoint area to the lower
right corner of the tablet.


