11
11
CHARGING BATTERIES
Important: Before using Inkling for the first time, you should fully charge the pen and receiver batteries.
The pen and receiver can be charged separately, or together within the Inkling charging case. The receiver
can be charged independently of the charging case, and will charge whenever it is connected to your
computer or other powered USB source. When charging, the case or receiver can be connected to a
computer, powered USB hub, or AC adapter with USB connector.
To charge the pen and receiver batteries:
Note: To charge the receiver battery while you are sketching, connect the receiver to an AC adapter that
provides 500 mA USB power.
1. If charging through a computer, turn it on and wait until
the system has fully loaded.
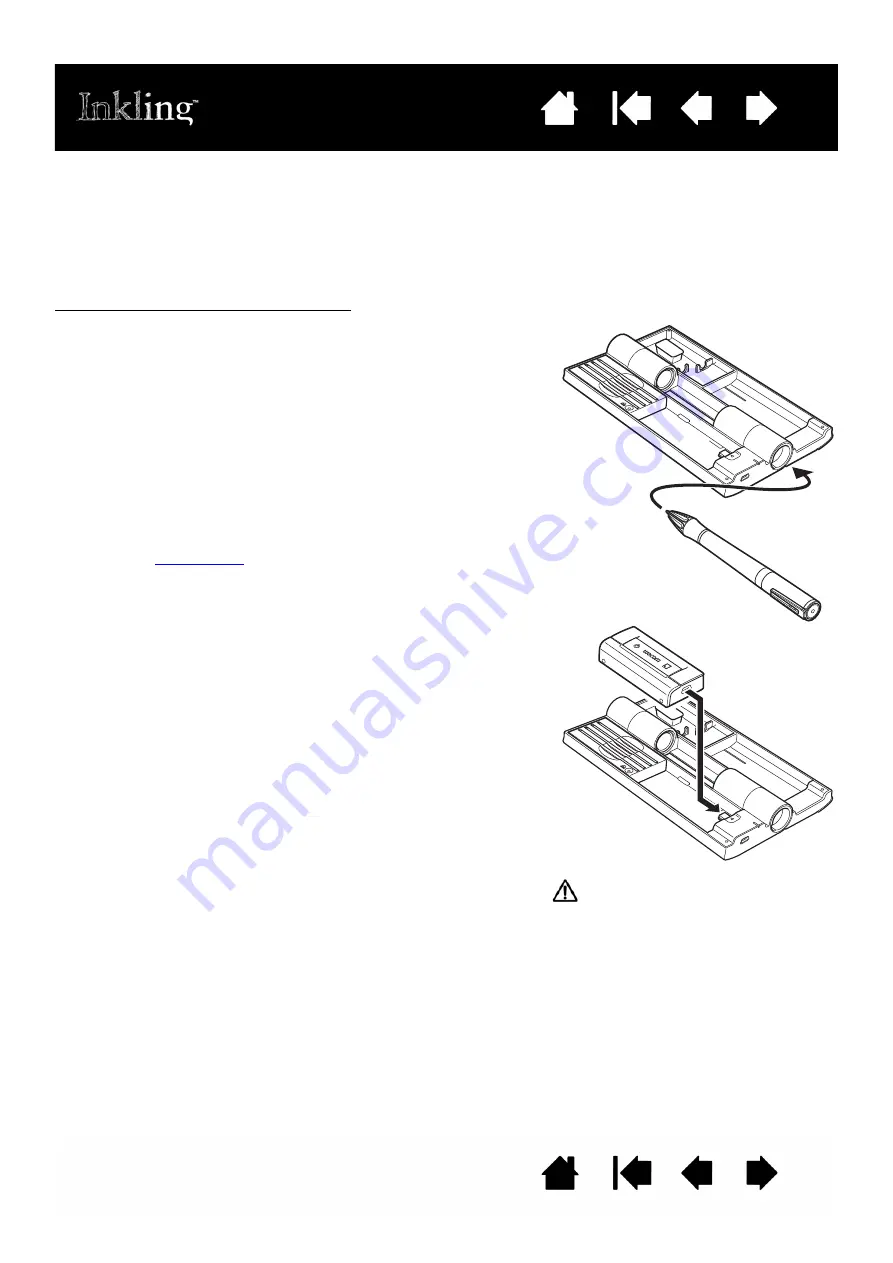
2. Insert the pen and receiver into the charging case.
3. Attach the provided USB cable between the charging
case and a primary USB port located directly on your
computer, or other powered USB source.
•
The pen charging status LED will glow red to
indicate the case is connected to powered USB
source and the pen battery is charging.
•
The power LED on the receiver will glow red to
indicate the receiver battery is charging.
See also
4. Depending on the battery charge:
•
It may take approximately 2 hours for the pen
battery to fully charge. When fully charged, the pen
charging status LED glows green.
•
It may take approximately 3 hours for the receiver
battery to fully charge. When fully charged, the
power LED on the receiver glows green.
5. When charged:
•
Remove the pen from the case.
•
Remove the receiver from the case. The receiver
will turn off automatically when removed.
•
If you like, disconnect the case from your
computer.
Before removing the receiver from the charging case or
disconnecting the case from your computer, use the
S
AFELY
R
EMOVE
H
ARDWARE
(Windows) or E
JECT
(Macintosh) system option.
Warning: See the battery safety
precautions listed within the Important
Product Information guide, accessed
from the Inkling Sketch Manager H
ELP
menu.


