Manufacturer: Ningbo VWIN Smart Tech Co.,Ltd.
Tel: +1 800 835 2810
Email:
[email protected]
Website: vwindesk.com
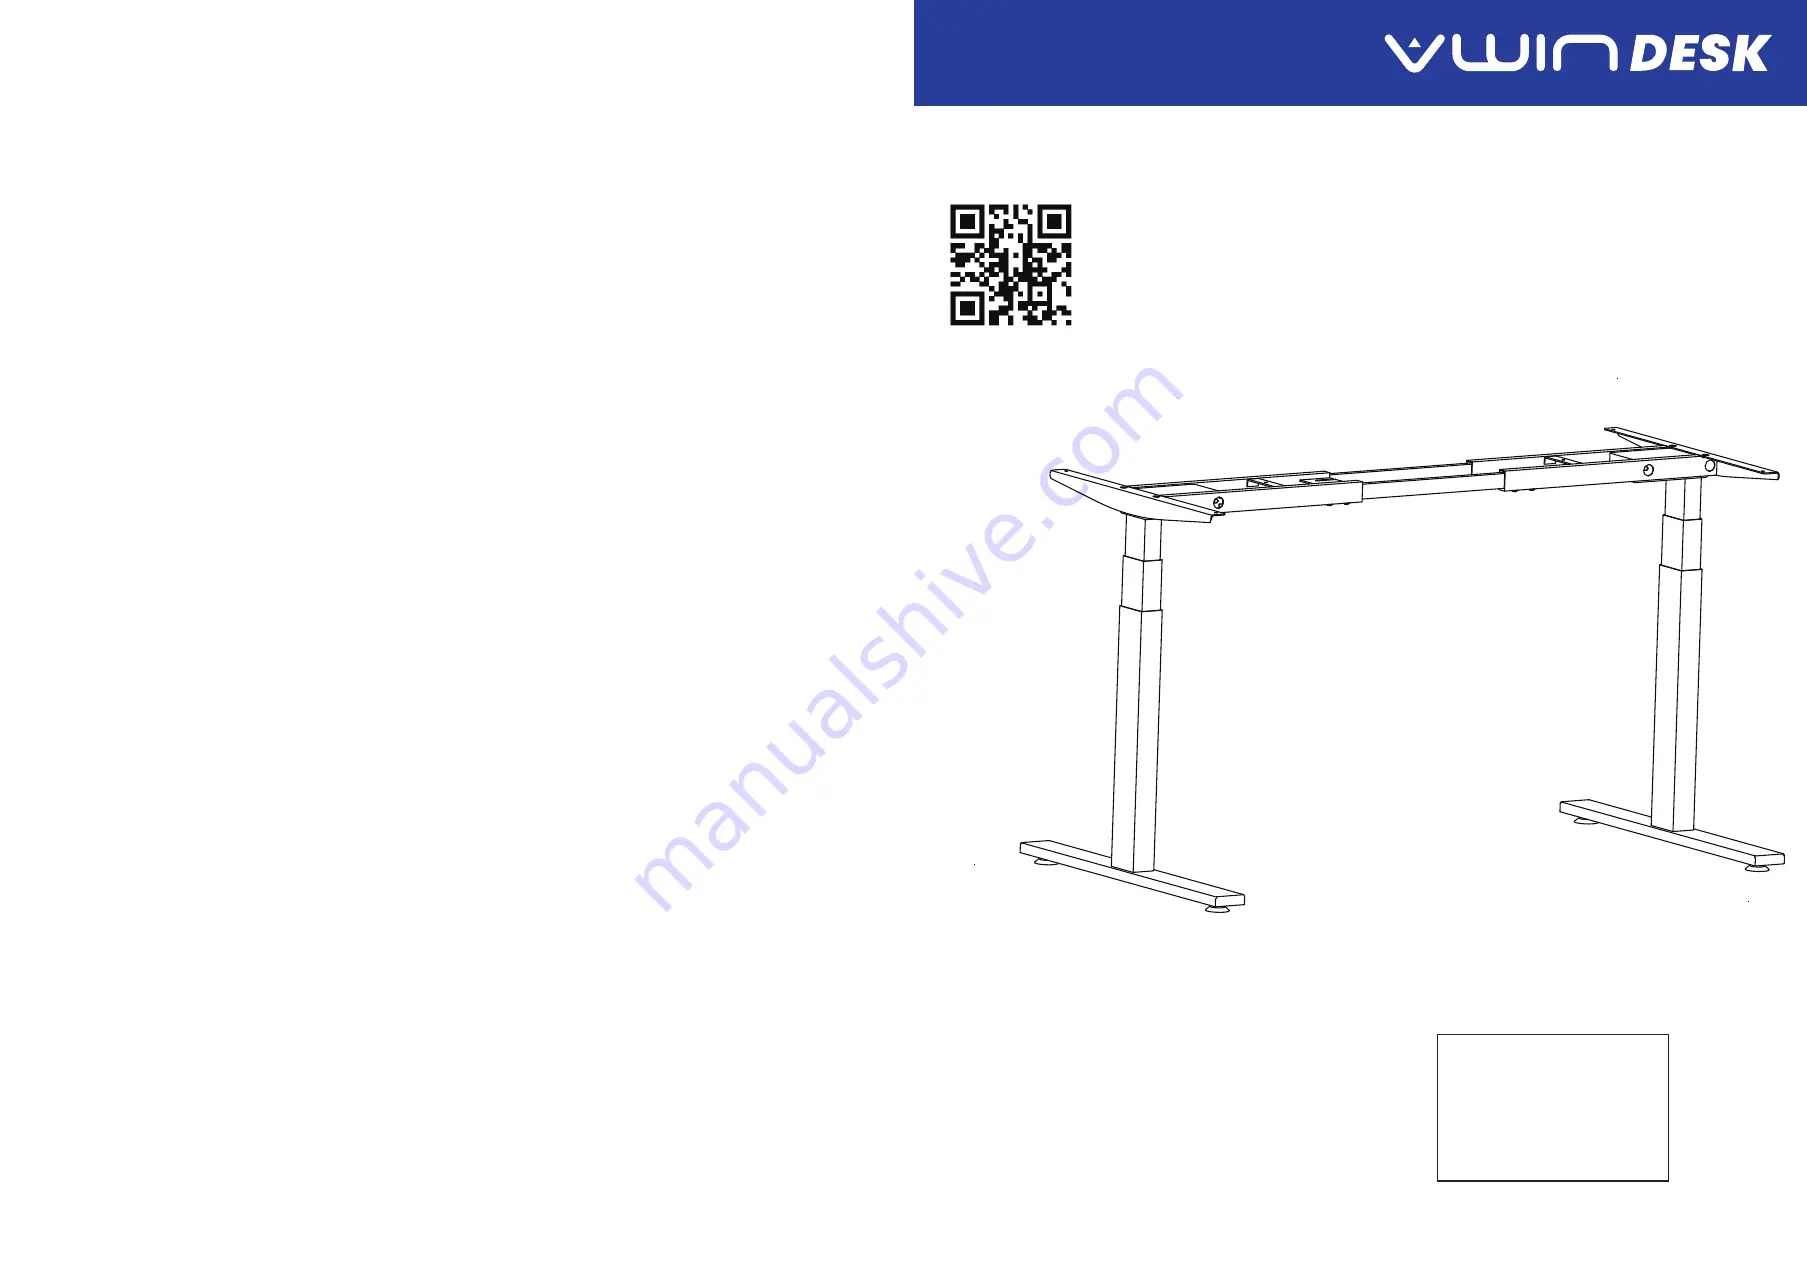
Electric Standing Desk
VJ201-S3
Electric Height Adjustable
Standing Desk Frame
Please register the product
for 5-year warranty
See page 9
Scan it
Video installa�on
www.vwindesk.com


