


4. Next, enter a pet name for your VP-8, like “WABC VP8 2”, etc.
5. Then, enter the IP address that you wish this VP-8 to have, noting
that its address must be unique if the VP-8 will be communicating over
a network with other devices attached to it.
6. Next enter the desired Subnet Mask and Gateway addresses.
7. Once this is done, click the “Start” button at the bottom of the IP
address configuration box. A message similar to the one below should
appear:
8. Click OK, then remove power to
the VP-8 for a few seconds, and then
reapply it. As the VP-8 is booting up,
the “Requests” number in the IP
Address window should increment to
something other than zero (please
see the bottom of the image in the Requests figure above.
9. When the requests number increments above zero the VP-8 has
been programmed with its new IP address and is now ready for use.
Device Configuration – Connecting to the VP8
1.
Now that the VP-8 has its own TCP/IP identity, we must
configure the GUI so that it can talk to the VP-8. This is done by
adding “devices” to the list of VP-8’s that the GUI knows about.
To do this:
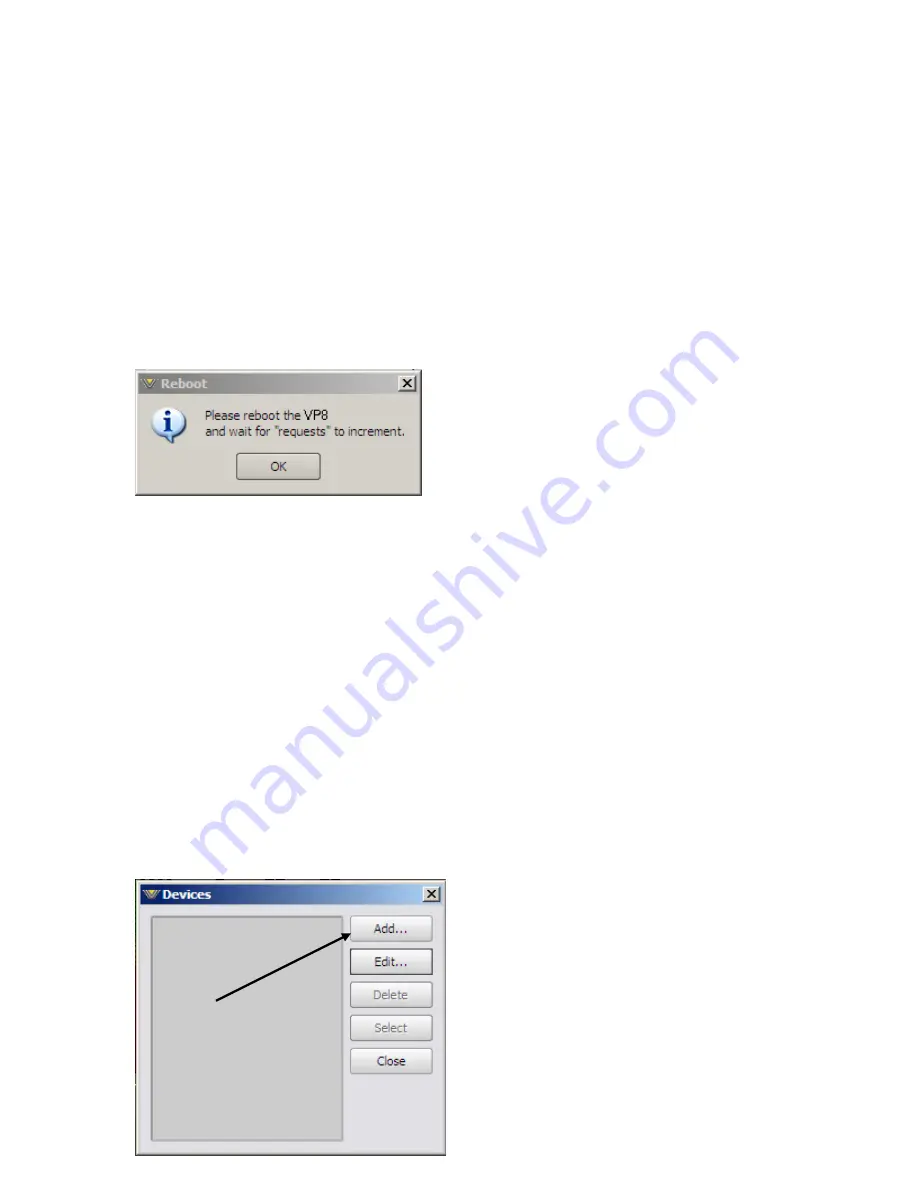
2.
Locate and click on the “Devices” button that is located along the
right side of the GUI. When this is done, the following Devices
window will pop up:
3.
Next, click the “Add” button
and the Edit Device dialog
box will appear — this box is
used for adding new devices
or modifying the
configuration of existing
ones.
18
Summary of Contents for VP8 Plus
Page 40: ...NOTES 40 ...


