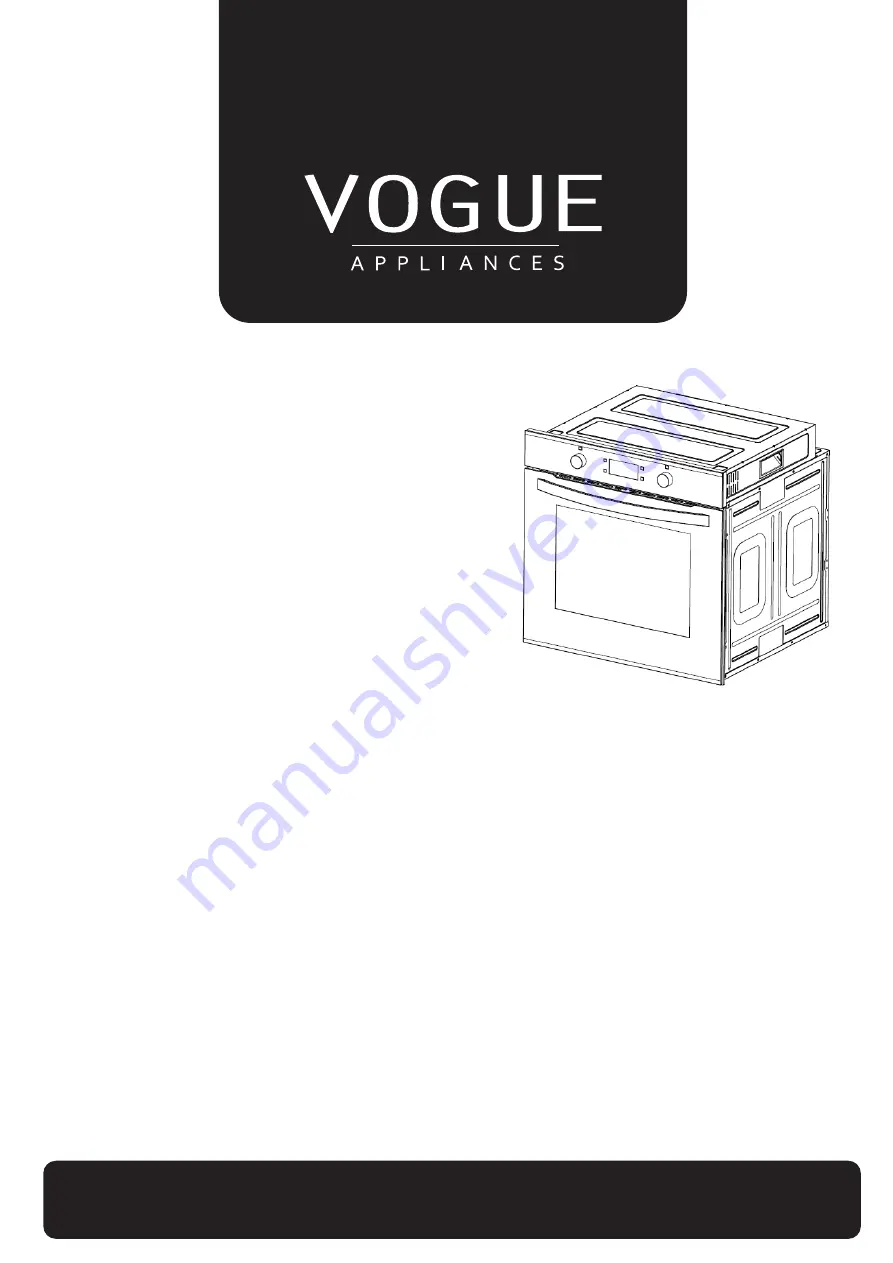
VOGUE 9 Function Pyrolytic Wall Oven
600mm BLACK
To prevent the risk of accidents or damage to the appliance, it is essential
to read these instructions befor
e it is installed and used for the first time
310602
INSTALLATION
INSTRUCTIONS
USER GUIDE
Page 1: ...ytic Wall Oven 600mm BLACK To prevent the risk of accidents or damage to the appliance it is essential to read these instructions before it is installed and used for the first time 310602 INSTALLATION INSTRUCTIONS USER GUIDE ...
Page 2: ...he appliance 7 Your new oven 10 Program and function instruction 18 Settings functions of the oven 19 Before using the oven for the first time 20 How to operate the oven 20 Troubleshooting 21 Baking and grilling tips 23 Maintenance and cleaning 27 Environmental note 28 Test dishes ...
Page 3: ... cleaners or metal scrapers to clean the oven door glass as this can scratch the surface which may result in the oven glass shattering Do not use abrasive products to clean the glass door panel to avoid scratching it Otherwise severe failure might happen to the appliance The appliance must not be installed behind a decorative door in order to avoid overheating The air must not be discharged into a...
Page 4: ...damage caused by the non compliance of temperature tolerance of oven during installation or by the too close distance between the furniture and the oven will be borne by the owner This appliance is not intended for use by persons including children with reduced physical sensory or mental capabilities or by those who lack experience and knowledge unless they have been given supervision and instruct...
Page 5: ...nducted by qualified personnel only To avoid damaging the cord do not squeeze bend or chafe it on sharp edges Keep it away from hot surfaces and open flames as well Lay out the cord in such a way that no unintentional pulling or tripping over it is possible Do not open the appliance casing under any circumstances Do not insert any foreign objects into the inside of the casing Never use accessories...
Page 6: ...cables to the terminals of the switched fused connection unit Ensure connections are tight The spur outlet must still be accessible even when your oven is located in its housing to enable the appliance to be disconnected from the mains supply Cleaning Always disconnect the power supply prior to cleaning the appliance If the switched fused connection unit is difficult to reach shut off the power su...
Page 7: ...please check below picture values in mm Surfaces synthetic laminates and adhesives used must be heat resistant 100 minimum and neighbouring unit fronts up to 70 Kitchen cabinets must be set level and fixed A gap of 5 mm is required between the appliance and surrounding unit fronts If there is a drawer beneath the oven a shelf must be installed between oven and drawer ...
Page 8: ...circuit or fire by unprofessional installation The appliance may be connected to the mains supply only by an authorized qualified person and the appliance is only guaranteed after correct installation Risk of electric shock short circuit or fire by damage of the mains lead The mains lead must not be clamped bent or trapped or come into contact with hot parts of the appliance If the mains lead is d...
Page 9: ...re all oven accessories that are not required are removed from the oven Pre heat the oven to the cooking temperature before using it Place the cooking trays in the center of oven and leave space in between when using more than one so that the air can circulate Do not put oven trays on the base of the oven or cover it with aluminium foil This will cause thermal accumulation The cooking and roasting...
Page 10: ...s height width depth 600 600 min 595 mm Main oven Multifunction oven Energy efficiency class A Oven lamp 25W 350 C Grill power consumption 3050KW C Your accessories The accessories supplied with your appliance are suitable for making many meals Ensure that you always insert the accessories into the cooking compartment the right way round There is also a selection of optional accessories with which...
Page 11: ...n place This allows dishes to be removed easily Note The accessories may deform when they become hot Once they cool down again they regain their original shape This does not affect their operation Oven tray For moist cakes pastries frozen meals and large roasts It can also be used to catch dripping fat when you are grilling directly on the wire rack Wire rack Used for roasting and for placing the ...
Page 12: ... instruction Pic 1 Buttons diagram 1 3 2 Display section Pic 2 Display screen icon Display screen icon instruction Icons Function Icons Function 1 Function icon 8 Cooking end time setting icon K1 K2 K3 K4 KB1 KB2 Reminder parameter switch temperature time Clock reservation Start up Pause cancel Plus minus cooking function Plus minus temperature time ...
Page 13: ...lock setting state Default time show 12 00 hour 12 flashes the system clock setting icon flashes and the system clock icon is always on The clock can be input at this time refer to clock setting requirement for details After 10 seconds without any operation and the oven will enter to adjust minute automatically Within 10 seconds without any operation when adjusting minute the oven will enter stand...
Page 14: ...f you do not touch the button to confirm within 10 seconds it will automatically switch to the minute setting If the button is not confirmed within 10 seconds after the clock setting is completed the system defaults to complete the clock setting and automatically returns to the standby state If the clock is not set within 20 seconds after power on the system default clock is 12 00 and enters stand...
Page 15: ...ock place will display cooking countdown time corresponding selection menu display and the temperature position displays the real time cavity temperature Note 1 Normal function cooking time setting range is 0 minutes to 10 hours 2 When the cooking time is set to 0 minutes if the button is touched at this time the oven will not work and the system will automatically return to the standby state 3 Wh...
Page 16: ... menu will display temperature position will display setting or default cooking temperature If more than 10 seconds not confirmed during setting reservation function the oven will automatically return to standby state Under reservation status you can touch to query the cooking start time cooking start time cooking end time cooking time If you need to cancel the reservation setting under reservatio...
Page 17: ...atus Pic 9 Door lock relieved display effect under standby status 6 2 Door lock is activated oven will be locked under following status Among all function mode except for defrost mode door lock will automatically be activated when oven cavity temperature is higher than 300 During self cleaning process door lock will be activated When oven is under standby mode and temperature sensor is open circui...
Page 18: ...er to display effect 10 Oven will be locked at this time touch button can return to standby mode Pic 10 Sensor abnormal alarm display effect 7 2 When the temperature 35 after 5 minutes of heating except for defrost mode and Eco mode it means the heating element have a problem display will show E 2 buzzer will continuously prompt for 10 times 1s time refer to display effect shown as pic 11 Touch bu...
Page 19: ... seconds Defective sensor or heating element drive circuit 8 Enquiry function 1 Under barbecue state touch button once can query system time the clock position shows the current time of the system second icon will flash Re touch button or 10s later automatically return to the barbecue time display 2 After the reminder time setting is completed and the oven in the reservation or barbecue state touc...
Page 20: ... can be queried 10 Start pause cancel function After setting up the cooking function touch button to start working if touching button when the cooking is suspended you can restart the work During oven cooking touch button once can pause the cooking temperature and time will flash display oven working icon flashes function icon is always on Touch button again will cancel current cooking When settin...
Page 21: ...o the food This function is suitable for grilling medium or large portions of sausages bacon steaks fish etc Function 6 Fan heating and grill mode This mode by using top heat element and fan together to let the inner heating circulate quickly It is suitable for needing bake food quickly and locking the inner moisture of food such as beefsteak hamburger and some vegetables Function 7 Fan and bottom...
Page 22: ...n will help you to use your appliance in an ecological way and to save energy 1 Use dark coloured or enamel coated cookware in the oven since the heat transmission will be better 2 While cooking your dishes perform a preheating operation if it is advised in the user manual or cooking instructions 3 Do not open the door of the oven frequently during cooking 4 Try to cook more than one dish in the o...
Page 23: ...fore calling to the after sell service maybe some breakdown you can repair by yourself Normal operation When first using the oven it may have some situation of peculiar smell and smoking for some hours Open the heating pattern to let the oven burn without anything for 1 hour when use the oven for the first time then close the heating function waiting for some time until the oven is cold open the d...
Page 24: ...cake at the highest point If the cocktail stick comes out clean the cake is ready 2 The cake collapses Use less fluid next time or set the oven temperature 10 degrees lower Observe the specified mixing times in the recipe 3 The cake has risen tin the middle but is lower around the edge Do not grease the sides of the spring form cake tin After baking loosen the cake carefully with a knife 4 The cak...
Page 25: ...ovenware with approx 1 2 cm of liquid Place the food to be grilled directly on the wire rack If you are grilling a single piece the best results are achieved by placing it in the centre of the wire rack The universal pan should also be inserted at level 1 The meat juices are collected in the pan and the oven is kept cleaner When grilling do not insert the baking tray or universal pan at level 4 or...
Page 26: ...sively high temperature or being placed in cookware that is too small You should select a cooking temperature and function that is appropriate for the food that you are cooking You should also ensure that the food is placed in an adequately sized dish and that you use the drip tray where appropriate Outer parts of the oven should only be cleaned with warm soapy water using either a sponge or soft ...
Page 27: ... of locking rod picture A Close the door until reach to stop step hold on both left and right sides of the door then reclose the door upward and downward and pull out the door To install the oven door Follow to the opposite order of door disassembly When install oven door make sure both hinge plug into opening mouth directly Both sides of hinge rabbet must be fixed onto the hinge mounting hole on ...
Page 28: ...screws using a cross screwdriver Notice Dangerous If the glass has some scratches it may lead to cracking Don t use the glass spatula acute and corrosive cleaning product or detergent to clean the glass Install Install the glass use the opposite steps like removed Replacing the oven lamp ...
Page 29: ...carried out at a service centre at least once every two years 2 Fix any operational faults 3 Carry out periodical maintenance of the cooking units of the cooker Caution All repairs and regulatory activities should be carried out by the appropriate service centre or by an appropriately authorized fitter Environmental note Note Before discarding an old appliance switch off and disconnect it from the...
Page 30: ...cal city office or local waste management office The packaging materials that we use are environmentally friendly and can be recycled Please discard all packaging material with due regard for the environment Test dishes We provide all kinds of recipes and ideal setting for choice here It will show you which heating type and which temperature are of best suits for your dishes You can find informati...
Page 31: ... 10 20 Thin pizza cold Bake Pan 2nd layer 190 210 15 25 Deep pizza cold Bake Pan 2nd layer 180 200 20 30 Bake Pan rack 3rd 1st layer 170 190 25 35 Bread piece 9piece Rack 3rd layer 160 170 10 15 Rack 3rd 1st layer 160 180 15 25 Sausage Rack 3rd layer 160 180 10 15 Ribs Rack 3rd layer 200 220 20 35 Pork Bake Pan 2nd layer 190 210 70 85 Bake Pan 1st layer 180 200 55 70 Beefsteak 3cm thickness Bake P...