VIZIO VO37L FHDTV20A User Manual
36
www.VIZIO.com
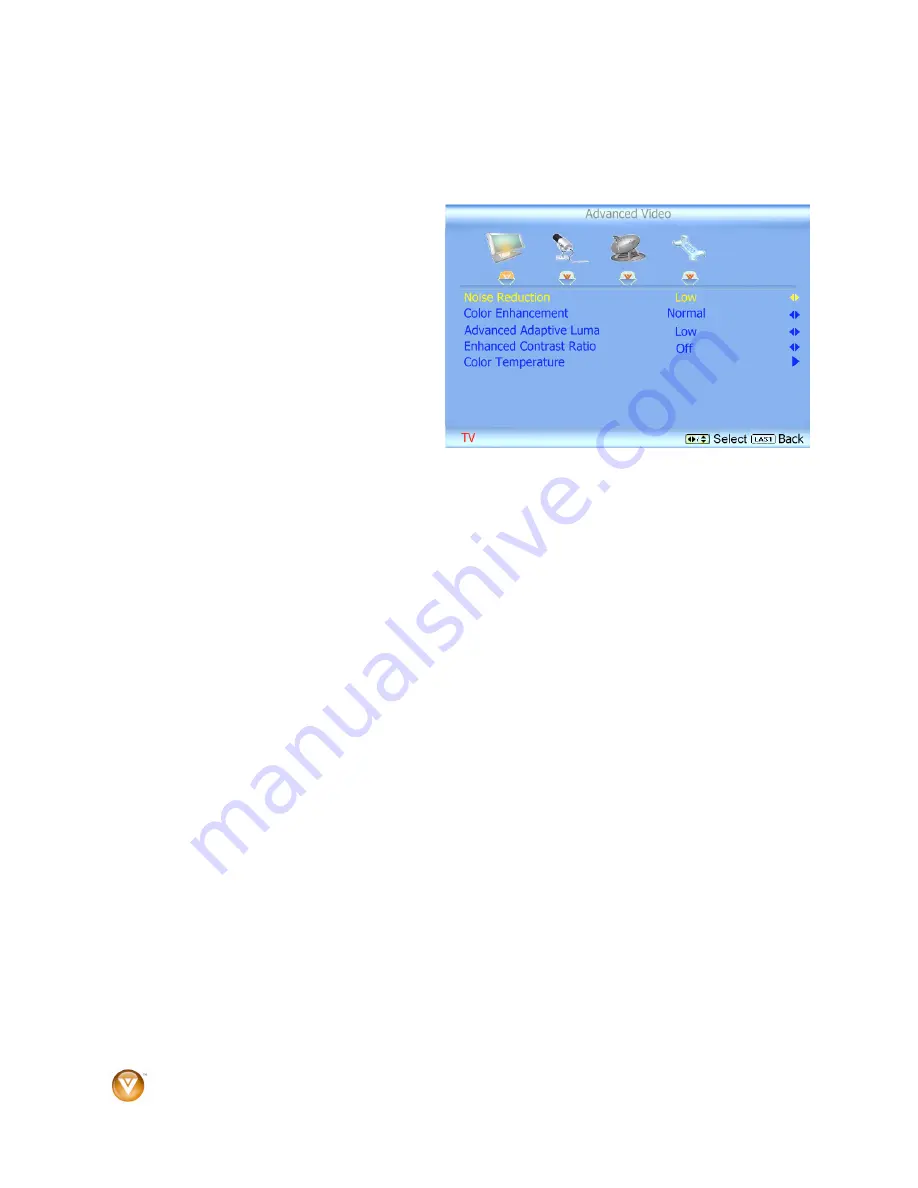
Advanced Video
Press the
"
button to select Advanced Video, then press the
!
button. A new menu will be displayed
showing the advanced functions available for fine tuning of the picture.
Noise Reduction
This feature diminishes picture artifacts
caused by the digitizing of image
motion content that may be present in
the picture. Choose from the Off, Low,
Medium, or Strong setting.
Color Enhancement
This feature increases the picture
reproduction performance of the
picture by reducing oversaturation of
certain colors and improving flesh
tones. Choose from Off, Normal, Rich
Color, Green/Flesh, and Green/Blue
setting.
Advanced Adaptive Luma
Large areas of brightness in the picture will result in a higher Average Picture Level (APL) and the
overall picture will look too light. This feature will lower the APL to counteract this effect. Choose
from Off, Low, Medium, Strong, or Extend.
Enhanced Contrast Ratio
This feature can be set to On or OFF to allow the TV set to adjust its backlight to display dark and
bright scenes with a more vivid or intense quality.
Note:
Backlight setting would be disabled if this option is set to On.
Color Temperature
Color Temperature is the “warmness” or “coolness” of the white areas of the picture. Choose from
Normal, Warm, or Custom. Normal is the setting for television broadcasting. If you choose the
Custom option, then a new menu will be displayed showing the primary color items, Red, Green
and Blue.
Reset Picture Mode
Press the
"
button to select Reset Picture Mode, then press the
!
button. A new menu will be displayed
to return all picture settings to factory default.
Note:
Only settings under the Picture menu will be reset.