EN - 9
English
1. Install “Installation Wizard 2” from the Software Utility directory on the software CD.
2. The program will conduct an analysis of your network environment. After your network is
analyzed, please click on the “Next” button to continue the program.
3. The program will search for VIVOTEK Video Receivers, Video Servers, and Network Cameras on
the same LAN.
4. After a brief search, the main installer window will pop up. Double-click on the MAC address that
matches the one printed on the camera label or the serial number on the package box label to
open a browser management session with the Network Camera.
Assigning an IP Address
5
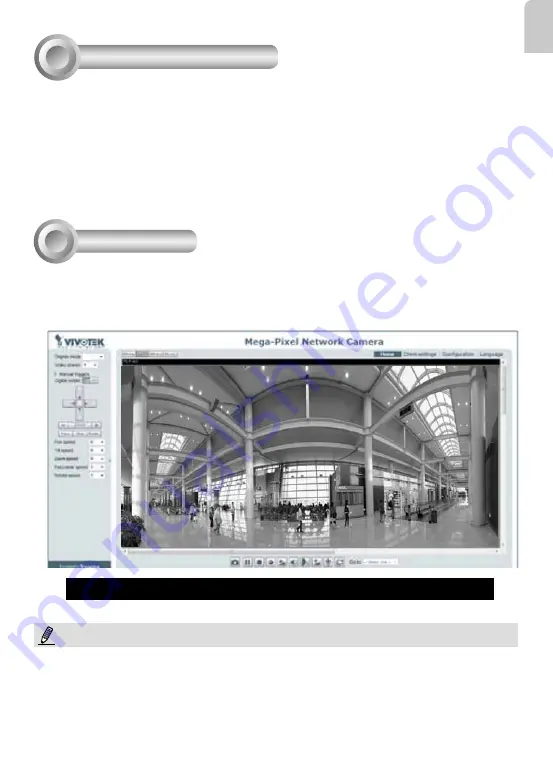
1. A browser session with the Network Camera should prompt as shown below.
2. You should be able to see live video from your camera. You may also install the 32-channel record-
ing software from the software CD in a deployment consisting of multiple cameras. For its installa-
tion details, please refer to its related documents.
Ready to Use
6
For further setup, please refer to the user's manual on the software CD.
1P
NOTE:
If you encounter problems with displaying live view or the onscreen plug-in control, you may try to
manually remove the plug-ins that might have been installed on your computer. Remove the following
folder: C:\Program Files (x86)\Camera Stream Controller.


