4
Contrast:
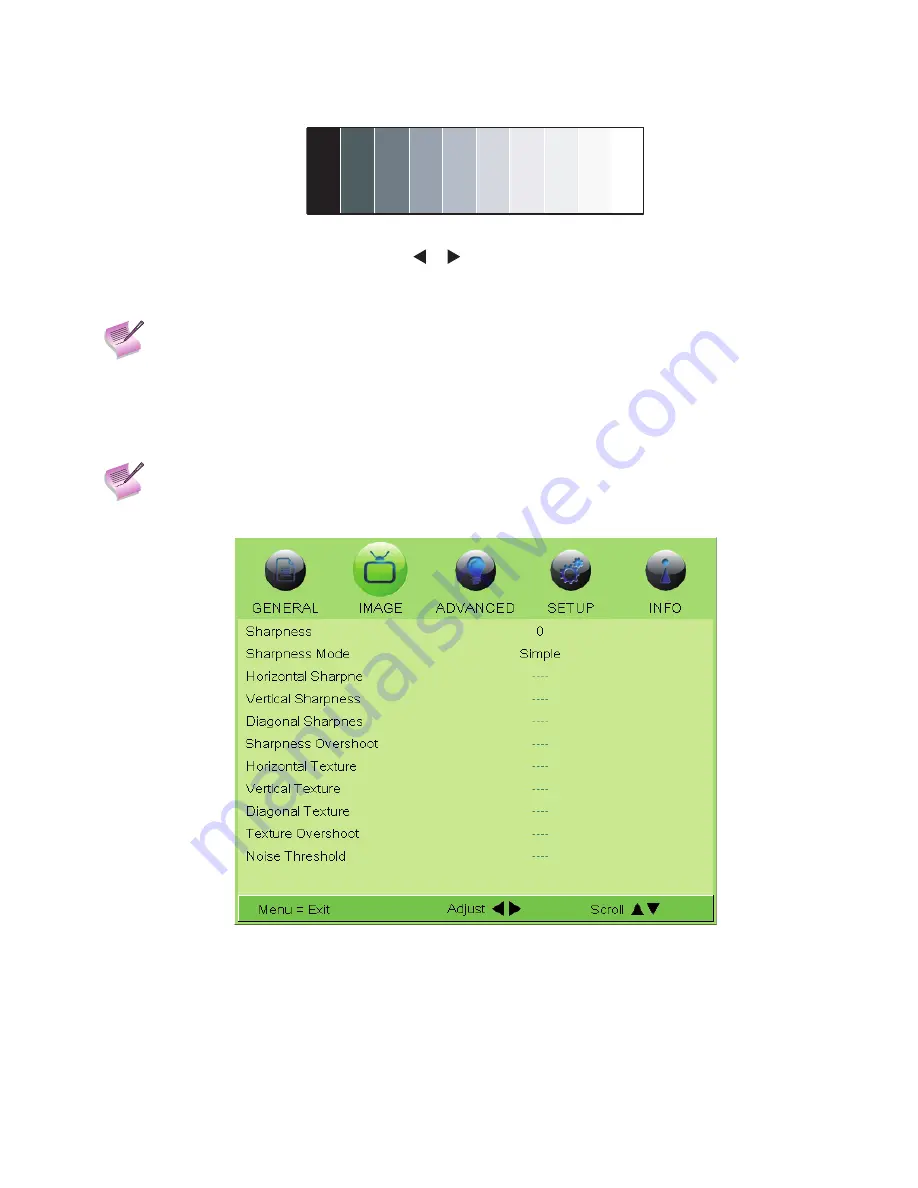
On your external test pattern source, select a stepped, gray-bar pattern like the one shown in Figure 4-10.
Figure 4-10: Typical Gray Bar Pattern for Adjusting Contrast
Select Contrast from the IMAGE menu. Use the or buttons to adjust the contrast up until the top two bars be-
come almost the same brightness, then down just until the brightness change between these bars is consistent with
the other bars.
Note
Brightness and Contrast controls are interactive. A change to one may require a subtle change to
the other in order to achieve the optimum setting.
Color Saturation
: To adjust the overall color intensity, select Color Saturation from the IMAGE menu. Decrease this
setting if colors are overly saturated; increase it if colors appear muted or washed out.
Color Tint:
Tint or “hue” is the ratio of red to green in the color portion of the image. To adjust the tint, select Color
Tint from the IMAGE menu. Decrease this setting to shift the hue toward red; increase it to shift the hue toward green.
Note
Like the Brightness and Contrast controls, the color and tint controls are interactive. A change to
one may require a subtle change to the other in order to achieve the optimum setting.
Sharpness:
Sharpness is the amount of high-frequency detail in the image.
Figure 4-11: Sharpness Sub-Menu
•
•
•
•
operaTion


