background image

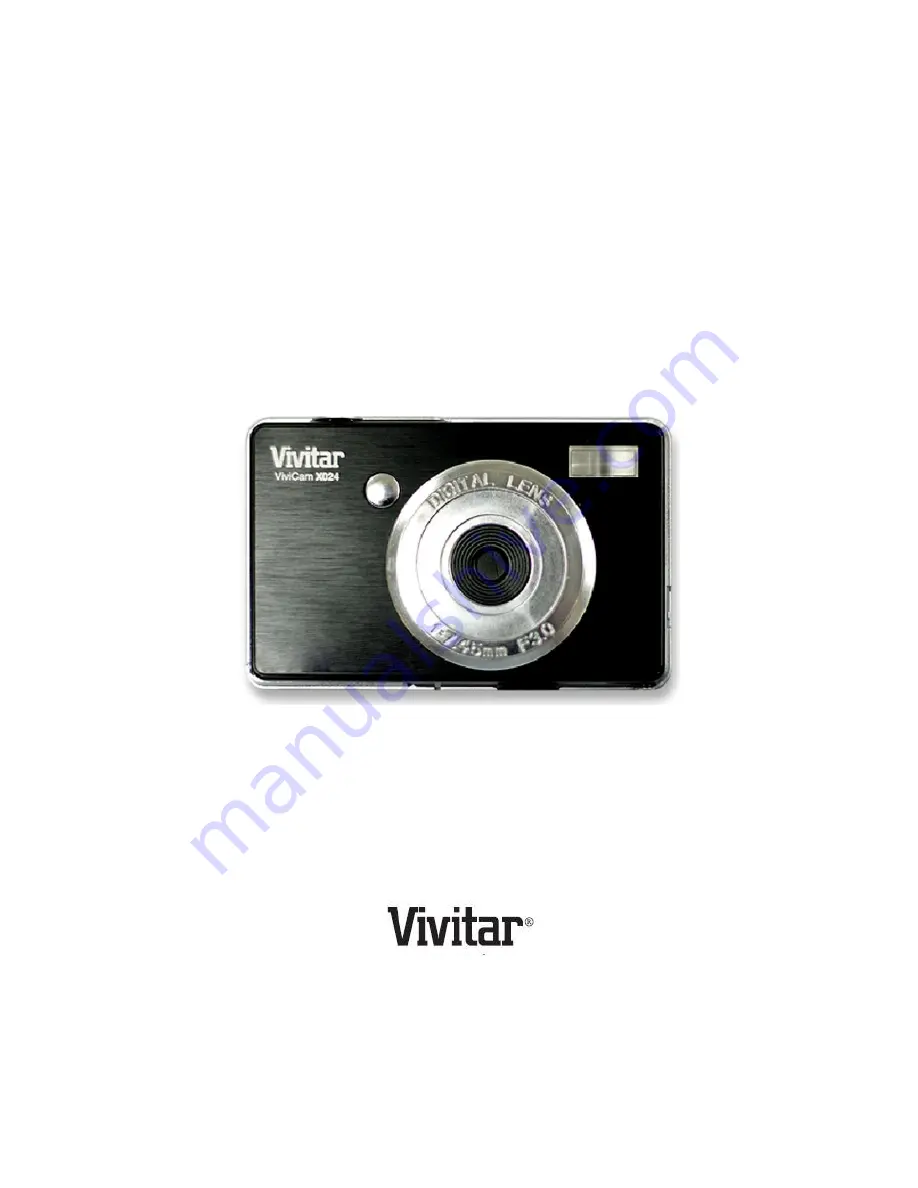
ViviCam X024v2 Digital Camera 


User Manual


© 2009-2011 Sakar International, Inc. All rights reserved. 

Windows and the Windows logo are registered trademarks of Microsoft Corporation. 

All other trademarks are the property of their respective companies. 

Summary of Contents for ViviCam X024v2

Page 1: ...Camera User Manual 2009 2011 Sakar International Inc All rights reserved Windows and the Windows logo are registered trademarks of Microsoft Corporation All other trademarks are the property of their...

Page 2: ...ng the Camera On Off 11 Changing the Camera Modes 12 Navigating the Menus 13 Photo Capture Mode 14 Photo Playback Mode 37 Video Capture Mode 43 Video Playback Mode 46 Installing the Software 51 Connec...

Page 3: ...sed separately Key Features Digital Video resolutions 640x480 Pixels VGA 320x240 Pixels QVGA 10 1 mega pixels camera with choice of 7 digital camera resolutions 10M 3648X2736 pixels 8M 3264x2448pixels...

Page 4: ...3 What s Included 1 Digital Camera 2 USB cable 3 Vivitar Experience Image Manager Software Installation CD 4 Wrist Strap Note SD Card and batteries not included...

Page 5: ...ash Light 3 LCD Screen 14 USB Slot 4 LED 15 Tripod Socket 5 Zoom Out 16 Digital Lens 6 Zoom In 17 Battery Compartment 7 MODE Button 18 SD Memory Card Slot 8 MENU OK Button 19 Macro Switch 9 Scene Left...

Page 6: ...talling the Batteries Installing the Memory Card Insert 3 X AAA 1 5V batteries Alkaline batteries recommended Insert SD Memory card up to 32GB before use Turning On the Camera Using the Camera Select...

Page 7: ...edium battery power Low battery power Note A Low battery message will flash on the LCD when the battery power is insufficient Shortly thereafter your camera will power off Please remove your batteries...

Page 8: ...ard o Limited internal memory is provided for one test photo The photo will be deleted when the camera s power is turned off or if the batteries are removed Please download the photo before powering o...

Page 9: ...button once to open the Video Capture mode To take a video aim your camera as desired and press the Shutter button to start the record A red record indicator will appear on the LCD screen while recor...

Page 10: ...Digital Zoom Exposure 3 0EV 3 0EV White Balance Auto Daylight Cloudy Incandescent Fluorescent ISO Auto 100 200 400 Scene Auto Night Portrait Night Scenery Portrait Scenery Sport Party Beach High Sens...

Page 11: ...24 X 768 recommended screen resolution CD ROM Drive QuickTime 6 or higher Microsoft Internet Explorer 7 or higher Windows Media Player 10 or higher DirectX 9 or higher Internet connection required Com...

Page 12: ...on the display please check if the card was inserted properly 3 Press the POWER button to turn on the camera 4 The camera will be in Photo Capture mode to start Powering the camera OFF While the came...

Page 13: ...he Photo Capture Mode will be active by default The icons that appear on the LCD screen are the best default settings so that you can begin to capture and enjoy clear quality photos To change the acti...

Page 14: ...he desired menu option 4 Press the MENU M button to select and save the highlighted menu option and return to the previous mode screen 5 An icon of your saved option appears on the LCD display Changes...

Page 15: ...oto to the memory After each photo is taken when the camera returns to Photo Capture mode the number of photos left to capture at the selected resolution is displayed on the top right of the LCD scree...

Page 16: ...Self Portrait capability 1 Push the Macro switch lever up for the flower icon to appear 2 Hold the camera steady at arm s length 30 45cm 3 Look at the camera lens You can also see yourself in the sma...

Page 17: ...Timer delay options Off 2 seconds 5 seconds or 10 seconds Up Flash Flash Toggles the Flash options appearing on the LCD Auto Force Flash Red Eye Reduction No Flash Right Delete Delete Allows you to de...

Page 18: ...acro mode must be turned OFF when you want to use the Flash Slide the Macro Switch to the mountain icon to turn Macro mode OFF Flash Type Description Forced Off Default No flash will appear Use this w...

Page 19: ...r icon appears on the LCD and indicates that the Macro mode is ON To turn Macro mode OFF Slide the Macro Switch down on the side of the camera to the mountain icon The mountain icon appears on the LCD...

Page 20: ...itches off the FLASH automatically if it s ON to optimize the picture quality If however you would like to override it and manually turn ON the flash you can do so 1 Press the MENU M button to open th...

Page 21: ...e menu options 4 Press the MENU M button to select and save the desired option exit the menu screen and return to your previous mode 5 An icon reflecting your selection will display on the LCD screen...

Page 22: ...your previous mode 5 An icon reflecting your selection will display on the LCD screen 6 Remember that this setting will be saved by your camera until you manually change the setting or restore the ca...

Page 23: ...hotographing must be facing the camera and must hold the pose for at least 4 to 5 seconds until the green square s appears around the subject s face Face Detect will not work with a side shot of the s...

Page 24: ...e option is On by default when you start using your camera and assists you in properly focusing the image Distance from the camera The subject s face must cover a majority of the picture previewed on...

Page 25: ...rying to capture a particular moment in a sporting event or other scenes with quick movements The Continue Shot options include On Off 1 Press the MENU M button to open the menus for the current mode...

Page 26: ...r options include Off 2 seconds 5 seconds 10 seconds 1 Press the MENU M button to open the menus for the current mode 2 Press the LEFT or RIGHT direction control buttons to scroll and select the Self...

Page 27: ...ive count to reduce the amount of light allowed into the lens by your camera If the environment has less light darker than is needed increase the exposure setting by using the positive count to increa...

Page 28: ...The higher sensitivity to light however may reduce the quality of the images that are taken When the ISO is reduced the image sensor in your camera will be less sensitive to light and will optimize t...

Page 29: ...mera The White Balance options include Auto Daylight Cloudy Incandescent Fluorescent 1 Press the MENU M button to open the menus for the current mode 2 Press the LEFT or RIGHT direction control button...

Page 30: ...button to select the Sharpness submenu and open the submenu options 5 Press the UP or DOWN direction control buttons to scroll through the submenu options 6 Press the MENU M button to select and save...

Page 31: ...urn to your previous mode 7 An icon reflecting your selection will display on the LCD screen 8 Remember that this setting will be saved by your camera until you manually change the setting or restore...

Page 32: ...era until you manually change the setting or restore the camera s default factory settings To Set the Date and Time 1 Press the MENU M button to open the menus for the current mode 2 Press the LEFT or...

Page 33: ...with the power button before the next use The Auto Power Off options include 60 seconds 120 seconds 180 seconds None 1 Press the MENU M button to open the menus for the current mode 2 Press the LEFT...

Page 34: ...tions 5 Press the UP or DOWN direction control buttons to scroll through the submenu options 6 Press the MENU M button to select and save the desired option exit the menu screen and return to your pre...

Page 35: ...ber that this setting will be saved by your camera until you manually change the setting or restore the camera s default factory settings Format Menu Format Memory Card You can use the Format Memory C...

Page 36: ...sired option b Select Cancel and then press the MENU M button to exit the format and return to the previous mode Default Setting Menu Factory Default Settings Use this menu to reset your camera settin...

Page 37: ...Press the LEFT or RIGHT direction control buttons to select Yes to begin the reset to the default settings No to exit and return to the previous mode Press the MENU M button to confirm the desired op...

Page 38: ...Once in Playback mode press LEFT or RIGHT direction buttons to scroll through the images on your digital camera s memory card until you find the image you would like to view Each captured image video...

Page 39: ...ess the MENU M button to enlarge the selected image full size Photo Playback Mode Quick Function Buttons Your digital camera has a four directional pad that functions as Quick Function buttons Quick F...

Page 40: ...irection control buttons to scroll through the menu options 4 Press the MENU M button to select and save the desired option exit the menu screen and return to your previous mode 5 The selected picture...

Page 41: ...ss the MENU M button to open the menus for the current mode 3 Press the LEFT or RIGHT direction control buttons to scroll and select the Delete menu 4 Press the UP or DOWN direction control buttons to...

Page 42: ...ENU M button All images will remain on your SD card and you will exit the menu and return to the Playback mode 7 To exit without deleting select Cancel and press the MENU M button to return to the Pla...

Page 43: ...ictbridge Cancel 1 Scroll through your pictures and find the one you would like to print 2 Press the MENU M button to open the menus for the current mode 3 Press the LEFT or RIGHT direction control bu...

Page 44: ...era to START the video capture 4 You will see a red icon at the top of the LCD indicating that the record is in progress 5 To STOP the video record press the Shutter button again 6 The video will auto...

Page 45: ...s in the images that are taken with your camera The White Balance options include Auto Daylight Cloudy Incandescent Fluorescent 1 Press the MENU M button to open the menus for the current mode 2 Press...

Page 46: ...the current mode 2 Press the LEFT or RIGHT direction control buttons to scroll and select the Size menu 3 Press the UP or DOWN direction control buttons to scroll through the menu options 4 Press the...

Page 47: ...appears on the top left of the LCD screen Playing Videos on Your Camera 1 Select your Video Once in Playback Mode press LEFT or RIGHT direction buttons to scroll through the images on your digital ca...

Page 48: ...arge the image full size 4 Once the selected video is full size you can play the video Video Playback Mode Quick Function Buttons Your digital camera has a four directional pad that functions as Quick...

Page 49: ...or the current mode 2 Press the LEFT or RIGHT direction control buttons to scroll and select the Protect menu 3 Press the UP or DOWN direction control buttons to scroll through the menu options 4 Pres...

Page 50: ...deo If you would like to proceed with deleting the current video select Yes and press the MENU M button to confirm The video will be deleted and you will exit the menu and return to the Playback mode...

Page 51: ...ou do not want to delete all of your videos and photos select No and press the MENU M button All images will remain on your SD card and you will exit the menu and return to the Playback mode 7 To exit...

Page 52: ...If the window does not appear open the application s CD DVD drive and click on Setup exe to launch the installer On Macintosh The Vivitar Experience Image Manager Installer window appears If the windo...

Page 53: ...terms On PC and Macintosh Click the I accept the terms of this License Agreement and then click Next to continue 9 On PC only Let the Vivitar Experience Image Manager installer create the folder to w...

Page 54: ...e computer you will have to wait a few seconds until the computer recognizes the device Getting Photos and Videos from your Camera to your Computer Note An SD card needs to be inserted Do not disconne...

Page 55: ...r computer A message appears when the download is complete 10 The photo and video files that you selected are now downloaded to your computer to the selected folder and albums ready for your use Getti...

Page 56: ...to the Videos My Videos folder 7 Do not disconnect the cable during transfer Doing so will cancel the transfer of any files on their way to your computer MACINTOSH 1 Use the USB cable that came with y...

Page 57: ...will be repaired at no charge for parts or labor for a period of one year from the time of purchase What Is Not Covered By Warranty Damages or malfunctions not resulting from defects in material or wo...

Page 58: ...or phone support in the US please call 1 800 592 9541 in the UK call 0800 917 4831 in Australia call 1800 006 614 If you would like to call from anywhere else please visit www vivitar com for your loc...

Page 59: ...the photos are saved to the SD memory card then all the photos should appear Q How do I make sure I don t lose important pictures This camera requires an SD card for normal use If the camera powers o...

Reviews: