background image

.1 

jivi ER OF RECORDABLE 

IMAGES 

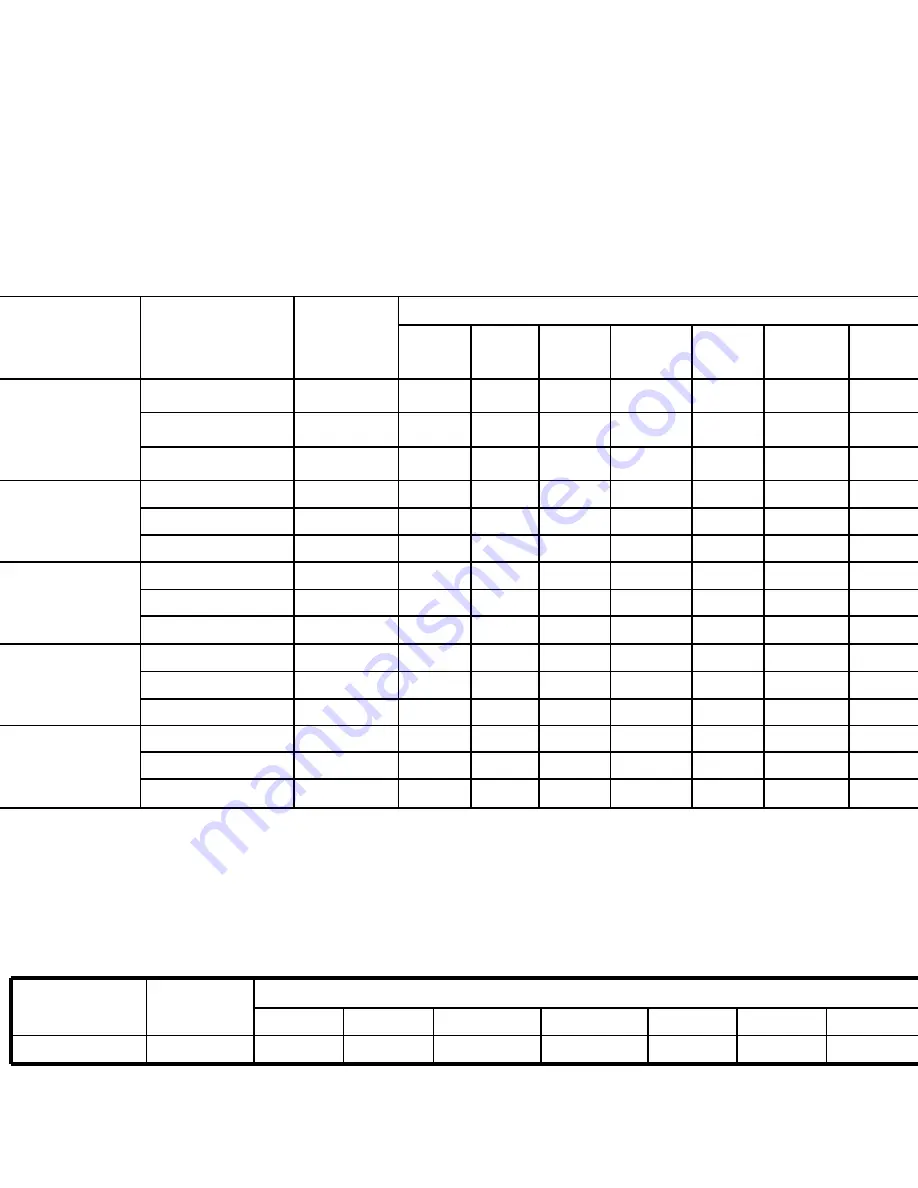
The frame counter indicates the approximate number of images that can be stored on 

the internal memory and the SD memory card. The number of recordable images may 

vary depending on the recorded subject, the capacity of the memory card, if there are 

files other than images or when the recording is made while switching the picture 

quality or resolution. 

Resolution 

Quality 

Internal 

Me

mory 

SD Memory Card 

MB 

MB 

128 

256 


512 

MB 

1GB 


2GB 

3072 x 2304 

*** Fine 

16 

33 

68 

137 

276 

553 

** Normal 

12 

15 

32 

65 

132 

266 

533 

1068 

* Economy 

18 

24 

49 

100 

202 

406 

815 

1631 

2592 x 1944 

® 

*** Fine 

12 

26 

52 

106 

214 

429 

860 

** 

Normal 

16 

21 

43 

88 

178 

357 

716 

1433 

* Economy 

25 

33 

68 

138 

278 

559 

1121 

2244 

2048 x1536 

® 

*

*,

Fine 

18 

23 

48 

98 

197 

396 

794 

1589 

** Normal 

26 

34 

70 

141 

285 

572 

1147 

2296 

Economy 

40 

52 

107 

182 

367 

736 

1475 

2953 

1280 x 960 

® 

,, * Fine 

56 

72 

148 

301 

605 

1214 

2431 

4866 

** Normal 

65 

84 

172 

349 

701 

1408 

2820 

5644 

* Economy 

104 

135 

276 

557 

1120 

2247 

4500 

9007 

640 x 480 

*** Fine 

194 

251 

514 

1038  2085  4184 

8377 

9999 

** Normal 

241 

312 

637 

1248 

2507 

5031 

9999 

9999 

il * Economy 

286 

371 

758 

1565 

3144 

6307 

9999 

9999 

• 

The above data shows the standard testing results. The actual capacity varies 

according to the shooting conditions and settings. 

•  Approximate Duration of Recording Time 

The table below indicates the approximate duration of recording time depending on 

the capacity of the internal memory and the SD memory card. 

Image size 

Internal 

Memory 

SD Memory Card 

32MB 

64MB 

128MB 

256MB 

512MB 

1GB 

2GB 

320 x 240 

00:43 

00:55 

01:54 

03:51 

07:46 

15:35 

31:14  1:02:32 

• 

The values for the recording time may vary depending on the shooting conditions 

and settings. 

• 

The frame rate is 30 fps (frames per second). 

Summary of Contents for ViviCam 7330

Page 1: ...User s Manual Vivitar ViviCam 7330...

Page 2: ...e and discharge cycle This will allow the full capacity to be used The batteries may feel warm after a long period of continuous use of ViviCam 7330 or the flash This is normal and not a malfunction T...

Page 3: ...Viewing Images 25 Magnifying Images 26 Thumbnail Display 26 Slideshow Display 27 Resizing an Image 27 MOVIE MODE 28 Recording Movie Clips 28 Playing Back Movie Clips 28 PLAYBACK MODE ADVANCED FEATURES...

Page 4: ...our kit box and ensure that you have the following items In the event that any item is missing or if you find any mismatch or damage promptly contact your dealer Common Product Components ViviCam 7330...

Page 5: ...GETTING TO KNOW YOUR VMCAM 7330 Front View 1 Shutter release button 2 Flash 3 PC AV terminal 4 DC input terminal 5 Lens 6 Self timer LED 7 Power switch 8 Mode dial 9 Microphone...

Page 6: ...wide angle IOI button button 10 Arrow button Left 3 MENU button Flash button 11 Delete button 12 Battery card cover 13 LCD monitor 14 Tripod socket 14 Q Playback button 15 A Arrow button Up v Self ti...

Page 7: ...de to take photographs of people against a dusk or night time background 6 s Setup Select this mode to adjust the camera settings 7 a Video Select this mode to record video clips 8 Auto Select this mo...

Page 8: ...1 Mode indication P Program Mode Portrait Mode A Landscape Mode Sport Mode Night Mode Movie Mode A Auto Mode 2 Flash mode Auto Red eye Flash on Flash off 3 Capture mode Single Burst AEB 2 sec Self tim...

Page 9: ...of image 3 Memory status 4 Battery power and AC adapter indicator 5 Index number of total number 6 Protect indicator 7 Date 8 Time 9 EV compensation 10 ISO sensitivity 11 White balance 12 Image quali...

Page 10: ...ory card cover and make sure it is locked securely Be careful not to drop the batteries when opening or closing the battery cover Due to the characteristics of alkaline batteries camera performance ma...

Page 11: ...intend to use the LCD monitor for a long time or connect ViviCam 7330 to a PC 1 Make sure your camera is off 2 Connect one end of the AC adapter to the camera DC input terminal labeled 3 3V 3 Connect...

Page 12: ...ess the power switch again Choosing the Screen language Follow the steps below to choose the desired language 1 Rotate the mode dial to 6 S and turn ViviCam 7330 on by pressing the power switch 2 Set...

Page 13: ...y differ from the actual setting of your camera Formatting an SD Memory Card or Internal Memory The term Formatting means preparing an SD memory card to record images this process is also called initi...

Page 14: ...feature automatically focuses the image The focus frame turns green if the subject is in focus Proper exposure is determined and locked at the same time 4 Press the shutter release button the rest of...

Page 15: ...nd turn ViviCam 7330 on by pressing the power switch 2 Press the MENU button Model is displayed In the A mode Auto is displayed 3 Use the four way controller V to select Image Size then press the OK b...

Page 16: ...your camera reaches its maximum optical zoom factor 3x and the zoom bar is within the digital zoom area You Optical zoom Digital zoom range can enlarge the subject to a maximum magnification equivale...

Page 17: ...l help you to choose the appropriate flash mode iA Auto The flash fires automatically according to the photographic conditions aim Red eye Use this mode to reduce the red eye effect when you want to t...

Page 18: ...s Standard Macro and Infinity The table below will help you choose the appropriate focus mode Focus mode Description duro Standard Select Standard focus setting for most occasions when you want the ca...

Page 19: ...r release button to capture a sequence of images In Burst mode the flash mode will be set to Flash Off automatically Auto Bracket In this mode ViviCam 7330 automatically changes the exposure within a...

Page 20: ...r the preset time To cancel the self timer at any time press the four way controller A or press the shutter release button halfway The table below will help you choose the appropriate self timer mode...

Page 21: ...ifference between bright and dark areas between the subject and the background is extremely high The EV compensation value can be set in the range from 2 0EV to 2 0EV 1 Rotate the mode dial to P L A o...

Page 22: ...n display press the OK button 3 Use the four way controller 1 to select the desired images To view the previous image press the four way controller 4 To view the next image press the four way controil...

Page 23: ...o view different portions of the images press the four way controller A V A to adjust the display area The magnification range from 1 5X to 4X within 6 stages 1 5X 2 0X 2 5X 3 0X 3 5X and 4 0X Thumbna...

Page 24: ...the OK button You can adjust the slideshow display interval within the range of 3 sec 5 sec and 10 sec Resizing an Image You can change the image size of a captured image to one of the following sizes...

Page 25: ...play back the recorded movie clips on the LCD monitor screen However the sound recorded with movie clips can only be played back on a TV or on a computer 1 Press the Q button 2 Use the four way contr...

Page 26: ...ll devices to be connected 1 Connect one end of the AV cable to the AV terminal of the digital camera 2 Connect the other end to the AV input socket of the TV set 3 Turn the TV and digital camera on 4...

Page 27: ...ss the 0button The last recorded image movie clip appears on the LCD monitor screen 3 Use the four way controller 11 to select the image movie clip you want to delete 4 Press the button to delete 5 Us...

Page 28: ...1 To view the next image press the four way controller 3 Press the MENU button then use the four way controller Y to select Protect and press the OK button 4 Use the four way controller AV to choose t...

Page 29: ...ect PC then press the OK button 5 Turn off your camera 6 Connect your camera and the computer via the supplied USB cable 7 Turn your camera on by pressing the power switch 8 From the Windows desktop d...

Page 30: ...create fun photo projects Edit and enhance images browse your photo collection and express your creativity with stunning special effects and creative photo projects To install software 1 Insert the CD...

Page 31: ...lete the installation USER MANUAL A copy of the user manual is provided on the CD ROM in PDF format It is a backup copy of the printed manual lf you misplace the printed guide you may print another co...

Page 32: ...ternet connection Video conferencing or video editing software is not included with the digital camera This mode is not supported for Mac Step I Install the PC camera driver The PC camera driver inclu...

Page 33: ...er monitor or use a tripod Step 3 Run your application software i e Yahoo Messenger Yahoo Messenger is a free application available at www yahoo com After installing the TWAIN driver in your Windows o...

Page 34: ...ress the MENU button to access the Auto menu directly 3 Use the four way controller AV to select the option item then press the OK button 4 Press the four way controller to select the desired setting...

Page 35: ...taking pictures When the sensitivity is raised and the ISO figure is increased photography will become possible even in dark locations but the more pixelated grainier the image will appear 64 100 200...

Page 36: ...ou three different degrees of color Your images will demonstrate different impression by selecting different degrees of color This is called Saturation In High I D Medium It i Low Date Imprint The dat...

Page 37: ...er to select the option item Then press the OK button 4 Press the four way controller AV to select the desired setting then press the OK button 5 To exit the movie menu press the MENU button Item Func...

Page 38: ...OK button 4 Press the four way controller AV to select the desired setting then press the OK button 5 To exit the playback menu press the MENU button Playbackl Ikon AmptiortalDescription Slide Show Y...

Page 39: ...048 x 1536 IN 1280 x 960 ri 640 x 480 Quality Change Changes the quality compression of a recorded image Compresses images and overwrites an old size image with a newly compressed image Only quality c...

Page 40: ...ion Format i 5 I Erases all images and reformats the SD memory card loaded in your camera Protected images are also deleted SD memory card cannot be formatted if it is write protected Refer to the sec...

Page 41: ...no operation is performed for a specific period of time the power to the camera is automatically turned off This feature is useful to reduce battery wear 2Min 3Min 5Min Off Set up3 settings Item Funct...

Page 42: ...effective Wide Approx 0 5 m Approx 2 3 m range Tele Approx 0 5 m Approx 1 7 m LCD monitor 3 0 color LTPS LCD Approx 230K pixels display Self timer 10 sec self timer 2 sec self timer 10 2 sec self time...

Page 43: ...ssed The camera is in the O or S mode Memory is full Rotate the mode dial to A P a A A or i Transfer the desired files to your computer and then delete unnecessary files or use a different memory card...

Page 44: ...589 Normal 26 34 70 141 285 572 1147 2296 Economy 40 52 107 182 367 736 1475 2953 1280 x 960 Fine 56 72 148 301 605 1214 2431 4866 Normal 65 84 172 349 701 1408 2820 5644 Economy 104 135 276 557 1120...

Page 45: ...mpatible printer the Printing Mode Select screen is displayed on the LCD monitor screen Use the four way controller to select the print mode In Print Mode Lets you print the specified image with PictB...

Page 46: ...the message Transferring on the LCD monitor screen The message will disappear after the printing is finished Then the screen returns to Printing Mode Select To cancel printing Pressing the OK button d...

Page 47: ...estment Building 13 Hok Yuen Street Hunghom Kowloon Hong Kong Ph 852 2363 6313 Fax 852 2774 5174 Vivitar France Paris Nord 2 64 Rue Des Vanesses BP 56296 Villepinte 95958 Roissy Cdg Cedex Ph 01 48 63...

Reviews: