background image

16

Note: You need not activate the LCD to take
          pictures - however, using it while capturing


will shorten the lifespan of your batteries.

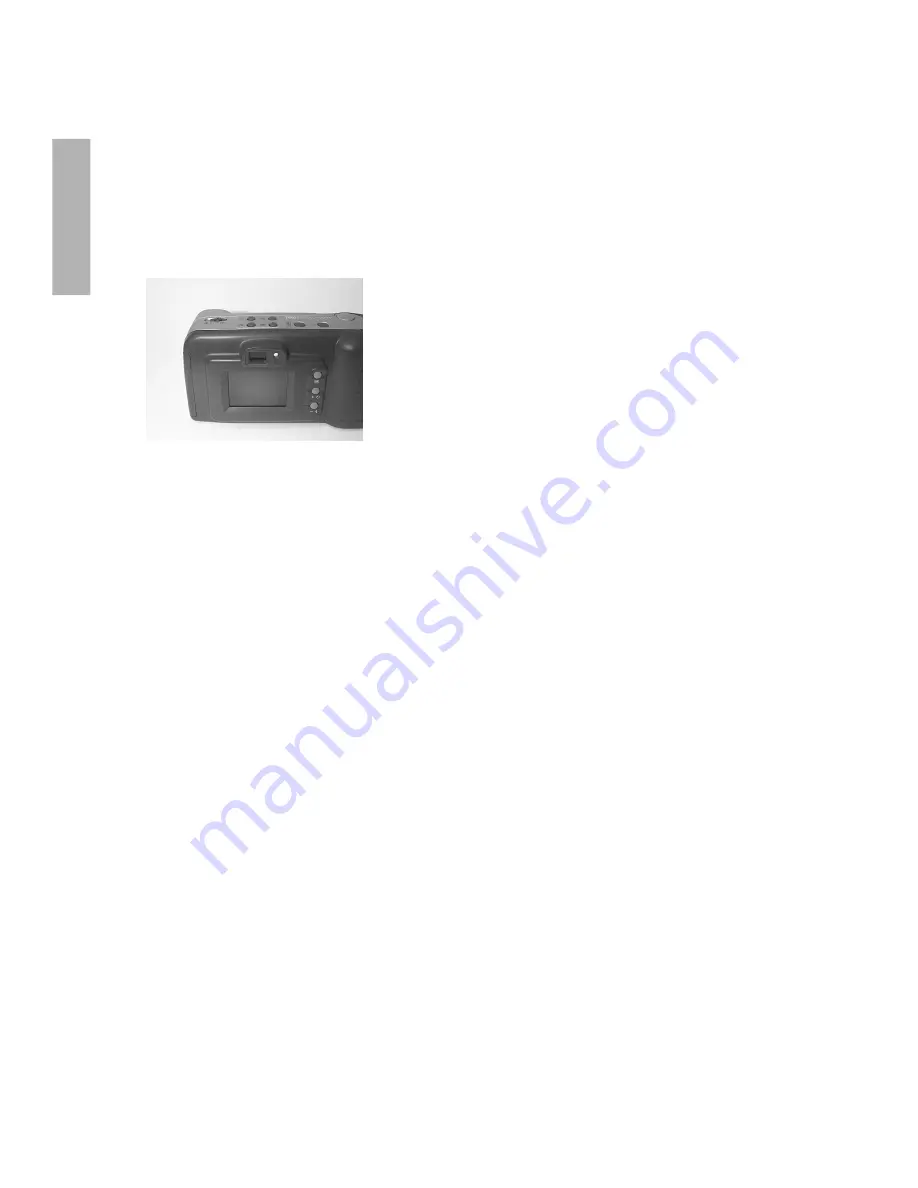
Using the LCD Display

Using the built-in Liquid Crystal Display (LCD), you can view pictures in a few seconds
after capturing them. The following section describes how to use the LCD and its
various functions.

Note: To remove all icons from the LCD display, press the Information button
          on top of the camera. Pressing it a second time returns all icons to the
          screen.

Adjusting LCD Brightness

The LCD display comes with the a brightness feature that allows you to change how
images are displayed on the LCD screen. To turn the brightness of the LCD either
up or down, turn the camera over so that the bottom side is facing up. In the center
of the camera’s bottom side is a radial dial. Turning the dial with your fingernail or a
small coin adjusts the brightness up and down.

Viewing Pictures on the LCD

The Display button turns the LCD display on, allowing you to see each picture as it
is taken.
1    After turning on the Power, press the Record/ Play button to
     switch to the Play mode. The LCD display warms up and then displays
      the  last picture taken. If there are no pictures in the camera, then a message
     displays informing you of this.
2   Press the Forward or Backward buttons to scroll through the  pictures
     stored in memory.

Downloaded from 

www.Manualslib.com


manuals search engine


Summary of Contents for Vivicam 2755

Page 1: ...Vivicam 2755 User Manual English 021011...

Page 2: ...tosh 10 Getting to know the camera 1 1 Using the camera 12 Power Supply 12 Inserting Batteries 12 Battery Life Indicator 13 Flash Memory 13 Extended Flash Memory 13 Using AC Power 14 Auto Power Off 14...

Page 3: ...22 Introducing MGI PhotoSuite SE 23 Launching MGI PhotoSuite SE 23 The MGI Activity Guide 23 Downloading Pictures from the Camera 24 Connecting to your Computer 24 For RS232 interface Optional for Mac...

Page 4: ...res and an auto flash sensor which automatically detects whether the flash should be engaged or not while taking a photo Once you have finished taking your pictures and have uploaded them to a compute...

Page 5: ...ws Personal computer with minimum 486 33MHz processor Microsoft Windows operating system Windows95 98 ready 8MB or more of RAM 30MB of hard diskspace Available serial or USB port and CD ROM drive Colo...

Page 6: ...nowthecamera 5 Erase 6 Display 7 Record Play 8 Power 9 Viewfinder 10 Menu 11 Forward Self Timer 12 Backward Flash 13 LCD Display 1 Macro Normal Mode switch 2 Information Button 3 Multiple Display 4 Sh...

Page 7: ...indicated on the inner side of the battery door Botton view of the camera Notes If you are not going to be using the camera for an extended length of time then you should remove the batteries to preve...

Page 8: ...ill not turn on Flash Memory Extended Flash Memory You can extend the capabilities of your camera by adding the Compact Flash memory card accessory to it This card is a removable ATA compatible memory...

Page 9: ...ranty Grasp the adaptor not the cord when unplugging the adapter from a wall socket Ifthepowercordbecomesdamaged exposedwires disconnection etc pleasepurchaseanewACadaptor Useofadamagedcordmaycausefir...

Page 10: ...he Power button When the camera is activated you will see a small LED light on beside the Viewfinder If you would lik e to use the LCD display you can turn it on by pressing the Display button 2 Set t...

Page 11: ...rethatallowsyoutochangehow images are displayed on the LCD screen T o turn the brightness of the LCD either upordown turnthecameraoversothatthebottomsideisfacingup Inthecenter of the camera s bottom s...

Page 12: ...e sure that you are in Play mode 2 Next press the Multiple Display button to enter the Thumbnail mode if there are more pictures than thumbnails use the Self or Flash to scroll to the next or previous...

Page 13: ...and then hit the Self button to set the value Note The camera resets to Auto White Balance if the power is switched off Auto Play defines the interval between images when viewing them on the LCD scree...

Page 14: ...memory also The camera will prompt you to confirm this operation before formatting the card Notes 1 If an unformatted or incorrectly formatted Compact Flash memory card is installed the camera will au...

Page 15: ...on again DefiningPictureQuality Y ourdigitalcameracantak epicturesattwodifferentmodes Normal compressed andFine lesscompressed Bothmodestak epicturesat640x480monitorresolution Note however that your c...

Page 16: ...roundings is UsingtheSelf Timer TheSelf Timerishandyforcreatingadelaybetweenthetimeyoupresstheshutter and the time the picture is taken Y ou can activate the self timer by pressing the Self buttonatan...

Page 17: ...ltheTWAINdriverintoyoursystem PleaseinsertCameraDriverDiskintoyourfloppydiskthenrun Setup exe Follow instructionstocompletetheinstallation Y oumaynoweitherrestartWindowsorgo toinstallPhotoSuiteSEdirec...

Page 18: ...youhavetak enwithyourcamera Y oucanenjoyviewingthepicturesonyourmonitor screen print them or edit the pictures Y ou can even mak e fun projects lik e digital photoalbums greetingcards calendars poster...

Page 19: ...acomputer Herearewaysofconnectingthecameratoyourcomputer ForRS232interface OptionalforMacintosh 1 Plug one end of the serial cable into the COM port on a PC or modem port on a Macintosh located at the...

Page 20: ...theMGIActivityGuidescreen 3 ClickFilefromthemenubar 4 ClickGet Photosfromthe Filemenu 5 ClickSelect Source 6 ChooseDigitalCamera640x480driver 7 ClickFilefrom the menu bar 8 ClickGet Photosfromthe File...

Page 21: ...f Current date Appendix 1 LCD Icons Here s a summary of all the icons found in the LCD screen of the digital camera and what they mean Fill Flash Fine Quality mode No Flash Normal Quality mode Auto Fl...

Page 22: ...er of stored images may be varied with the free space of the card the mixture of the image quality mode and also the complexity of the subject Lens Normal 0 5 m infinity Macro 28 cm 20 40cm Built in F...

Reviews: