background image


48 

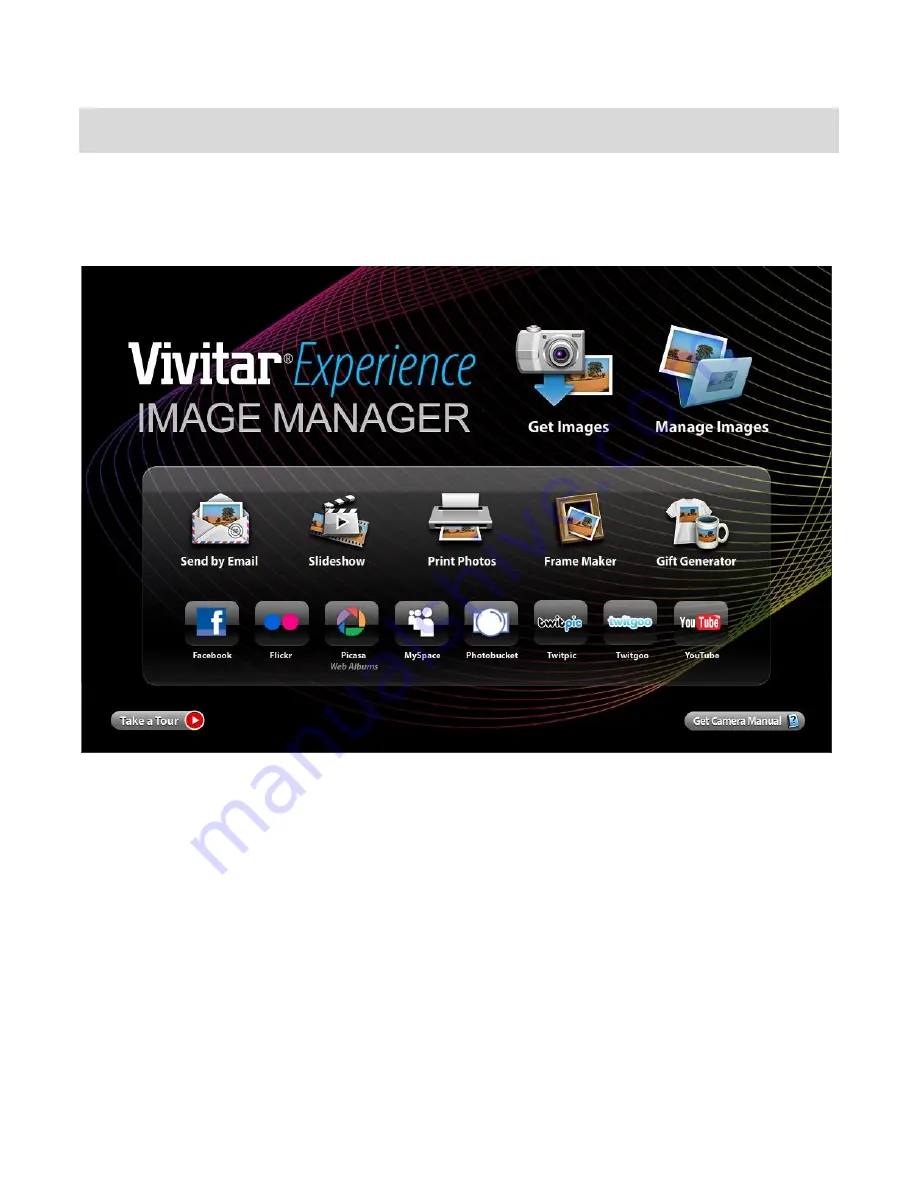
Getting Photos and Videos from your Camera to Your Computer 

Note: 

An SD card needs to be inserted. Do not disconnect the cable during transfer. Doing so 

will cancel the transfer of any files on their way to your computer. 

1) 

Select 

the “Get Images” button from the Main menu. 


2) 

The “Get Images from device” window opens. 

3) 

You can select to download photos, videos or both. 

4) 

Select your camera (removable disk) from the device window. If your camera is the only 

USB device connected then it will be selected automatically. 

5) 

Select a location on the computer where to place the new photo and video files. 

6) 

Add the new photo and video files to albums if desired. 

7) 

Select to remove the media files from the selected device (removable disk) after the 

import. 

8) 

Click the “Get Media” button to transfer the photos and videos from your camera to your 

Summary of Contents for DVR 920HDV2

Page 1: ...der with Night Vision User Manual 2011 Sakar International Inc All rights reserved Windows and the Windows logo are registered trademarks of Microsoft Corporation All other trademarks are the property...

Page 2: ...13 Video Playback Mode 21 Photo Capture Mode 25 Photo Playback Mode 36 Setup Mode 41 Connecting the Digital Video Recorder to a TV 45 Installing the Software 46 Connecting the Digital Video Recorder...

Page 3: ...a Note Your digital video recorder supports an SD Memory Card up to 32GB In order to use your digital video recorder normally it is strongly recommended to insert an SDHC Class 4 or above SD Memory ca...

Page 4: ...5 Video Shutter Record Button 6 MODE Dial 7 Macro Switch 8 DISP Button 9 MENU Button 10 Control Joystick LED Light Up Down OK Button 11 USB AV Slot 12 Digital Lens 13 LCD Screen 14 Microphone 15 Memor...

Page 5: ...4 Initial Camera Setup Installing the Batteries Installing the Memory Card Turning On the Camera Using the Camera...

Page 6: ...era features Flash will not work if the battery power level is low When the battery power is low the battery icon turns red and the camera will automatically turn off a few seconds later The energy st...

Page 7: ...n the SD card and not in the limited internal memory If you do not see the SD icon on the display please check if the card was inserted properly Make sure the SD card is not locked check the lock swit...

Page 8: ...r the Video Capture mode press the MENU button while in the Video Capture mode Photo Capture Mode Use this mode to capture pictures with your camera Turn the MODE Dial to the icon to open the Photo Ca...

Page 9: ...7mm F3 0 Zoom 4X Digital Zoom Exposure EV 2 0 EV 2 0 White Balance Auto Daylight Cloudy Fluorescent Tungsten ISO ISO100 200 400 800 Scene Auto Landscape Portrait NightPortrait Beach Sport Dinner High...

Page 10: ...1024 X 768 recommended screen resolution CD ROM Drive QuickTime 6 or higher Microsoft Internet Explorer 7 or higher Windows Media Player 10 or higher DirectX 9 or higher Internet connection required C...

Page 11: ...he LCD monitor will light up indicating that your DVR is ready for use Powering the Camera OFF While the camera is on you can press the Power button again at any point to turn your camera OFF You will...

Page 12: ...e already taken with your camera To select Playback Mode press the Playback button above the Mode Dial 4 Setup Mode Use this mode to change your general camera settings To select Setup Mode turn the M...

Page 13: ...using the Macro mode you can capture images at close range 30 45 cm To turn the Macro mode ON slide the Macro Switch DOWN on the side of your camera to the flower icon When enabled the Macro mode will...

Page 14: ...at the top of the LCD indicating that the record is in progress 5 To stop the video record press the Video Record Shutter button again 6 The video will automatically be saved to the internal camera me...

Page 15: ...To navigate through the menus use the UP DOWN buttons on the control joystick W Zooms Out T Zooms In MODE Dial Switches between Video Capture Mode Photo Capture Mode Camera Settings Mode Playback Ope...

Page 16: ...D off IR Light and IR Bracket IR Holder 1 Install the IR Light batteries Twist the cover to open and insert the batteries as shown above Twist the cover in the opposite direction to close the cover 2...

Page 17: ...ion HD 1280x720 pixels VGA 640x480 pixels QVGA 320x240 pixels 1 Press the MENU button to enter the Video Capture Menus 2 Press the Up or Down on the control joystick to highlight the Resolution Menu 3...

Page 18: ...option 5 Press the OK LED button to confirm save your choice and exit back to the Video Menu Alternatively select Exit or press the MENU button to exit the Frame Rate Menu and return to the Video Men...

Page 19: ...in the images that are taken with your camera You can select from the following White Balance options Auto Daylight Cloudy Fluorescent Tungsten 1 Press the MENU button to enter the Video Capture Menu...

Page 20: ...control joystick to select your desired option 5 Press the OK LED button to confirm save your choice and exit back to the Video Menu Alternatively select Exit or press the MENU button to exit the Exp...

Page 21: ...select Exit or press the MENU button to exit the Scene Menu and return to the Video Menu screen 6 Press the MENU button to exit the Video Menu screen and return to the Video Capture mode Note After s...

Page 22: ...mera s internal memory or SD memory card 2 Each image is displayed on the LCD screen 3 When you find a video that you would like to play press the red Video Record Shutter button at the center of the...

Page 23: ...own on the control joystick Selects the NEXT image In Thumbnail Display Allows you to scroll through the thumbnail images OK LED on the control joystick Stops playing the selected video Other Video Re...

Page 24: ...ontrol joystick to select your desired option 6 To Delete the current video select One and press the OK LED button You will be asked Delete This File Select Yes or No and push the OK LED button to con...

Page 25: ...ct Menu 4 Press the Up or Down on the control joystick to select your desired option 5 Press the OK LED button to confirm save your choice and exit back to the Video Playback Menu 6 Alternatively sele...

Page 26: ...ra s memory or SD memory card Taking a Self Portrait Picture You can also capture your photos using the rotating flip LCD screen Simply twist the LCD backwards until it turns 180 to include yourself i...

Page 27: ...ttons on the control joystick W Zooms Out T Zooms In MODE Dial Switches between Video Capture Mode Photo Capture Mode Camera Settings Mode Playback Opens and Exits Playback Mode DISP Hides and Shows d...

Page 28: ...D off IR Light and IR Bracket IR Holder 1 Install the IR Light batteries Twist the cover to open and insert the batteries as shown above Twist the cover in the opposite direction to close the cover 2...

Page 29: ...lutions 3264x2448 8M 3648x2048 7M HD 2592x1944 5M 2048x1536 3M 1920x1080 2M HD 640x480 VGA 1 Press the MENU button to enter the Photo Capture Menus 2 Press the Up or Down on the control joystick to hi...

Page 30: ...choice and exit back to the Still Record Menu Alternatively select Exit or press the MENU button to exit the Quality Menu and return to the Still Record menu screen 6 Press the MENU button to exit the...

Page 31: ...ur camera s lens This setting should be adjusted when the environment is lighter or darker than normal When the environment has more light than is needed reduce the exposure setting by using the negat...

Page 32: ...yourself in front of the camera as desired The options for Self Timer include Off 5 seconds 10 seconds 1 Press the MENU button to enter the Photo Capture Menus 2 Press the Up or Down on the control jo...

Page 33: ...and exit back to the Still Record Menu Alternatively select Exit or press the MENU button to exit the Multi Snapshot Menu and return to the Still Record menu screen 6 Press the MENU button to exit th...

Page 34: ...u can also disable the timestamp for future images that will be taken with your camera On The timestamp will appear on photos taken Off The date stamp will not appear on photos taken 1 Press the MENU...

Page 35: ...n 6 Press the MENU button to exit the Still Record Menu screen and return to the Photo Capture mode Note After saving your selection and exiting the Menu screen the corresponding icon will appear on t...

Page 36: ...he sharpness level dictates if the edges of objects in the image are more or less distinct The Sharpness options include Soft Normal and Sharp 1 Press the MENU button to enter the Photo Capture Menus...

Page 37: ...the images both videos and photos on your camera s internal memory or SD memory card 2 Each image is displayed on the LCD screen 3 Photos are displayed with a red JPG icon on the bottom left Thumbnail...

Page 38: ...ew full screen Other MENU Opens Menu Options for the Photo Playback Mode Note To navigate through the menus use the UP DOWN buttons on the control joystick W Opens Thumbnail Display T During Video Pla...

Page 39: ...will be deleted Remember that locked images will not be deleted Also remember that once images are deleted this cannot be reversed After you select All You will be asked Delete All Files Select Yes o...

Page 40: ...ictures that you ve taken with your camera You can rotate your photos 90 180 or 270 degrees 1 Press the MENU button to enter the Photo Playback Menus 2 Press the Up or Down on the control joystick to...

Page 41: ...nu 4 Press the OK LED button to select the PictBridge Menu 5 Press the OK LED button to select the PictBridge option If you are not connected to a printer the following message will appear on the LCD...

Page 42: ...lect your desired option 4 Press the OK LED button to confirm save your choice and exit back to the Setup Menu Alternatively select Exit or press the MENU button to exit the Buzzer Menu and return to...

Page 43: ...ff which will keep the camera on and not turn off automatically 1 Press the Up or Down on the control joystick to highlight the Auto Power Off Menu 2 Press the OK LED button to select the Auto Power O...

Page 44: ...ely select Exit or press the MENU button to exit the Language Menu and return to the Setup menu screen TV Out Menu TV Out menu allows you to select the desired television system according to your regi...

Page 45: ...option Press the OK LED button to confirm save your choice and exit back to the Setup Menu Remember If you select and confirm Yes formatting the memory card will immediately and permanently delete all...

Page 46: ...the camera is now not portable 1 Connect the digital video recorder to a TV via the TV out cable supplied 2 Turn on the TV and the digital video recorder and then set the TV to AV mode 3 You will nee...

Page 47: ...launch the installer On Macintosh The Vivitar Experience Image Manager Installer window appears If the window does not appear click the CD icon that appears on the desktop to install the Vivitar Expe...

Page 48: ...hen click Install 10 Please wait while the application continues the installation process on your computer 11 On PC Click the Close button when the installation is complete Click the Launch Vivitar Ex...

Page 49: ...You can select to download photos videos or both 4 Select your camera removable disk from the device window If your camera is the only USB device connected then it will be selected automatically 5 Se...

Page 50: ...can Upload and manage photos and videos to and from the most popular photo sharing and social networking sites Facebook Flickr Picasa MySpace Photobucket Twitpic Twitgoo and YouTube Seamlessly transf...

Page 51: ...7 Do not disconnect the cable during transfer Doing so will cancel the transfer of any files on their way to your computer Transfer media from my camera to my computer manually Using Macintosh 1 Use t...

Page 52: ...to defects in material or workmanship will be repaired at no charge for parts or labor for a period of one year What Is Not Covered By Warranty Damages or malfunctions not resulting from defects in m...

Page 53: ...hased Technical Support For technical support issues please visit our website at www vivitar com You can find manuals software and FAQ s at the website Can t find what you are looking for E mail us at...

Page 54: ...a powers off If the photos are saved to the SD memory card then all the photos should appear Q How do I make sure I don t lose important pictures This camera requires an SD card for normal use If the...

Reviews: