background image


29 

Operation for still photos 

Select the still photo you want to delete, rotate, protect, crop or print. 


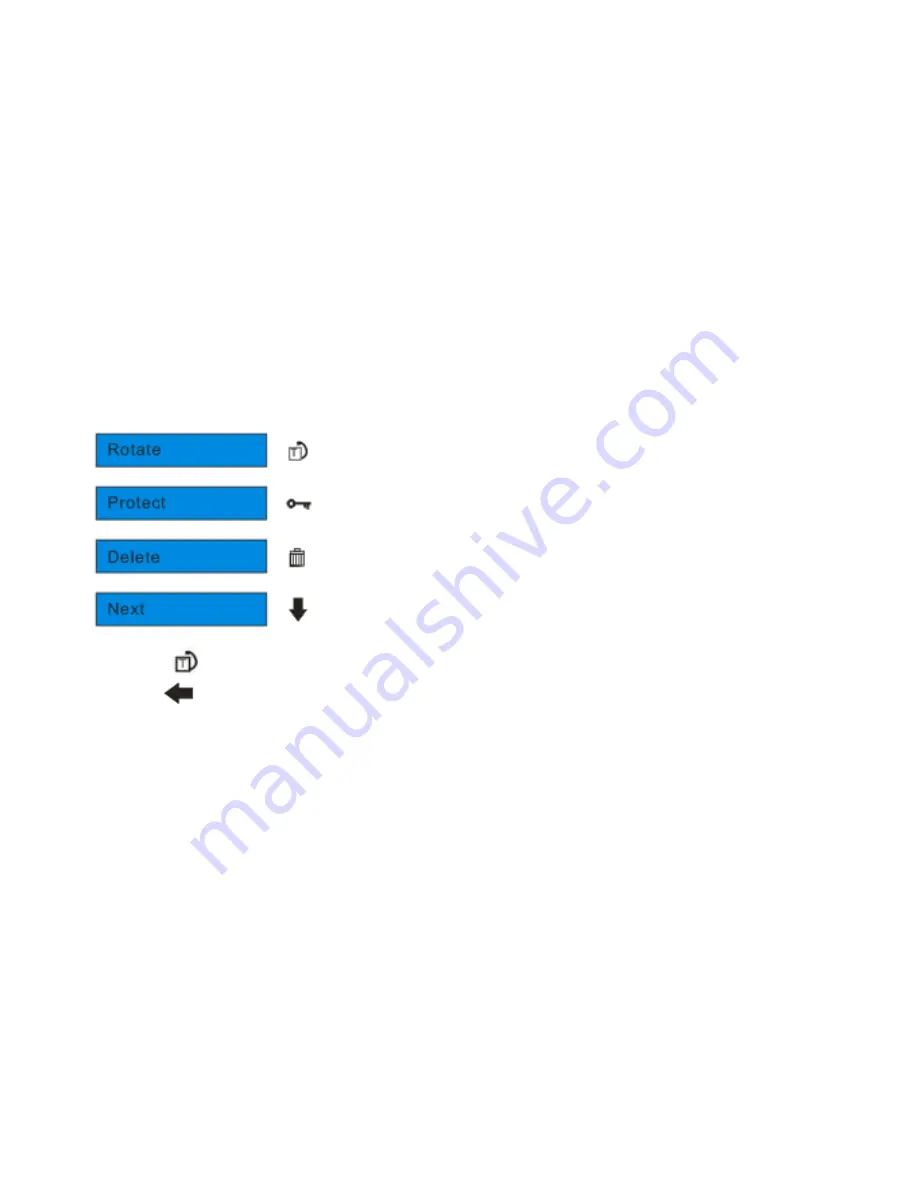
Rotate   

1. 

Press the Menu/OK button. 


2. 

Touch the 

  icon function area to enter the Rotate menu. 

3. 

Touch the

  icon function area to select one of 90/180/270 degrees. 

4. 

Press Menu/OK button to confirm. 

“Rotate & Saving” will appear on the screen. 

5. 

The photo will now be rotated. 

Note:


1. 

You cannot rotate a protected file when 

“This File is Write-Protected” appears on the screen.   

2. 

“No card inserted” will appear on the screen if no SD card is insert. Please insert an SD memory card to 

use this function.   

Summary of Contents for CD500DOGF

Page 1: ...era User s Manual CD500DOGF 2009 Sakar International Inc All rights reserved Windows and the Windows logo are registered trademarks of Microsoft Corporation All other trademarks are the property of th...

Page 2: ...era 7 This is the default mode when you power on your camera 10 Taking Photos 10 Install the Vivitar Experience Image Manager Software 34 Connect your camera to the computer 37 Get photos and videos f...

Page 3: ...camera Key Features Digital Video resolutions 640x480 Pixels VGA 320x240 Pixels QVGA 8 1 mega pixels camera with choice of 6 digital camera resolutions 8M 7M 5M 3M 2M and VGA 2 4 inch TFT LCD Touch S...

Page 4: ...ickTime 6 or higher Microsoft Internet Explorer 7 or higher Windows Media Player 10 or higher Internet connection required Computer System Requirements for Windows Vista To be able to download photos...

Page 5: ...Macintosh Macintosh with Intel processor running Mac OS X v10 4 6 or later 256 MB RAM 100 MB free disk space Display 1024 x 768 or higher resolution monitor QuickTime 6 or higher Internet connection r...

Page 6: ...he battery door 2 Insert the battery correctly with the correct polarity facing up 3 Close the battery door Note 1 A Low battery message will appear on the LCD when the battery power is insufficient S...

Page 7: ...nables you to insert any SD compatible memory card up to 8BG An SD card is required for normal use Adding a memory card will allow you to increase the capacity of your camera before you have to transf...

Page 8: ...y to card message will appear on the LCD with Yes or No options On selecting Yes the photo will now be copied to your card 3 Formatting will delete all data on the SD memory card including protected d...

Page 9: ...this indicates your camera is turned on and ready for use Power off Press the Power button once to turn off your camera When there is insufficient battery power and icon will appear on the LCD screen...

Page 10: ...on The following icons will appear on the LCD touch screen 2 Touch icon the function area to enter Playback mode 3 Touch the icon function area to enter Still Image Camera mode 4 Touch the icon functi...

Page 11: ...memory photo capacity is full the LCD screen will display a message Memory Full Insert a SD memory card to Transfer and Take More Photos Either download the photo to your computer using the Vivitar Ex...

Page 12: ...nction area 1 Touch the icon function area to zoom in on your object 2 The following icon will appear on your LCD screen 3 Touch the icon function area to zoom back out Macro Far shooting The camera h...

Page 13: ...it is best to use the built in flash You can also use the flash to compensate for backlight conditions To set the flash 1 Touch the icon function area until the icon appears on the left side of the LC...

Page 14: ...DIS function area on the screen repeatedly to hide or show the icons of the LCD screen Self Timer You can include yourself in a photo by using this feature to delay the time between you pressing the...

Page 15: ...your selection will now appear on the screen 6 Press the Shutter button to start the self timer Your camera will count down 2 5 or 10 seconds as per your choice and then automatically take the photo...

Page 16: ...Menu OK button to confirm save and exit to the camera standby mode Image Size The image size and quality settings determine the number of photos that can be saved and the amount of memory required for...

Page 17: ...tton to confirm save and exit to the camera standby mode Note 1 The image size icon will appear on the LCD screen 2 Your camera has 7M and 2M high definition image size Anti Shake Your Digital Camera...

Page 18: ...Shake menu 4 Touch the icon function area to select Anti Shake On Off 5 Press the Menu OK button to confirm save and exit to the camera standby mode Note The anti shake icon will appear on the LCD sc...

Page 19: ...tion area to select the Face Detection On Off 5 Press the Menu OK button to confirm and exit to the camera standby mode Note The Face Detection icon will appear on the LCD screen Setup Menu You can se...

Page 20: ...to enter the Setup Menu Exposure This setting allows you to control the brightness of your images 1 Touch the first icon function area to enter the Exposure option 2 Touch the icon function area to se...

Page 21: ...you see the ISO option 2 Touch the icon function area to enter the ISO setting 3 Touch the icon function area to select an ISO value 4 Press the Menu OK button to confirm save and exit to the camera s...

Page 22: ...standby mode Quality The quality of your photos also affects the number of shots you can take A HIGH setting means you can take fewer photos but they will be of better quality The default value is STA...

Page 23: ...function area until you see the Auto Power off option 2 Touch the icon function area to enter the Auto Power off menu 3 Touch the icon function area to select one of 60S 120S 180S None 4 Press the Me...

Page 24: ...button to confirm and save the changes Format This function will format the memory card and will erase all files in memory including files that have been protected Important Please use this function w...

Page 25: ...cted Yes all the images sitting on the card will have been erased Default Setting You can restore your camera to the original factory settings 1 Touch the icon function area repeatedly until you see t...

Page 26: ...on will appear on the LCD screen indicating that you are in Movie Video mode 1 Press the Shutter button to begin shooting videos 2 The elapse time will be shown on the top right of the LCD screen and...

Page 27: ...WB area to enter the White Balance menu 3 Touch the icon function area to select the best white balance for shooting 4 Press the Menu OK button to confirm save and exit to the video standby mode Imag...

Page 28: ...ou can preview the photos and videos you have captured and recorded In Playback mode you can rotate protect delete and crop your photos and you can protect and delete video clips You can also print ph...

Page 29: ...il of a photo or video 4 Press the Menu OK button to display the photo or video in full screen Delete current photo or video In full screen display mode 1 Touch the icon function area to delete the cu...

Page 30: ...Touch the icon function area to select one of 90 180 270 degrees 4 Press Menu OK button to confirm Rotate Saving will appear on the screen 5 The photo will now be rotated Note 1 You cannot rotate a p...

Page 31: ...the Menu OK button to confirm 6 An icon will appear on the screen Note To Unlock the current file follow steps 1 through 4 Select Unlock and press the Menu OK button to unlock the current file Delete...

Page 32: ...firm the deletion Note you cannot delete the file which is locked Crop Image Crop your photos to show and save a specific portion of an image or to highlight certain focal points The Crop feature lets...

Page 33: ...7 Press the Menu OK button 8 Touch the or icon function area to move the rectangle over and select the part of the photo that you would like to crop 9 Press the Shutter button 10 Press the Shutter but...

Page 34: ...Touch the icon function area to enter the menu 5 Touch the icon function area to select Pictbridge 6 From the Print message that appears select Print or Cancel 7 Press the Menu OK button to confirm P...

Page 35: ...he current AVI file 4 Touch the C icon function area to stop playing the AVI Install the Vivitar Experience Image Manager Software Warning Do not plug your camera into the computer until the software...

Page 36: ...install the Vivitar Experience Image Manager 4 If you do not have internet access at the time of inserting the CD ROM connect to the internet and then click the Install Vivitar Experience Image Manag...

Page 37: ...list and click Next to open the next window 7 Click Next to confirm your camera model selection and to install the application 8 Please wait while the application is being installed on your computer 9...

Page 38: ...te On Macintosh Click the Quit button when the installation is complete 13 Click the Launch Vivitar Experience Image Manager to open the application or close the window and run the Vivitar Experience...

Page 39: ...omputer An SD card needs to be inserted Do not disconnect the cable during transfer Doing so will cancel the transfer of any files on their way to your computer 1 Select the Get images button from the...

Page 40: ...ng the number of media files downloading to your computer A message appears when the download is complete 9 The photo and video files that you selected are now downloaded to your computer to the selec...

Page 41: ...hen select a folder and choose Paste from the Edit menu 5 We recommend that you copy the images into the Pictures My Pictures folder and the videos into the Videos My Videos folder 6 Do not disconnect...

Page 42: ...le your camera with care to avoid damaging it Sakar Warranty Card This warranty covers for the original consumer purchaser only and is not transferable Products that fail to function properly UNDER NO...

Page 43: ...e Department 195 Carter Drive Edison NJ 08817 TECHNICAL SUPPORT For technical support issues please visit our website at www vivitar com You can find manuals software and FAQ s at the website Can t fi...

Page 44: ...s f 7 23mm F2 8 Zoom 8X Digital Zoom Exposure 3 0EV 3 0EV White Balance Auto Daylight Cloudy Tungsten Fluorescent ISO Auto 100 200 400 Scene Auto Night Portrait Night Scenery Portrait Scenery Sport Pa...

Page 45: ...e I don t lose important pictures Your camera uses SDRAM memory which requires a constant electric current to store your test photos Should your camera lose power for instance if the battery dies or r...

Reviews: