


13
13. One Key Takeoff & Landing
Once your drone is unlocked, you can press
the One Key Takeoff button and the drone
will automatically hover 1.5 meters above the
ground.
By pressing the One Key Landing button, your
drone will automatically land on the ground.
One Key
Takeoff
One Key
Landing
Headless
Mode
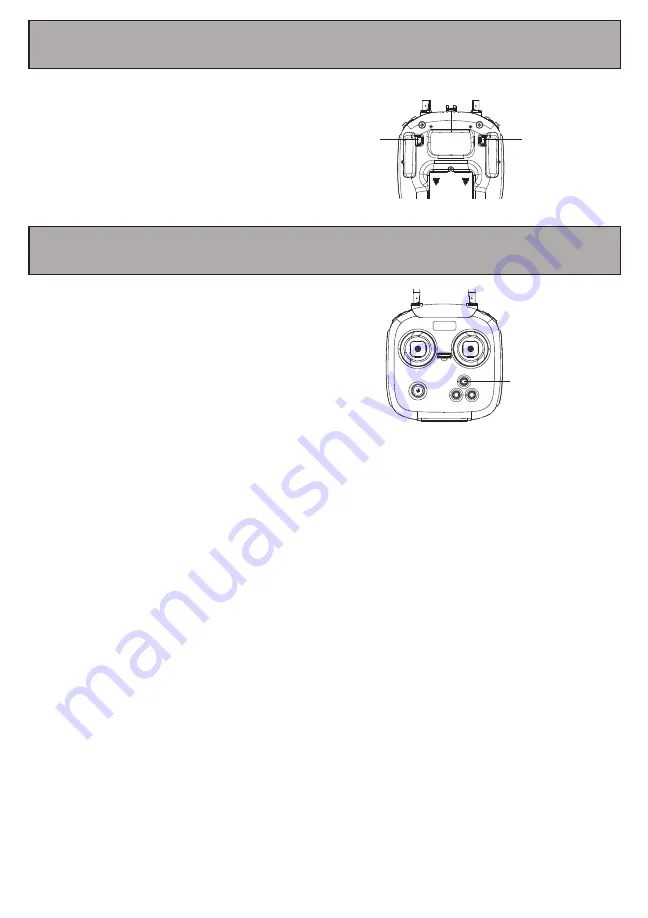
14. Headless Mode
Headless mode allows you to fly your drone without
worrying about the drone’s orientation. Regardless of
which way the drone is facing, this function ensures
that the drone will always follow controls from your
perspective all the time.
To enter Headless mode, before your drone takes off,
stand in front of your drone and press the Headless
mode button on your remote control.
Summary of Contents for AEROVIEW DRC-446
Page 1: ...DRC 446 USER S MANUAL...
Page 24: ......


