Programming
Programming
Set Program Schedule
For Two Time Periods
1.
Select
HEAT
or
COOL
with the
SYSTEM
key.
Note:
You have to program heat and cool each separately.
2.
Press the
MENU
button (If menu does not appear first, press
RUN
).
3.
Press
SCHED
.
Note:
Monday-Friday is displayed and the
OCCUPIED
text is shown. You are now programming the
OCCUPIED
time period for the weekday setting.
4.
Time is flashing. Use the or key to make your time
selection for the weekday
OCCUPIED
time period.
Note:
If you want the fan to run continuously during this time
period, select
ON
with the
FAN
key. If you want to use
IAQ
mode during this time period, select
IAQ
with the fan key.
5.
Press
NEXT.
6.
The setpoint temperature is flashing. Use the or key
to make your setpoint selection for the weekday
OCCUPIED
period.
7.
Press
NEXT.
8.
Repeat steps 4 through 7 for the weekday
UNOCCUPIED
time period.
To customize your 5+1+1 Program schedule, follow these steps:
Weekday:
Repeat steps 4 through 7 for the Saturday
OCCUPIED
time period
and for the Saturday
UNOCCUPIED
time period.
Saturday:
Repeat steps 4 through 7 for the Sunday
OCCUPIED
time period, and
for the Sunday
UNOCCUPIED
time period.
Sunday:
(OCCUPIED, UNOCCUPIED)
A Note About Programmable Fan:
The programmable fan feature will run the fan continuously during any
time period it is programmed to be on. This is the best way to keep the
air circulated and to eliminate hot and cold spots in your building. If
using
IAQ
mode, set fan to IAQ for any time period.
1.
Select
HEAT
or
COOL
with the
SYSTEM
key.
Note:
You have to program heat and cool each seperately.
2.
Press the
MENU
button (If menu does not appear first press
RUN
).
3.
Press
SCHED
.
Note:
Monday is displayed and the
OCCUPIED
text is shown. You are now programming the
OCCUPIED
time period for that day.
4.
Time is flashing. Use the or key to make your time
selection for that day’s
OCCUPIED
time period.
Note:
If you want the fan to run continuously during this time
period, select
ON
with the
FAN
key. If you want to use
IAQ
mode during this time period, select
IAQ
with the fan key.
5.
Press
NEXT.
6.
The setpoint temperature is flashing. Use the or key
to make your setpoint selection for that day’s
OCCUPIED
period.
7.
Press
NEXT.
8.
Repeat steps 4 through 7 for that day’s
UNOCCUPIED
time period.
Monday:
Repeat steps 4 through 8 for the remaining days of the week.
To customize your 7 day program schedule, follow these steps:
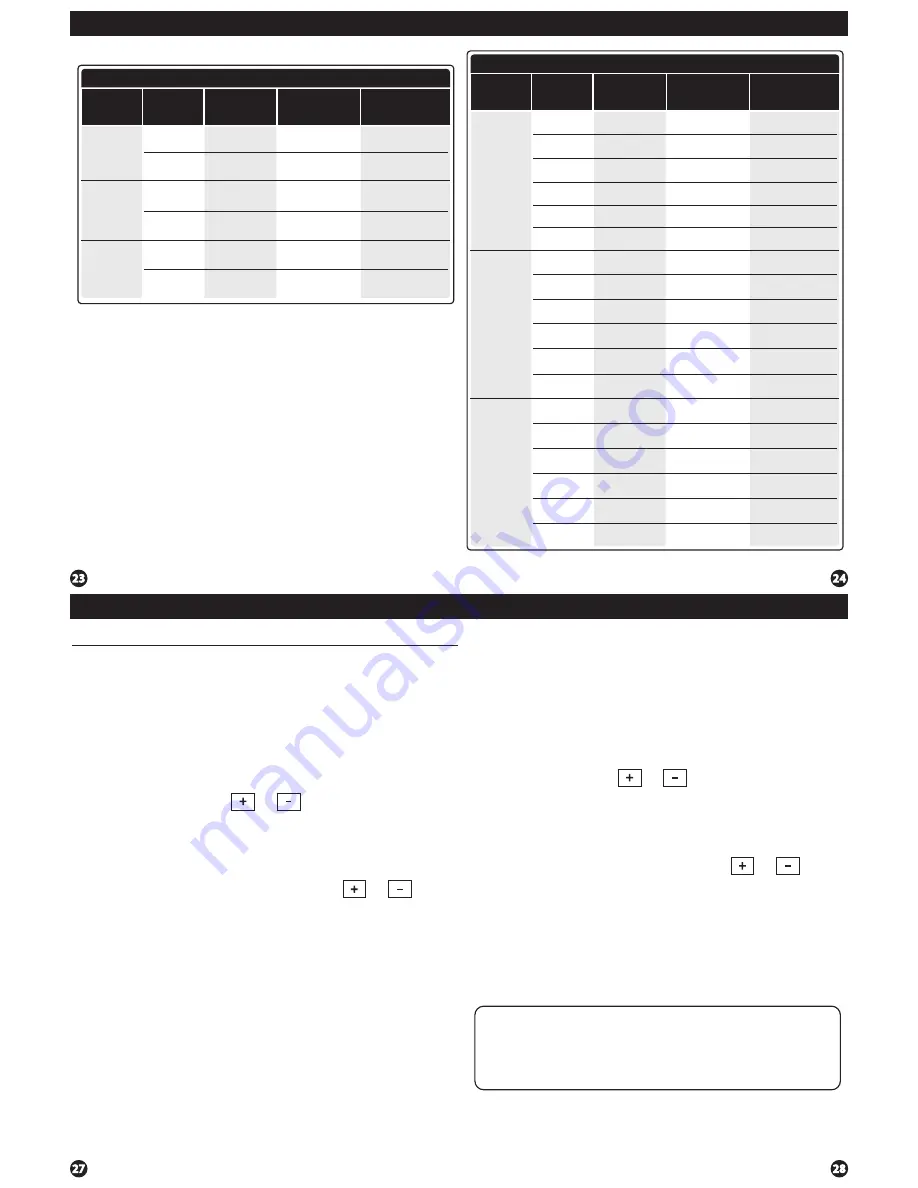
Custom Program
Day of
the Week
Events
Time
Setpoint
Temperature
(HEAT)
Setpoint
Temperature
(COOL)
Weekday
Saturday
Sunday
Wake
Leave
Return
Sleep
Wake
Leave
Return
Sleep
Wake
Leave
Return
Sleep
Occupied
Unoccupied
Occupied
Unoccupied
Occupied
Unoccupied
Programming
Factory Default Program for 2 Time Periods
Day of
the Week
Events
Time
Setpoint
Temperature
(HEAT)
Setpoint
Temperature
(COOL)
Weekday
Saturday
Sunday
OCCUPIED
UNOCCUPIED
OCCUPIED
UNOCCUPIED
OCCUPIED
UNOCCUPIED
8 AM
6 PM
6 PM
6 PM
8 AM
70
˚
F (21
˚
C)
64
˚
F (18
˚
C)
72
˚
F (22
˚
C)
80
˚
F (27
˚
C)
8 AM
70
˚
F (21
˚
C)
64
˚
F (18
˚
C)
70
˚
F (21
˚
C)
64
˚
F (18
˚
C)
72
˚
F (22
˚
C)
80
˚
F (27
˚
C)
72
˚
F (22
˚
C)
80
˚
F (27
˚
C)
You can use the table on the next page to plan your customized program
schedule if using 5+1+1.
Programming


