•
The temperature digital display will start to flash; you can now press ‘+’ or ‘-‘ to set the desired
temperature.
•
Note: every click is a 10
℃
adjustment. The minimum cooking temperature is 50
℃
and the
maximum is 240
℃
.
•
Press the ‘timer’ button to set the cooking time. Hold the button down to select.
•
The timer digital display will start to flash; you can now press ‘+’ or ‘-‘ to set the desired cooking
time.
•
Every click is a 1 minute adjustment. The maximum cooking time is 10 hours.
•
Press the “ON/OFF” button to start cooking.
Steam
•
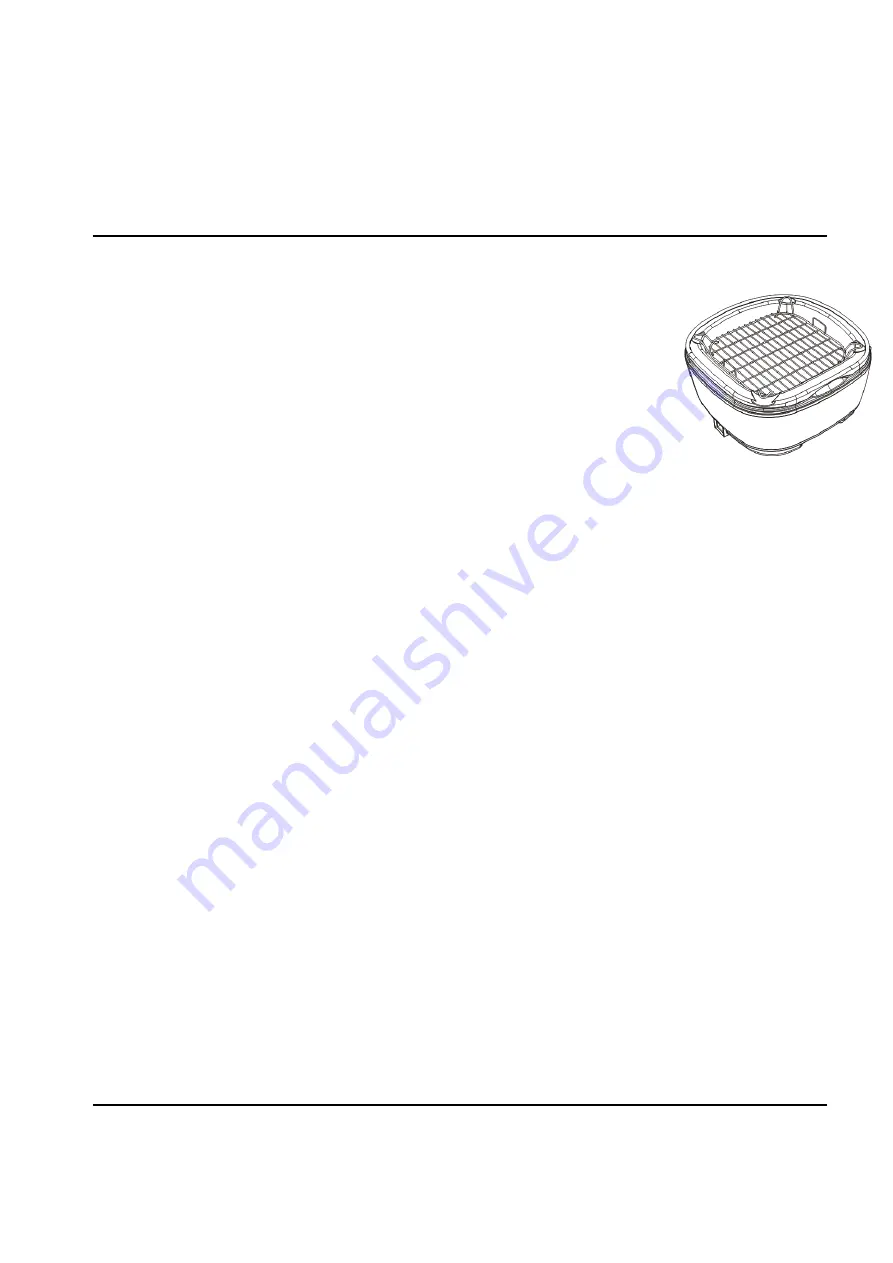
Use the stackable steam rack for steaming.
•
Place the stackable steam rack over the non-stick heating pan.
•
Add 200ml of water (keep the water level below the rack) and close the lid.
•
Select the Steam setting by pressing the menu button. The indicator light
will turn on.
•
You will also need to set the timer and press “ON/OFF” to start cooking.
•
To retain heat and moisture during cooking, it is advised not to lift the lid.
•
When steaming is complete, wait until the unit is fully cool before removing any components,
including the steam rack.
•
Only use wooden or heat proof plastic utensils to prevent damage to the non-stick heating pan’s
surface. Never use metal utensils.
_________________________________________________________________________
Slow cook
•
We advise priming the non-stick pan with a small amount of oil or butter before adding
ingredients.
•
Once all of the ingredients are in the pan, please ensure there is no more than 4.3L, to avoid
spillages when food is boiling.
•
Select the Slow Cook setting by pressing the Menu button. The indicator light will turn on.
•
You will also need to set the time by pressing the time button and using ‘+’ or ‘-‘ to set the
desired cooking time.
•
Press the ‘temp’ button to set the cooking temperature. Hold the button down to select.
•
The temperature digital display will start to flash; you can now press ‘+’ or ‘-‘ to set the desired
temperature.
•
Press “ON/OFF” to start cooking.
•
To retain heat and moisture during cooking, it is advised not to lift the lid.
•
When slow cooking is complete, wait until the unit is fully cool before removing any components,
including the non-stick pan.
•
Only use wooden or heat proof plastic utensils to prevent damage to the non-stick heating pan’s
surface. Never use metal utensils.
Summary of Contents for AC801E
Page 5: ......


