


12
Basic Operation
Basic Operation
Power on/off
1. Connect to the power with a mains cable and an adaptor (page9).
2.-To turn on the TV
Press
POWER
button on the TV or remote control.
-To turn off the TV
Press
POWER
button on the TV or remote control.
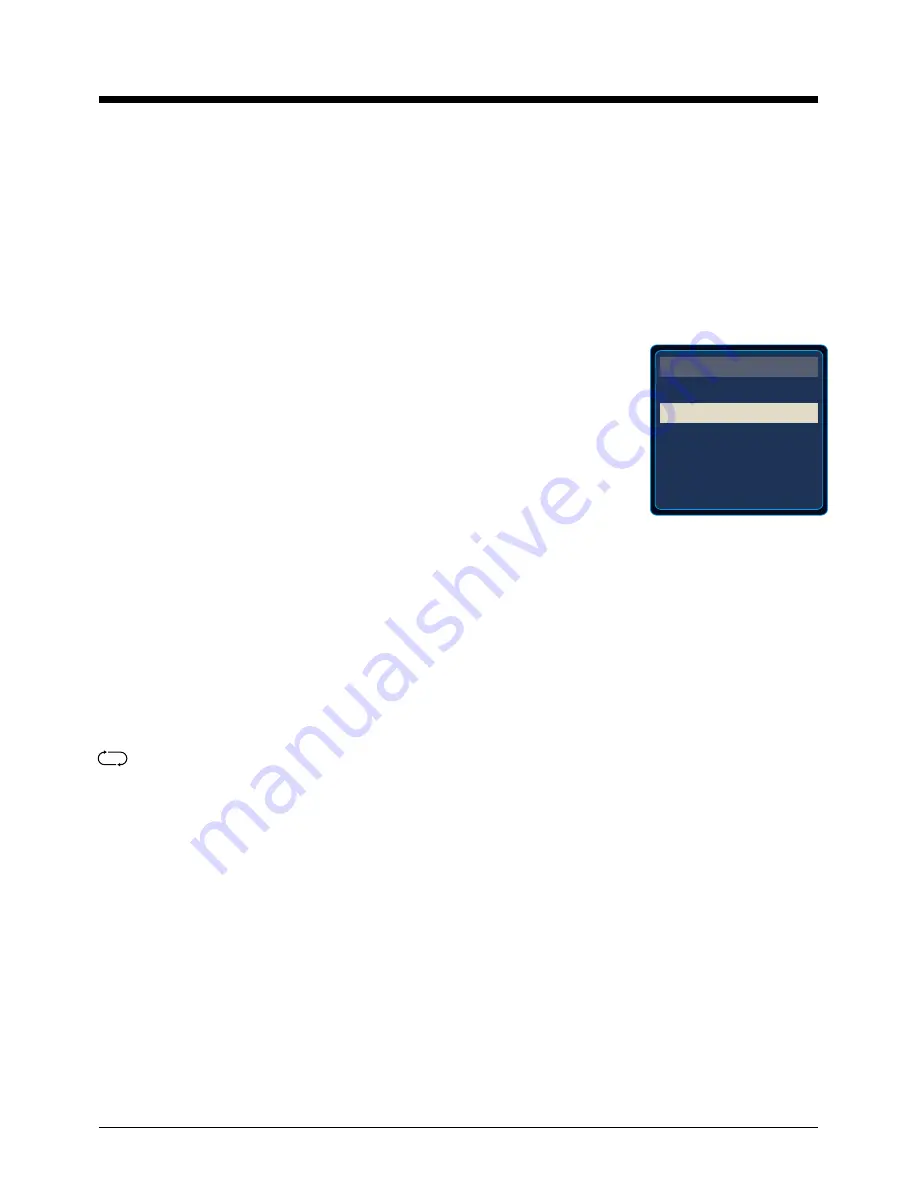
Input Source select
Press
INPUT
button on the TV set or remote control to display the input
source menu, and use
CH+/-
button on the TV set or
Ĥ
/
ĥ
button on
remote control to select the input source, press
OK
button on the
remote control to enter.
Note: Before you select the input source, make sure the
connections are prepared.
Basic buttons on the remote control
POWER
(red button): Turn the TV on/standby.
INPUT
: Press to display the input source menu.
MUTE
: Press to mute the sound, press again or press VOL+ to unmute.
DISPLAY
: Display the information of current mode.
Thumbstick(
=!? Ĥĥ
)
: Allows you to navigate the on-screen menus and adjust the system
settings to your preference.
OK
: CONFIRM button.
MENU
: Press to display the OSD menu.
EXIT
: Press to exit the OSD menu.
VOL+/-
: Press to adjust the volume.
CH+/-
: Press to scan through channels.
SLEEP
: Shutdown timer.
Number Buttons
: Choose channel directly.
Select channel 5, Press button "5";
Select channel 62, Press button "6", then press button "2" in 2 seconds;
Select channel 151, Press button "1", and press button "5" in 2 seconds, and press button "1" in
2 seconds;
Select channel 5-1, Press button "5", and press button "- / - -" in 2 seconds, and press button "1"
in 2 seconds;
PICTURE
: Press repeatedly to cycle through the available video picture modes.
SOUND
: Press to cycle through the different sound settings.
(RETURN)
: Return to the previous channel viewed.
TV
AV
Component
HDMI1
HDMI2
VGA
INPUT SOURCE
Summary of Contents for LED24VF60
Page 1: ...24 1080p LCD Television with LED backlight LED24VF60 19...
Page 2: ......
Page 25: ......
Page 26: ......
Page 27: ...VIORE Inc 7801 Hayvenhurst Avenue Van Nuys California 91406 Printed in China...


