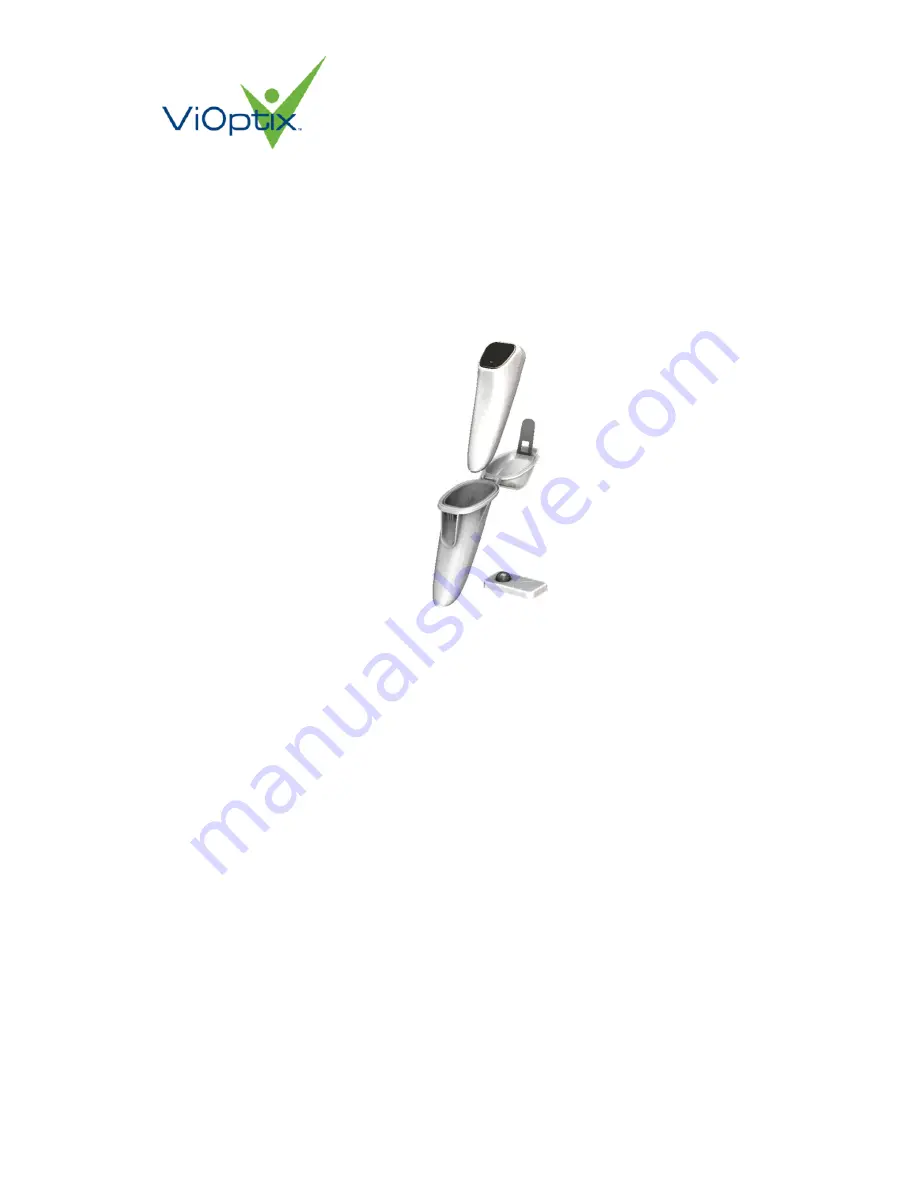
Intra.Ox™
Handheld Tissue Oximeter
Instructions for Use
ViOptix, Incorporated
39655 Eureka Drive
Newark, CA 94560
Phone: 510-226-5860 Fax: 510-226-5864 Website: www.vioptix.com
ViOptix part number for this IFU: OXY-2-DUR-IFU-1
Page 1: ...andheld Tissue Oximeter Instructions for Use ViOptix Incorporated 39655 Eureka Drive Newark CA 94560 Phone 510 226 5860 Fax 510 226 5864 Website www vioptix com ViOptix part number for this IFU OXY 2...
Page 2: ...lements 8 4 1 Display 8 4 2 Sensing Surface Sensor Face 9 5 Operating the ViOptix Intra Ox 9 5 1 Device Setup 9 5 2 Holding the Device 13 5 3 Measuring Percent Oxygen Saturation 14 5 4 Other Device Mo...
Page 3: ...ld Tissue Oximeter is constructed from biocompatible materials that can tolerate bodily fluids and other liquids such as disinfectants and marking materials This manual has been prepared to assist med...
Page 4: ...mation in this manual has been carefully checked and is believed to be accurate In the interest of continued product development ViOptix reserves the right to make changes and improvements to this man...
Page 5: ...intended to be used in an MR environment Do not look directly at the light emitting distal tip of the Intra Ox Inspect the sensor before each use for visible damage Do not use the instrument if the se...
Page 6: ...nt Consult the manufacturer for help 2 1 3 Precautions Precautions alert the operator to conditions that could lead to tissue irritation or erroneous results Clean tissue if colored disinfectants are...
Page 7: ...ed of with electrically hazardous medical waste and in accordance with all local and hospital disposal procedures 2 1 4 3 Battery Pack The Intra Ox Handheld Tissue Oximeter battery pack contains lithi...
Page 8: ...ternal power source Before using inspect the device and packaging for any sign of damage Do not use if unit has been compromised No installation is required 4 Device Configuration and Interface Elemen...
Page 9: ...5 1 Device Setup The procedure for Intra Ox setup requires two operators A sterile operator inside the sterile field This operator handles the disposable kit including the sterile sheath A non steril...
Page 10: ...perator obtains the double bagged sheath and double bagged optical QC target from disposable kit The outer pouches are non sterile and the inner pouches are sterile 2 The outer pouches should be opene...
Page 11: ...Right The ViOptix logo After a few seconds the device will authenticate the battery and display the following screen Figure 4 Battery and configuration authentication screens After battery authentica...
Page 12: ...ted their part of the installation process Once the sheath is latched closed it should not be opened again for the duration of the procedure After installation the system will verify the sheath instal...
Page 13: ...terile operator will hold the distal tip of the assembled device in firm parallel contact against the plastic After this check the device transitions into measurement mode and the Intra Ox is ready fo...
Page 14: ...play is organized as depicted below Figure 5 Normal Display Layout 5 3 1 Powered Up Time Display The total elapsed time that the device has been powered up is displayed in hours minutes and seconds in...
Page 15: ...ith the tissue If at least a 2 cannot be achieved try taking a measurement on an adjacent measurement site 5 3 4 Percent Oxygen Saturation Display The estimated oxygen saturation is indicated in perce...
Page 16: ...Low Battery Indicator The Intra Ox tissue oximeter can continue to be used as long as battery life remains The battery is not rechargeable 5 4 Other Device Modes 5 4 1 Standby Mode If there are no va...
Page 17: ...ield in the operating room In this mode the device will display the following guidance It will then ask the user to re do the optical QC target checks outlined in Section 0 Assuming that the optics ar...
Page 18: ...ent requires preparation to get ready for the next procedure This requires a two step process 5 5 2 1 Cleaning the sensor face Immediately after the procedure the sensor face at the distal tip of the...
Page 19: ...an be taken following the display of one of these warnings OLED Message Recommended User Action OVERHEATED Place down to cool Move the device to a cooler area until condition no longer exists Too much...
Page 20: ...ure Replace Durable The device is inoperable Battery Depleted Replace Battery The main unit must be paired with a new battery back and sheath to continue measurements Sheath Opened The sheath was open...
Page 21: ...normally in a humidity environment of 20 to 80 non condensing Transport and Storage Device packaged shall operate normally after storage at 18 C to 60 C Device packaged shall operate normally after st...
Page 22: ...Part number OXY 2 DUR IFU 1 Rev A CONFIDENTIAL Page 22 of 26 7 Labels 7 1 Box and Pouch label Sterile Sheath...
Page 23: ...Part number OXY 2 DUR IFU 1 Rev A CONFIDENTIAL Page 23 of 26 7 2 Box label Re Usable Main unit...
Page 24: ...Part number OXY 2 DUR IFU 1 Rev A CONFIDENTIAL Page 24 of 26 7 3 Box and label Disposable Battery...
Page 25: ...r OXY 2 DUR IFU 1 Rev A CONFIDENTIAL Page 25 of 26 7 4 Box and Pouch label Sterile Optical QC Target 7 5 Device label Placed on the back of the re usable main unit Placed on the front of the re usable...
Page 26: ...M Sheath is intended for single patient one time use DO NOT REUSE DO NOT RE STERILIZE Sterilized by Ethylene Oxide Use by expiration date stamped Attention consult accompanying documents Model Number...