Viking Installation Guide
Viking Range, LLC
111 Front Street
Greenwood, Mississippi 38930 USA
(662) 455-1200
For product information,
call 1-888-(845-4641)
or visit the Viking website at
vikingrange.com
F20896D EN
(070113)
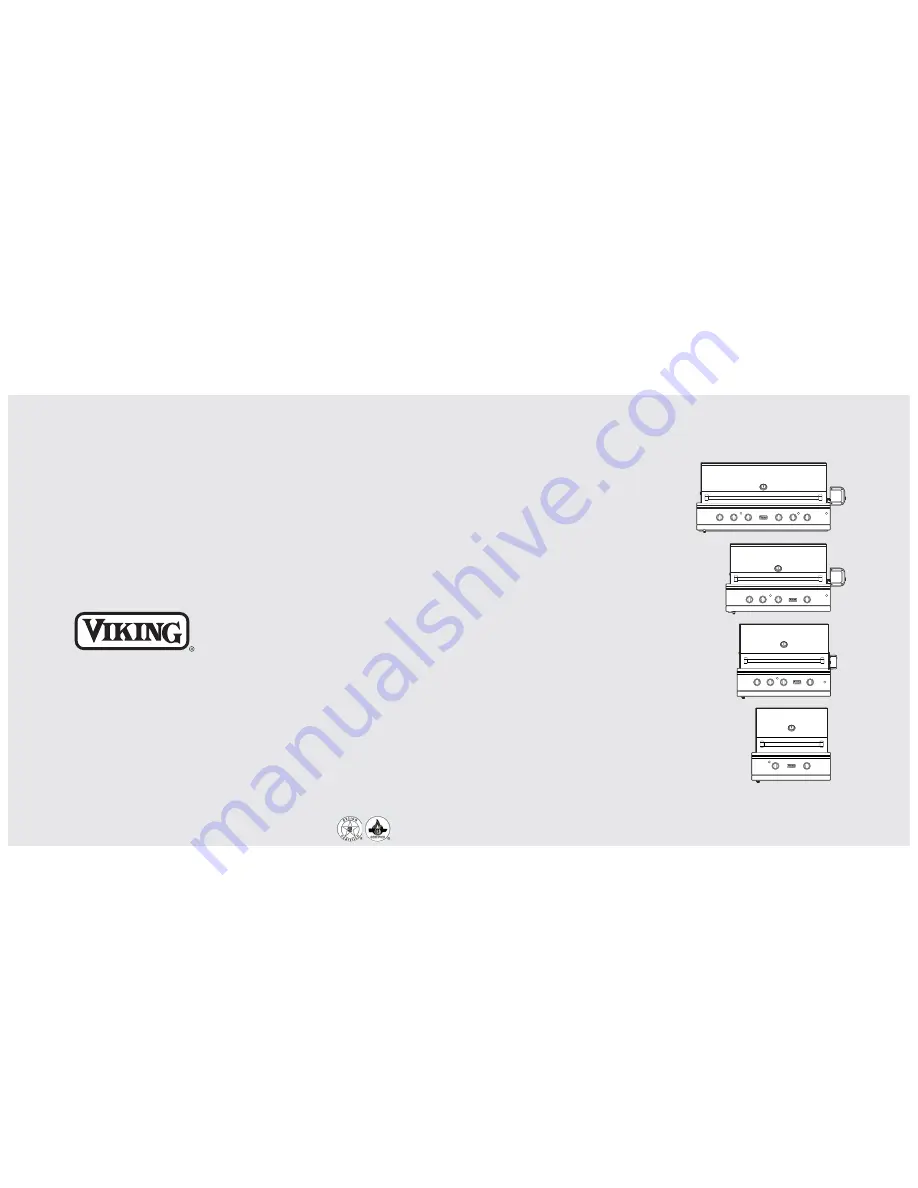
Outdoor Gas Grills
Page 1: ...tion Guide Viking Range LLC 111 Front Street Greenwood Mississippi 38930 USA 662 455 1200 For product information call 1 888 845 4641 or visit the Viking website at vikingrange com F20896D EN 070113 Outdoor Gas Grills ...
Page 2: ...dian Electrical Code CSA C22 1 CAUTION Before placing into operation always check for gas leaks with a soapy water solution DO NOT USE AN OPEN FLAME TO CHECK FOR LEAKS DANGER WHAT TO DO IF YOU SMELL GAS Shut off gas to the appliance Extinguish any open flame Open lid If odor continues keep away from the appliance immediately call your gas supplier or your fire department FOR YOUR SAFETY DO NOT sto...
Page 3: ...lator assembly for connection to standard 5gal 20 lb LP Propane gas cylinder with Type 1 QCC 1 connection or standard residential 1 2 1 3 cm ID gas service line Electrical requirements 100 Series Models 9 volt DC battery for electronic ignition 300 Series Models 120VAC 60HZ 3 91 4 cm power cord supply cord with 3 prong grounded plug attached to grill 120VAC 60HZ 2 61 0 cm power cord supply cord wi...
Page 4: ...quirements 120VAC 60HZ 3 91 4 cm power cord supply cord with 3 prong grounded plug attached to grill 120VAC 60HZ 2 61 0 cm power cord supply cord with 3 prong grounded plug attached to rotisserie motor Grill burner rating 29 000 BTU Nat 28 000 BTU LP 7 3 kW Nat 6 5 kW LP TruSear burner rating If applicable NA 30 000 BTU Nat LP 8 3 kW Nat LP Rotisserie burner rating 15 000 BTU Nat 13 500 BTU LP 4 4...
Page 5: ...al 1 2 1 3 cm ID gas service line Electrical requirements 120VAC 60HZ 3 91 4 cm power cord supply cord with 3 prong grounded plug attached to grill 120VAC 60HZ 2 61 0 cm power cord supply cord with 3 prong grounded plug attached to rotisserie motor Grill burner rating 29 000 BTU Nat 28 000 BTU LP 7 3 kW Nat 6 5 kW LP TruSear burner rating If applicable 30 000 BTU Nat LP 8 3 kW Nat LP Rotisserie bu...
Page 6: ... for the ignition system and canopy lights In addition the rotisserie motor requires a separate 110 120 volt supply to be located on the right hand side of the grill Both the power supply cords for the ignition lights and the rotisserie motor are equipped with a 3 prong grounded plug for protection against shock hazard Do not cut or remove the grounding from the plug The electrical service must be...
Page 7: ...bustable surface 6 15 2 cm Clearance Dimensions 100 and 300 Series 36 W Grill 13 22 15 16 58 3 cm 17 3 16 43 7 cm 10 5 8 26 9 cm 27 9 16 70 0 cm 8 20 3 cm 5 3 8 13 7 cm 27 13 16 70 6 cm 29 73 6 cm 3 min 7 6 cm to non combustable surface 24 min 61 0 cm to combustable surface 6 15 2 cm Clearance Dimensions 100 and 300 Series 30 W Grill 12 VGBQ1302 VGBQ3302RE VGBQ1363 VGBQ3363RE ...
Page 8: ...0 cm to combustable surface 6 15 2 cm VGBQ54203RE VGIQ54203RE 15 14 22 15 16 58 3 cm 16 5 8 80 2 cm 10 1 4 26 0 cm 29 1 2 74 9 cm 8 20 3 cm 5 3 8 13 7 cm 32 3 4 83 2 cm 31 9 16 80 2 cm 3 min 7 6 cm to non combustable surface 24 min 61 0 cm to combustable surface 6 15 2 cm Clearance Dimensions 500 Series 30 W Grill Clearance Dimensions 500 Series 42 W Grill VGBQ53002RE ...
Page 9: ... on 300 Series to be located on rear wall with a maximum distance of 2 61 0 cm beneath solid bottom support S o l i d b o t t o m s u p p o r t Countertop typically requires 3 4 wide by 3 4 deep notch cutout on each side of grill This allows grill CP to sit back properly in the cutout Gas inlet and power cord location area 5 12 7 cm 5 12 7 cm 3 4 1 9 c m 3 4 1 9 c m 17 Cutout Dimensions 100 and 30...
Page 10: ... solid bottom to support the full weight of the unit Cutout Dimensions 500 Series 30 W Grill 19 10 1 8 25 7 cm 36 91 4 cm Access door opening 24 3 8 61 9 cm 35 1 4 89 5cm 3 7 6 cm min Electrical connection for rotisserie motor position unit so that the plug is always accessible Electrical connection for power supply cord on 300 Series to be located on rear wall with a maximum distance of 2 61 0 cm...
Page 11: ...lectrical connection for rotisserie motor position unit so that the plug is always accessible Electrical connection for power supply cord on 500 Series to be located on rear wall with a maximum distance of 2 61 0 cm beneath solid bottom support S o l i d b o t t o m s u p p o r t Gas inlet and power cord location area 5 12 7 cm 5 12 7 cm Countertop typically requires 1 2 wide by 1 2 deep notch cut...
Page 12: ...han 1 00 inch from inside floor of installation Vents located on sidewall Ventilation for Built In Installations An enclosure for an LP gas cylinder shall be ventilated by openings at both the upper and lower levels of the enclosure The effectiveness of the opening s for purposes of ventilation shall be determined with the LP gas supply cylinder in place This shall be accompanied by one of the fol...
Page 13: ...mbly Natural Fixed Piping Connection Check with your local gas utility company or with local codes for instructions on installing gas supply lines Be sure to check on type and size of run and how deep to bury the lines If the gas line is too small the grill will not function properly To connect the supplied regulator assembly to the incoming flexible gas line attach with a 7 8 2 2 cm female flare ...
Page 14: ...led The LP Propane tank should be a standard 5 gal 20 lb gas cylinder tank approximately 12 in diameter and 18 high which must be constructed and marked in accordance with the Specifications for LP Propane Gas Cylinders of the U S Department of Transportation D O T or the National Standard of Canada CAN CSA B339 Cylinders Spheres and Tubes for Transportation of Dangerous Goods and Commission The c...
Page 15: ... one part liquid detergent and one part water You will need a spray bottle brush or towel to apply the solution to the fittings Note For LP Propane units check with a full cylinder Check that all control knobs are in the OFF position 4 Apply the soap solution to fittings Turn cylinder valve knob counter clockwise one turn to open Although all gas connections on the grill are leak tested at the fac...
Page 16: ... following Must push ignition button on 100 Series Note By replacing the knob it may be easier to light the burner A qualified installer should perform the following burner adjustments Each burner is tested and adjusted at the factory prior to shipment however variations in the local gas supply may make it necessary to adjust the burners The flames of the burners except the rotisserie infrared bur...
Page 17: ...ved skewer bushing should rest on the left side bracket Do not remove the plastic cover on the rotisserie motor switch due to safety consideration 32 WARNING ELECTRICAL SHOCK HAZARD This appliance is equipped with a grounding plug for your protection against shock hazard and should be plugged directly into a properly grounded receptacle Do not cut or remove the grounding prong from this plug Groov...
Page 18: ...th the pullout drip tray on the left hand side Model number ____________________________________________________________________________________ Serial number _____________________________________________________________________________________ Date of purchase __________________________________________________________________________________ Date installed ________________________________________...