11
Change Rate:
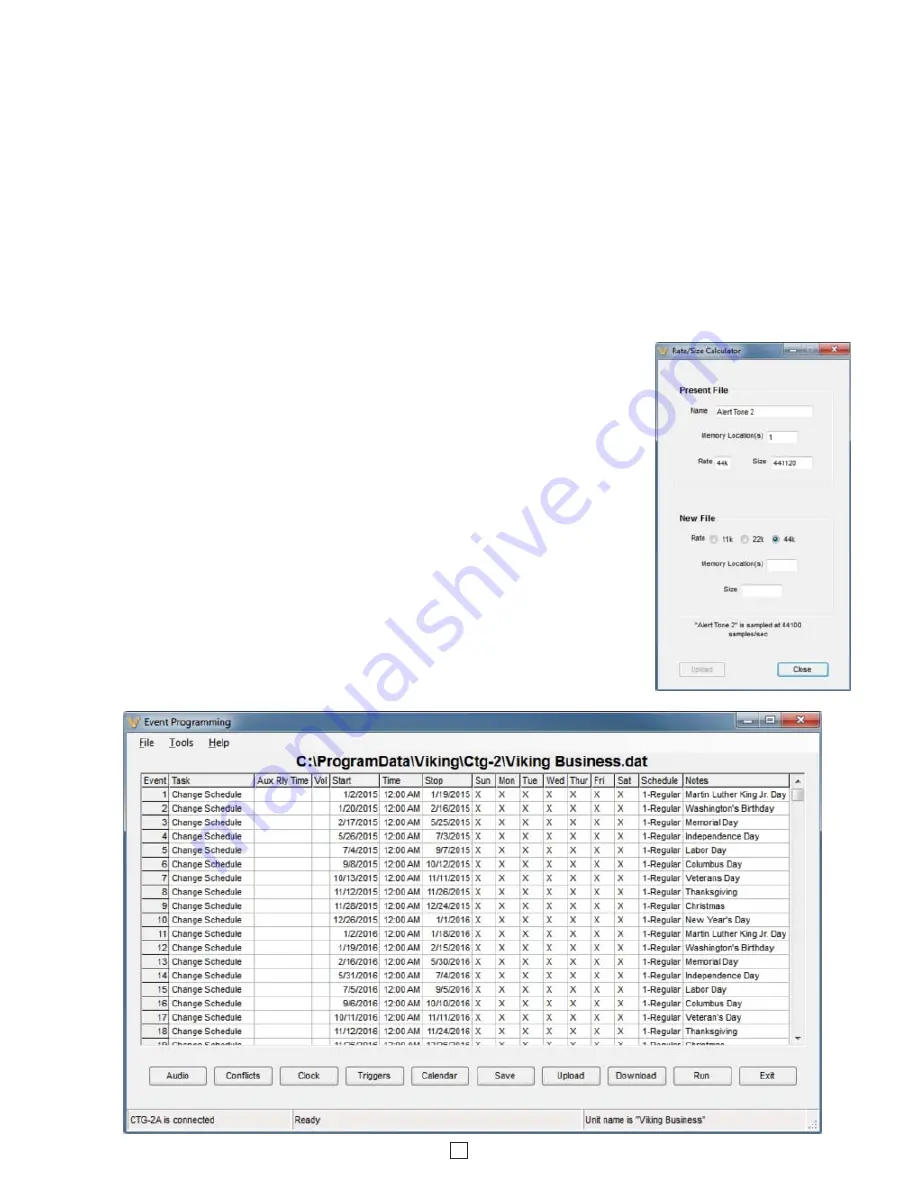
In the “Tools” drop down menu, clicking on “Change Rate” opens the
“Rate/Size Calculator” which allows you to reduce the sampling rate of the selected
wave file to reduce the memory storage capacity needed. (right)
Note:
It is not
possible to reduce the rate of a file occupying only one block.
Caution:
The “Rate/Size
Calculator” can only be used to reduce a wave file’s sampling rate. To increase the
sampling rate, the wave file must be erased and reloaded.
C. Event Programming
Volume:
The “Volume” box allows you to adjust and set the volume level of each individual wave file. This is useful for
matching the volume levels of each wave file or increasing the volume on specific wave files such as evacuation sirens, etc.
Note:
Volume cannot be changed by clicking on the volume field next to the wave file name. Select the memory location you
would like to change and alter the volume using the “Volume” box at the bottom of the window.
Update All:
After adjusting the wave file volume levels (adjusted volume settings will be highlighted in red) select “Update
All” to save the volume settings for all wave files.
Load All:
In the “Tools” drop down menu, selecting “Load All” will upload all the wave files from the currently open “Audio”
screen into the correct memory locations in the
CTG-2A.
Note:
To load all the wave files from the currently open dat file, click
“Open” in the “File” drop down menu, then select “Load All” from the “Tools” drop down menu. The
CTG-2A
programmer
software will then automatically erase and upload each wave file memory location in the
CTG-2A.
Erase All:
In the “Tools” drop down menu, selecting “Erase All” will erase all 14 wave file memory locations in the
CTG-2A.
Play:
Clicking on “Play” will signal the
CTG-2A
to play the selected wave file. This is useful for setting the volume levels for
each wave file.


