


22
User Manual
Visit the ViewZ USA website at https://www.viewzusa.com
CONTROL AND FUNCTION
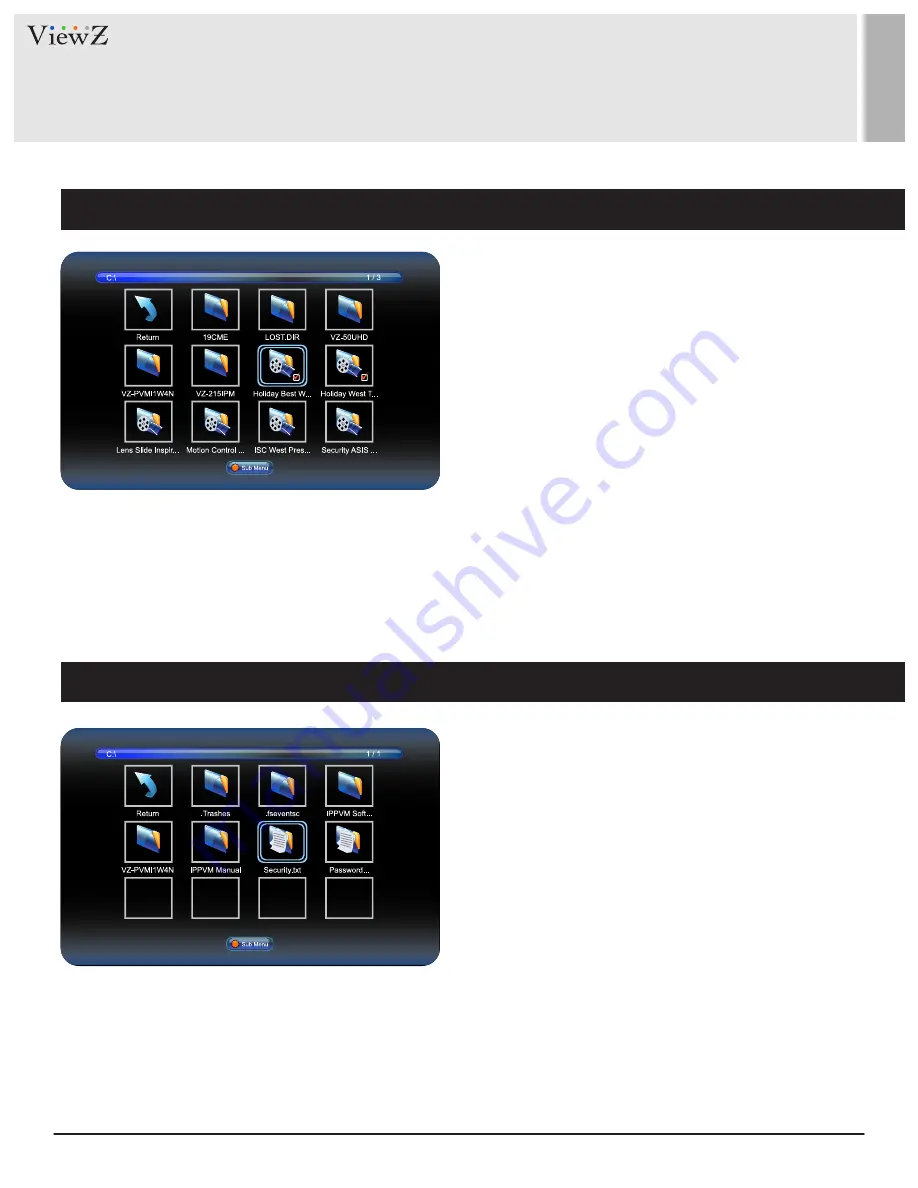
Movie
Text
When you select
MOVIE
on the entry menu of Media play:
1. Press the
ENTER
button and then press
◄
/
► / ▲ / ▼
buttons to select a video file to play.
2. Press the
ENTER
button to select video files to play and then press
►║
button to play the video files.
*Note: If you have more than one movie file, selected movie files will display one by one.
3. Press
►║
button to pause the video file.
4. Press the
EXIT /
■
button to return to the
Media OSD MENU
When you select
TEXT
on the entry menu of Media play:
1. Press the
ENTER
button and then press
◄
/
► / ▲ / ▼
buttons to select a text file to play.
2. Press the
ENTER
button to select text files to play and then press
►║
button to play the text file.
*Note: If you have more than one text file, selected text files will display one by one.
3. Press
►║
button to pause the text file.
4. Press the
EXIT /
■
button to return to the
Media OSD MENU


