background image

ViewSonic

     VNB106

4

Chapter 3

Configuring BIOS, installing an 

operating system and drivers

NO.3.1 Installing an operating system

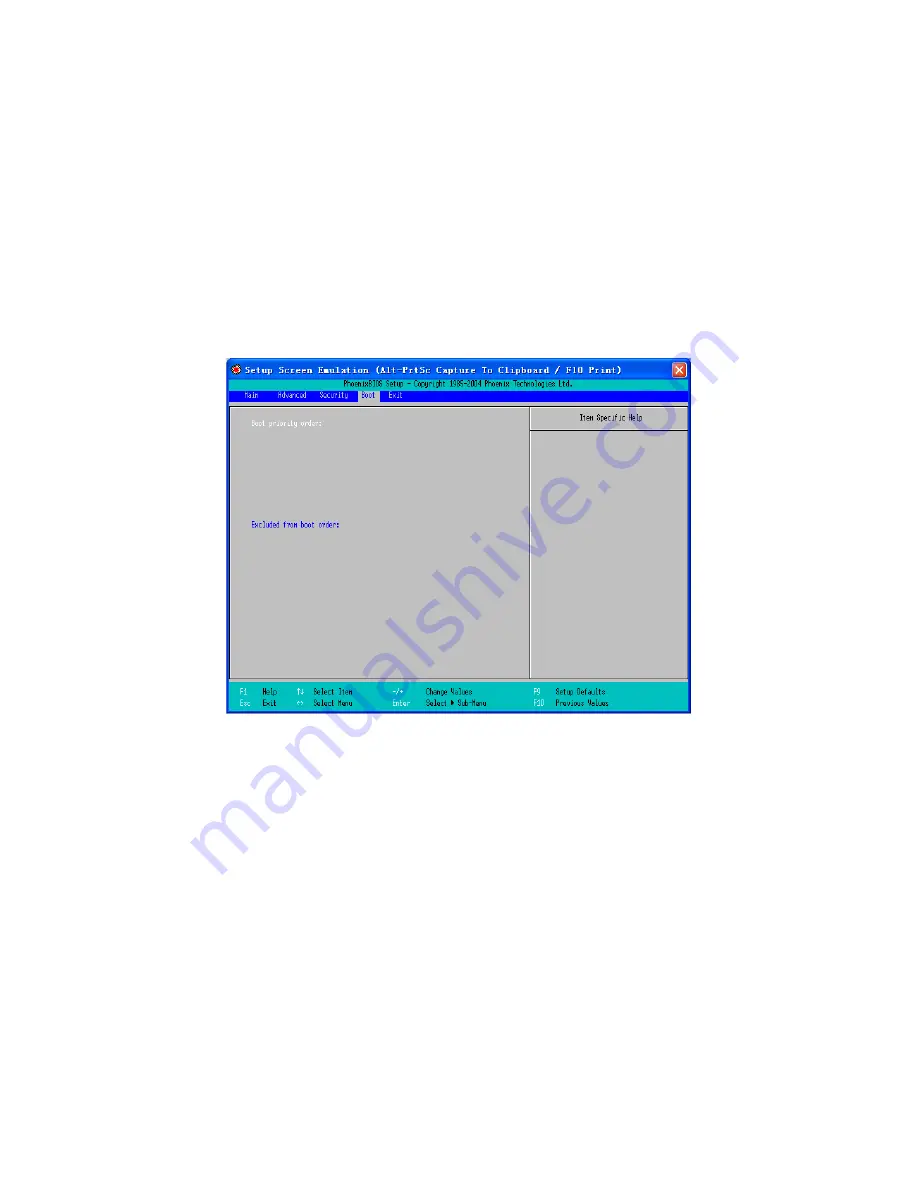
Before nstallng OS, you wll need to set up BIOS to allow boot from USB-

CD/DVD drve. To do that, turn on VNB106, and press F2 when prompted 

to run BIOS setup.

After you enter BIOS setup application, use the [→] and [←] keys to choose 

BOOT secton of the man menu, select your USB-CD/DVD drve n the 

Boot priority list and use the [ + ] and [ - ] buttons to set the order in which 

drves and devces wll be checked for a useable OS to boot at the tme of 

startup.

Summary of Contents for VNB106

Page 1: ...User Guide Gu a del usuario Py Kullan c k lavuzu VNB106 ViewBook ViewSonic Model No VS13321...

Page 2: ...accumulators and button cells included with this equipment display the chemical symbol Hg Cd or Pb then it means that the battery has a heavy metal content of more than 0 0005 Mercury or more than 0 0...

Page 3: ...and check with your Local Authority or retailer for an advice on recycling Notebook PC and its power adapter may produce some heat during operation or charging of its internal battery DO NOT leave not...

Page 4: ...ybrominated biphenyls PBB 0 1 0 1 Polybrominated diphenyl ethers PBDE 0 1 0 1 Certain components of products as stated above are exempted under the Annex of the RoHS Directives as noted below Examples...

Page 5: ...may change without notice No part of this document may be copied reproduced or transmitted by any means for any purpose without prior written permission from ViewSonic Corporation Product Registration...

Page 6: ...op View with the lid open 2 Turn on the VNB106 2 The function keys 3 Chapter 3 Configuring BIOS installing an operating system and drivers Installing an operating system 4 Other settings of the Setup...

Page 7: ...NB106 is your effective assistant that accompanies you all the time This manual will help you master the methods and techniques of using VNB106 to the best Chapter 1 Preparing the netbook for use NO 1...

Page 8: ...k 1 The power indicator the glowing blue light implies the system is in ON and is in the normal mode the pulsating blue light implies the system is in the standby mode 2 The battery and charging statu...

Page 9: ...se the brightness of the LCD Fn F6 Increase the brightness of the LCD Fn F7 Turn ON of OFF the video out signal for externally connected LCD or projector Fn F8 Turn ON OFF the internal display Fn F9 C...

Page 10: ...boot from USB CD DVD drive To do that turn on VNB106 and press F2 when prompted to run BIOS setup After you enter BIOS setup application use the and keys to choose BOOT section of the main menu selec...

Page 11: ...and time as well as check system information like BIOS version embedded controller firmware version motherboard version and the amount of the system memory and extended memory Sata Port the settings...

Page 12: ...e you boot your VNB106 Boot time Diagnostic Screen choose between the image wallpaper mode and text information mode during the POST process PXE OPROM Set up if your VNB106 can be booted from LAN Sata...

Page 13: ...BIOS Setup Utility Set User Password used to define the User Password Set Supervisor Password used to define the Supervisor Password which authority is higher than that of the User Password Password o...

Page 14: ...tore the settings to their factory values Discard Changes to abandon all the settings done during current session yet to remain in the BIOS Setup Utility Save Changes to save the settings NO 3 3 Insta...

Page 15: ...e 4 Headphone out Jack Used to connect headphones or external speakers 5 USB port To connect USB devices such as pen drives printers etc 6 VGA port To connect to an external monitor or projector 7 RJ...

Page 16: ...system information through the Control Center conduct the system settings and view the help information Note To enjoy the functionality of the Control Center please install it from the Driver disc bun...

Page 17: ...Control Center to see the VNB106 basic system information Note Click on the drop down menu in the lower right corner of the window for more information Click on the Battery icon on the home page of th...

Page 18: ...the Display icon on the home page of the Control Center to do the display settings and adjust the brightness of the LCD back light To adjust the settings of the externally connected monitor click on t...

Page 19: ...enter to select the applications you want to be run when you press function key combinations You can also restore the settings to their factory defaults Click on the Profile icon on the home page of t...

Page 20: ...operating system Click on the Device Control icon on the home page of the Control Center to enable disable certain modules of your VNB106 Note The picture you would see here may be different due to h...

Page 21: ...n America Columbia www viewsonic com la T 01800 9 157235 soporte viewsonic com Latin America Mexico www viewsonic com la T 001 8882328722 soporte viewsonic com Renta y Datos 29 SUR 721 COL LA PAZ 7216...

Page 22: ...rom a Accident misuse neglect fire water lightning or other acts of nature unauthorized product modification or failure to follow instructions supplied with the product b Any damage of the product due...

Page 23: ...t the customer by any other party 4 Repair or attempted repair by anyone not authorized by ViewSonic Effect of state law This warranty gives you specific legal rights and you may also have other right...

Page 24: ......

Reviews:

Related manuals for VNB106