background image

ViewSonic

     VNB131

18

2.4 Boot Device Priority


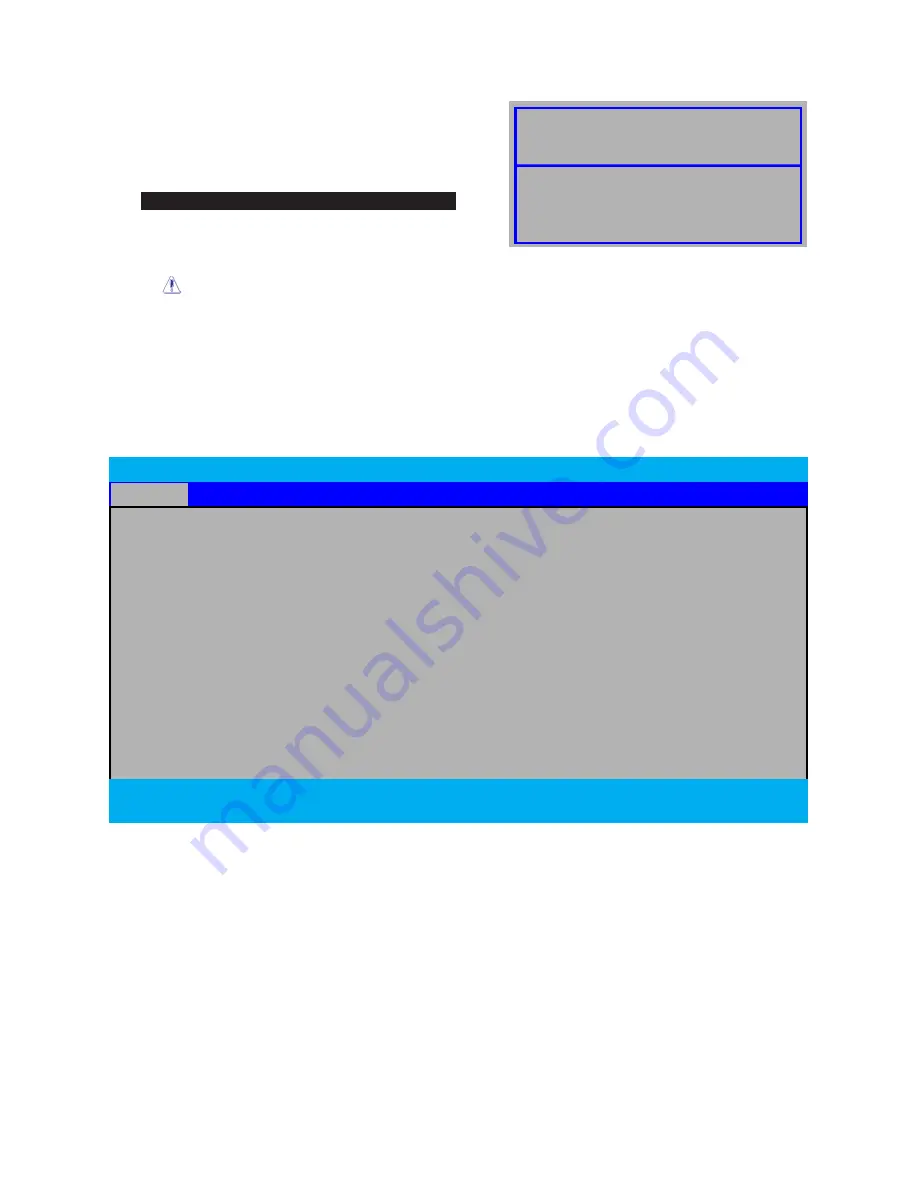
After you press the Power button of your 

ViewBook Pro to turn it on, you will see the 

following inscription:


Press F2 for system Utilities Press F10 for Boot Menu


Press “F10” key and ViewBook Pro will show 

you the boot options.

 The menu will be different depending on the storage devices installed or connected.

2.5 BIOS Menu


You can set up your ViewBook Pro’s BIOS according to your needs using the BIOS 

setup utility.


2.5.1 Main Menu

Phoenx SecureCore(tm) Setup Utlty

Man

Advanced

Securty

Boot

Ext


System Tme                    [08:45:04]

System Date                     [08/06/2009]


►   SATA Port 1               [WDC WD2500BEVT-22ZCTO-(PM)]

       SATA Port 2              [None]

CPU Type:                       Intel(R) Celeron(R) M CPU [email protected]

System Menory:              640KB

Extended Memory:          1024MB             


PCB Verson:                    B

EC Verson:                      GS45AFGA[2009.06.18]

BIOS Verson:                   GS45A01K[2009.06.29]


F1

  Help   

↑↓ 

 Select Item       

-/+ 

   Change Values         

F9  

  Setup Defaults

Esc

 Ext  

←→  

Select Menu      

Enter

   Select 

 Sub-Menu     

F10 

   Save and Ext   

System time


This item sets the time you specify (usually the current time) in the format of [Hour], 

[Minute] and [Second].

System date


This item sets the date you specify (usually the current date) in the format of [Month], 

[Date], and [Year].

System Memory


Displays the auto-detected system memory.


 Boot Menu


1.SATA CD:TSST CORP CDRW/DVD

 3.SATA HDD:WDC WD2500BEVT-22ZCT0-(PM)

         <Enter Setup> 

Summary of Contents for ViewBook Pro VNB131

Page 1: ... User Guide Guide de l utilisateur Bedienungsanleitung Guía del usuario Pyководство пользователя Οδηγός χρηστών 使用手冊 繁中 ViewBook Pro ViewSonic Model No VS13060 ...

Page 2: ...teries accumulators and button cells included with this equipment display the chemical symbol Hg Cd or Pb then it means that the battery has a heavy metal content of more than 0 0005 Mercury or more than 0 002 Cadmium or more than 0 004 Lead R TTE Compliance Statement This wireless module device complies with the Essential Requirements of the R TTE Directive of the European Union 1999 5 EC This eq...

Page 3: ...in environments with ambient temperatures between 5 C 41 F and 35 C 95 F 8 DO NOT expose the notebook PC to or use near liquids rain or moisture 9 Caution risk of explosion if battery is replaced by an incorrect type Dispose of used batteries according to the instructions 10 DO NOT throw the notebook PC in municipal waste Check local regulations for disposal of electronic products Please recycle t...

Page 4: ...d remove any installed batteries before cleaning the notebook PC Keep the notebook PC and its accessories away from children 18 DO NOT disassemble the notebook PC only a certified service technician should perform repairs on your computer 19 Only use Battery Packs approved by the manufacturer or else damage may occur 20 The notebook PC has apertures to disperse heat DO NOT place the notebook PC on...

Page 5: ...ybrominated biphenyls PBB 0 1 0 1 Polybrominated diphenyl ethers PBDE 0 1 0 1 Certain components of products as stated above are exempted under the Annex of the RoHS Directives as noted below Examples of exempted components are 1 Mercury in compact fluorescent lamps not exceeding 5 mg per lamp and in other lamps not specifically mentioned in the Annex of RoHS Directive 2 Lead in glass of cathode r...

Page 6: ...ay change without notice No part of this document may be copied reproduced or transmitted by any means for any purpose without prior written permission from ViewSonic Corporation Product Registration To meet your future needs and to receive any additional product information as it becomes available please register your product on the Internet at www viewsonic com The ViewSonic Wizard CD ROM also p...

Page 7: ...Finger Touchpad 13 Using the keyboard 15 Lock keys and embedded numeric keypad 15 Windows keys 16 Hotkeys 16 Chapter 2 BIOS Setup Utility 17 2 1 When to Use BIOS Setup 17 2 2 How to Run BIOS Setup 17 2 3 Control Keys 17 2 4 Boot Device Priority 18 2 5 BIOS Menu 18 2 5 1 Main Menu 18 2 5 2 Advanced Settings 19 2 5 3 Security Settings 19 2 5 4 Boot Settings 20 2 5 5 Exit Settings 21 Chapter 3 System...

Page 8: ...ve office ViewBook Pro notebook computer Power Cord Power Adapter Quick Start Guide ViewSonic User Guide CD Wizard System Recovery Disc or Driver disc recovery disc comes with models bundled with an operating system only Lithium lon Battery Screen Wiping Cloth The items listed above are for reference only and are subject to change without notice Depending on the model you purchased the actual appe...

Page 9: ... Pro require an adapter 2 x 4 pin USB2 0 Ports 1 x VGA Port 1 x HDMI Port 1 x CD ROM Second battery Module Optional 1 x Express card Slot 1 x MIC 1 x Line Out 1 x RJ45 Port 1 x DC In Port Audio Azalia Codec supports 2 1 channel output Built in audio connector and mic connector Digital Camera Build in 1 3 megapixels camera Ethernet LAN 10 100Mbps Fast Ethernet Support Wireless LAN Mini PCI E interf...

Page 10: ...ViewSonic VNB131 1 3 Knowing the Parts After having checked the package and installed your ViewBook Pro let s get familiar with its parts Top view 1 1 1 4 5 8 7 6 3 2 9 ...

Page 11: ... will sound an alarm to unlock your notebook or deactivate the alarm you must input your password or use the fingerprint scanner 4 Keyboard A full size keyboard with dedicated Windows keys 5 Touchpad Touch sensitive pointing device which functions like a computer mouse 6 Fingerprint sensor Collects and recognizes fingerprint information Optional 7 Click buttons left and right The left and right bu...

Page 12: ...ViewSonic VNB131 Base view ...

Page 13: ...cked position after inserting the battery pack 3 Fan Outlets These are vents for the fan to dissipate heat from the computer s internal components Do not block or place the computer in such a position that you inadvertently allow the outlets to become blocked 4 Speakers Left and right speakers deliver stereo audio output 5 CD ROM locking knob Place your ViewBook Pro up side down use a flat tool li...

Page 14: ...nt method to transfer pictures music and data between your netbook and devices using flash memory cards such as digital cameras MP3 players mobile phones and PDAs Optional Right view NO Item Description 1 Tray release Use a sharp tool like a paper clip to push the button inside the tray release hole to open Super Multi Drive tray when ViewBook Pro can not be turned on due to unavailability of elec...

Page 15: ...if you have difficulties installing it or you may damage your View Book Pro or the battery 4 Having pushed the battery to the end you will hear a click sound Then push the battery lockers into the locked position When using your ViewBook Pro for the first time we suggest connecting the power adapter and allowing for the battery to charge for at least 8 hours Please note that the battery will reach...

Page 16: ...t out of its position if you have difficulties removing it or you may damage your ViewBook Pro or the battery Please don t remove the battery when your netbook is undergoing POST at startup or it may destroy the data on your HDD or cause other problems Connecting to the AC power supply 1 Connect the power cord to the power adapter 2 Connect the power cord to the AC power outlet 3 Push the DC power...

Page 17: ...tdown item in Start menu to shut down the operating system 2 You can also short press the Power button to shutdown your ViewBook Pro 3 If your OS is not responding so you cannot shutdown or restart your computer the normal way do the long press on the Power button for about 6 seconds until your ViewBook Pro turns off cold power off Please note that this should be used only when your OS is not resp...

Page 18: ...it is in the locked mode a loud alarm will sound and it will go on until you scan your fingerprint or log into Windows with your the password HDD A blinking HDD LED suggests an HDD activity data is being read or written Wireless LAN Indicates the status of wireless LAN communication 1 Num Lock Lights up when Num Lock is activated DC IN When the battery is charging the DC socket LED is fading in an...

Page 19: ... similar to the left and right buttons of a mouse Tapping on the touchpad is the same as clicking the left button Function Left button 3 Right button 4 Main touchpad 1 Execute Quickly click twice Tap twice at the same speed as double clicking a mouse button Select Click once Tap once Drag Click and hold then use finger on the touchpad to drag the cursor Tap twice at the same speed as double clicki...

Page 20: ...ViewSonic VNB131 13 Multi Finger Touchpad Start the whole new experience Scroll ...

Page 21: ...ViewSonic VNB131 14 Zoom Rotate Flick Press ...

Page 22: ...ry A better solution would be to connect an external keypad Scroll Lock Fn Del ScrLK When Scroll Lock is on the screen moves one line up or down when you press the up or down arrow keys respectively Scroll Lock does not work with some applications The embedded numeric keypad functions like a desktop PC standard keyboard s numeric keypad The numbers are indicated by small numeric characters located...

Page 23: ... of the computer s controls like screen brightness sound volume etc To use a hotkey press and hold the Fn key before pressing the other key in the hotkey combination Hotkey Function Description Fn ESC Sleep Puts ViewBook Pro in Sleep mode Fn F1 Wireless LAN Enables or disables the wireless network connection Fn F3 Touchpad Turns the touchpad on and off Fn F4 LCD screen Turns the LCD screen on and ...

Page 24: ...tting screens and options on your ViewBook Pro may be different because of BIOS updates 2 3 Control Keys Press F1 to call a small help window that describes the appropriate keys to use and the possible selections for a highlighted item Please check the following table for the function description of each control key Control Key s Function Description Moves cursor left or right to select Screens Mo...

Page 25: ...it System Time 08 45 04 System Date 08 06 2009 SATA Port 1 WDC WD2500BEVT 22ZCTO PM SATA Port 2 None CPU Type Intel R Celeron R M CPU 723 1 20G System Menory 640KB Extended Memory 1024MB PCB Version B EC Version GS45AFGA 2009 06 18 BIOS Version GS45A01K 2009 06 29 F1 Help Select Item Change Values F9 Setup Defaults Esc Exit Select Menu Enter Select Sub Menu F10 Save and Exit System time This item ...

Page 26: ...tic screen should be displayed during boot SATA Mode Selection Determines how SATA controller s operate 2 5 3 Security Settings Phoenix SecureCore tm Setup Utility Main Advanced Security Boot Exit Set Supervisor Password Disable Password on boot Disbale Set Harddisk Password Enter Item Specific Help Supervisor Password controls access to the setup utility F1 Help Select Item Change Values F9 Setup...

Page 27: ...CDROM Item Specific Help UP and Down arrows select a device and moves the device up or down x exclude or include the device to boot F1 Help Select Item Change Values F9 Setup Defaults Esc Exit Select Menu Enter Select Sub Menu F10 Save and Exit Boot Priority Order Use UP and Down arrows to select devices Use and keys to move devices up or down in the boot priority list Excluded from boot order Pre...

Page 28: ...elect Item Change Values F9 Setup Defaults Esc Exit Select Menu Enter Select Sub Menu F10 Save and Exit Exit Saving Changes Saves the changes you have made and exits the utility Exit Discard Changes Exits the utility without saving the changes you have made Load Setup Defaults Loads the default values for all setup items Discard Changes Abandons your changes and reloads the previous configuration ...

Page 29: ...indows If your system has not been damaged completely you can use Windows mode to restore the system to the previously backed up state 1 Click on the Security Center icon on your Desktop and choose System Backup and Restoration 2 Choose System Restoration option in the Security Center control panel ...

Page 30: ...oints Please choose any of restore points which you want your system to be restored to then click the Next button 4 As the restore point was created for the C disk partition there is a need to reboot to complete the restore process Click the Next button and the OS will auto reboot ...

Page 31: ...ewBook Pro will auto restore the system after reboot Windows will need few minutes to complete this task After the system restore is complete Windows will display the following window Please click the Restart button to finish ...

Page 32: ...er DOS mode 1 Press the F9 key during boot to enter the Security Center 2 Press the F9 key to enter into security center interface if you want to restore your system 3 After pressing the F9 key you will see the System Restoration and Rescue Data options ...

Page 33: ...nd then click Start Rescue button 5 Choose one of restore points to restore your OS and click Start Rescue button All files on drive C and settings will be deleted System recovery will format the hard disk and restore the system to its default state ...

Page 34: ...Sonic VNB131 27 6 An alert will pop up after clicking the Start Rescue button please click Ok 7 After the restore process is complete you will see an information window Click on the Restart button to finish ...

Page 35: ...ViewSonic VNB131 28 Rescue the data under DOS mode 1 Click Rescue Data option in the security center to start the rescue 2 Choose the files or folders to rescue and then click Rescue Data ...

Page 36: ...ViewSonic VNB131 29 3 Choose the HDD partition where you would like to save the restore point to 4 After clicking OK the files will be backed up ...

Page 37: ...131 30 5 Please restart your ViewBook Pro after the backup has successfully finished 6 After the backup has finished and the system was restarted you can copy the backup file to one of your external storage devices ...

Page 38: ...f the following to exit from the screen saver or to resume from the Sleep or Hibernate modes a Press any key b Touch the touch pad c Press the power button 5 I am trying to turn on my ViewBook Pro but nothing appears on the screen Please confirm the following a The battery is installed b The power adapter is connected to the computer and to the AC power wall outlet c The computer power is on Press...

Page 39: ...e system is not responding to turn off your ViewBook Pro press and hold the power button for about 6 seconds If your ViewBook Pro still does not respond remove the AC adapter and the battery Your ViewBook Pro might have locked when it was entering Sleep mode while performing a communication operation You can disable the sleep timer if you are to leave your ViewBook Pro to download upload files and...

Page 40: ... America Columbia www viewsonic com la T 01 800 915 6588 soporte viewsonic com Latin America Mexico www viewsonic com la T 001 800 514 6518 soporte viewsonic com Renta y Datos 29 SUR 721 COL LA PAZ 72160 PUEBLA PUE Tel 01 222 891 55 77 CON 10 LINEAS Electroser Av Reforma No 403Gx39 y 41 97000 Mérida Yucatán Tel 01 999 925 19 16 Other places please refer to http www viewsonic com la soporte index h...

Page 41: ...from a Accident misuse neglect fire water lightning or other acts of nature unauthorized product modification or failure to follow instructions supplied with the product b Any damage of the product due to shipment c Removal or installation of the product d Causes external to the product such as electrical power fluctuations or failure e Use of supplies or parts not meeting ViewSonic s specificatio...

Page 42: ...t the customer by any other party 4 Repair or attempted repair by anyone not authorized by ViewSonic Effect of state law This warranty gives you specific legal rights and you may also have other rights which vary from state to state Some states do not allow limitations on implied warranties and or do not allow the exclusion of incidental or consequential damages so the above limitations and exclus...

Page 43: ......

Reviews: