


18
Utilizing the password function
For security purposes and to help prevent unauthorized use, the projector includes an option
for setting up password security. The password can be set through the On-Screen Display
(OSD) menu. For details of the OSD menu operation, please refer to
You will be inconvenienced if you enable the password function yet forget the password
somehow. Do make a note of your password, and keep the note in a safe place for later recall.
Setting a password
Once a password has been set and the power on lock is enabled, the projector cannot be used
unless the correct password is entered every time the projector is started.
1.
Open the OSD menu and go to the
SYSTEM SETUP: ADVANCED
>
Password
menu.
2.
Press
Enter
and the
Password
page is displayed.
3.
Highlight
Power On Lock
and select
On
by pressing
/
.
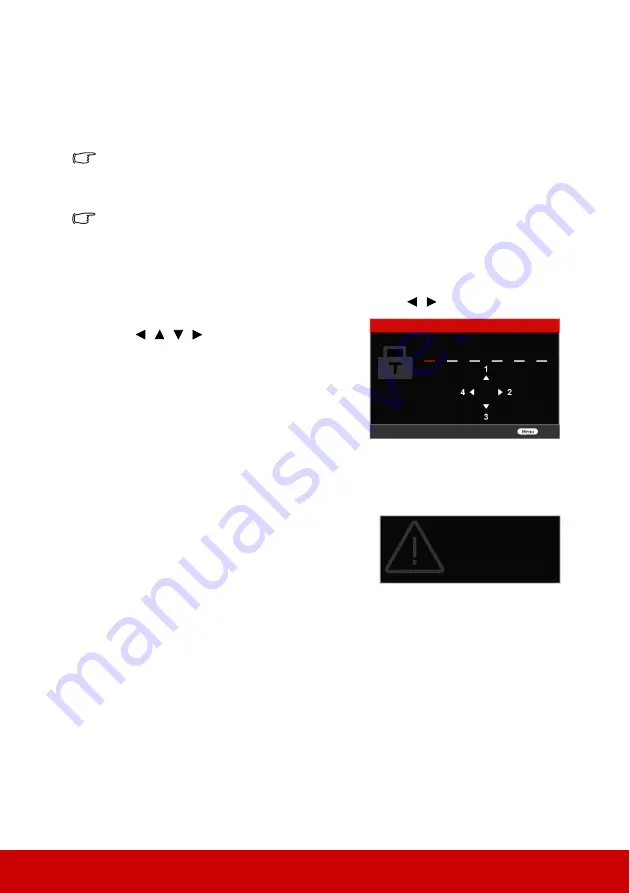
4.
As pictured to the right, the four arrow keys
(
,
,
,
) respectively represent 4
digits (1, 2, 3, 4). According to the password
you desire to set, press the arrow keys to
enter six digits for the password.
5.
Confirm the new password by re-entering
the new password.
Once the password is set, the OSD menu
returns to the
Password
page.
6.
To leave the OSD menu, press
Exit.
If you forget the password
If the password function is activated, you will be
asked to enter the six-digit password every time you
turn on the projector. If you enter the wrong
password, the password error message as pictured
to the right is displayed lasting for 5 seconds, and
the message
'INPUT PASSWORD'
follows. You
can retry by entering another six-digit password, or
if you did not record the password in this user manual, and you absolutely do not remember
it, you can use the password recall procedure. See
"Entering the password recall procedure"
for details.
If you enter an incorrect password 5 times in succession, the projector will automatically
shut down in a short time.
INPUT NEW PASSWORD
Exit
Password Error
Please try again
Summary of Contents for PX727-4K
Page 62: ......


