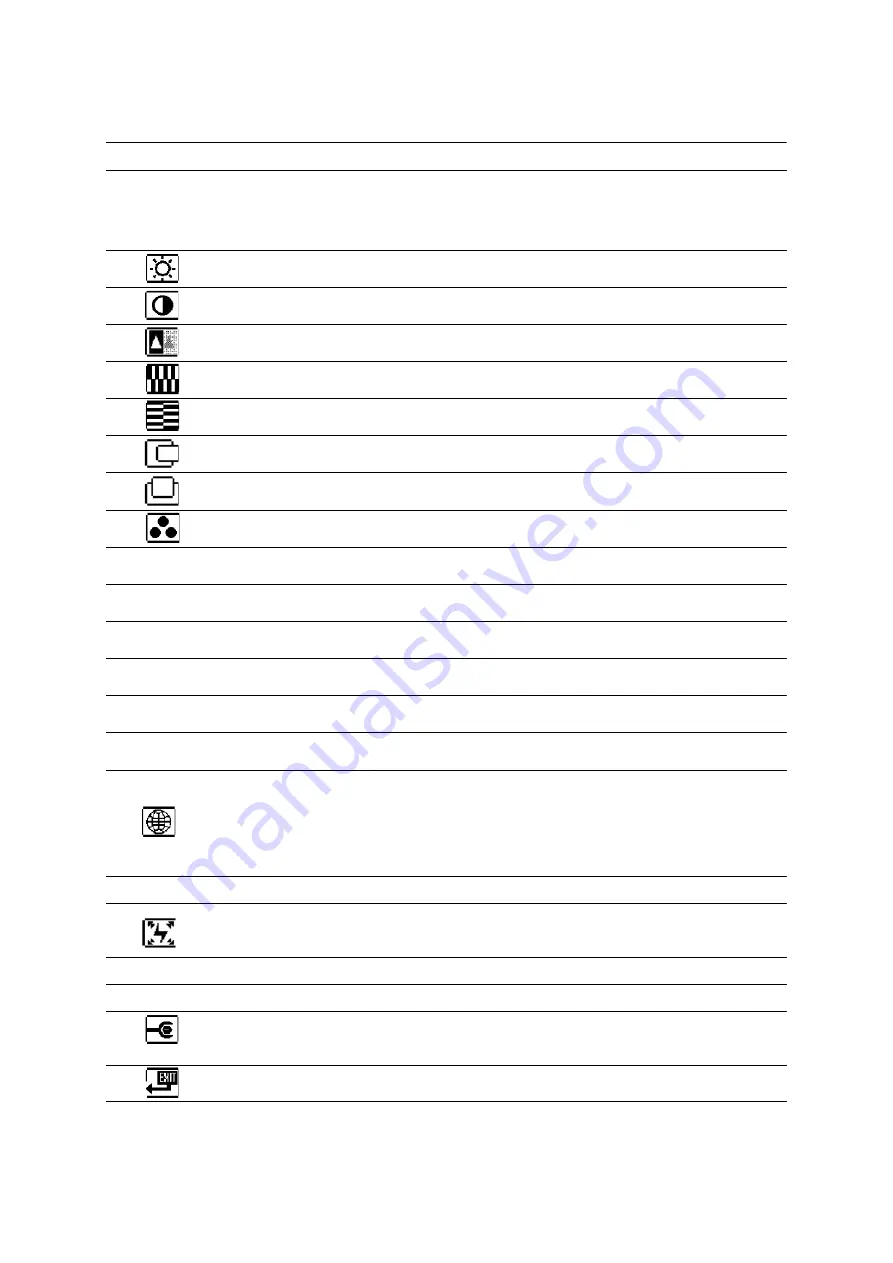
background image

ViewSonic

Q7

10

OSD Icon List


Icon Functions 

Detail 


Auto Adjustment


Optimize the picture performance automatically


(you may also press _ an d _ buttons simultaneously , 

while the OSD menu is not shown, to activate the function)


Brightness 

Adjust the luminance level of the screen 


Contrast 

Adjust the contrast level (black to white ratio) of the screen


Sharpness 

Adjust the sharpness of the screen 


Clock 

Adjust the monitor’s internal sampling clock rate 


Phase 

Adjust the monitor internal signal phase 


Horizontal Position 

Shift the position of the screen left or right 


Vertical Position 

Shift the position of the screen up or down 


Color Temperature 

Select the setting of screen color – Cool, Warm or User 


Cool (9300K) 

Select the setting of screen color to be bluish white 


Warm (6500K ) 

Select the setting of screen color to be reddish white


User 

Adjust the setting of screen color per the user’s preference


Adjust the percentage of red color 


Adjust the percentage of green color 


Adjust the percentage of blue color 


OSD Menu 

Language 

Select your own preference of language of OSD menu 

There are 9 languages available – English, German, 

French, Italian, Spanish, Japanese, Simplified Chinese, and 

Traditional Chinese. 


OSD Menu Position 

Adjust the position of OSD menu on the screen. 


Power Saving Mode 

Select between Standard and Advanced power saving 

modes. See addendum for details


Standard 

Fulfill EP A Energy Star power management    requirement 


Advanced 

Activate monitor Life-Extension function 


Recall Factory 

Preset 

Reset monitor parameters back to factory preset values.


Exit 

Disable the OSD menu


Summary of Contents for Optiquest Q7 VS10807

Page 1: ...Q7 LCD Display Model No VS10807...

Page 2: ...etting Started Package Contents 5 Precautions 5 Quick Installation 6 Wall Mounting Optional 7 Using the LCD Display Setting the Timing Mode 8 Customizing your Monitor 9 Working with OSD Group 9 Introd...

Page 3: ...rence by one or more of the following measures Reorient or relocate the receiving antenna Increase the separation between the equipment and receiver Connect the equipment into an outlet on a circuit d...

Page 4: ...and a third grounding prong The wide blade and the third prong are provided for your safety If the plug does not fit into your outlet consult an electrician for replacement of the outlet 10 Protect t...

Page 5: ...ury in compact fluorescent lamps not exceeding 5 mg per lamp and in other lamps not specifically mentioned in the Annex of RoHS Directive 2 Lead in glass of cathode ray tubes electronic components flu...

Page 6: ...poration reserves the right to change product specifications without notice Information in this document may change without notice No part of this document may be copied reproduced or transmitted by a...

Page 7: ...CM files Precautions Sit at least 18 from the LCD display Avoid touching the screen Skin oils are difficult to remove Never remove the rear cover Your LCD display contains high voltage parts You may b...

Page 8: ...ons If your computer does not have a CD ROM drive please refer to Customer Support page Wait for the CD ROM to auto start NOTE If the CD ROM does not auto start double click on the CD ROM icon in the...

Page 9: ...ing 1 Verify that the Power button is turned Off then disconnect the power cord 2 Push the LCD display back and down flat against the base as shown 3 Lay the LCD display face down on a towel or blanke...

Page 10: ...g mode use the OSD On screen Display controls to adjust the screen image For the best picture quality set your LCD display timing mode to VESA 1280 x 1024 60Hz To set the Timing Mode 1 Set the resolut...

Page 11: ...ss Menu buttonto activate the OSD menu 2 Select the icon from the OSD menu with the buttons 3 Press Menu button to confirm the selection of a specific function 4 Press or to adjust the setting values...

Page 12: ...User Cool 9300K Select the setting of screen color to be bluish white Warm 6500K Select the setting of screen color to be reddish white User Adjust the setting of screen color per the user s preferen...

Page 13: ...0 75 Hz 800 x 600 56 60 72 75 Hz 640 x 480 60 75 Hz 720 x 400 70 Hz Power Voltage 100 240 VAC 50 60 Hz auto switch Display area Full Scan 433 44 mm H x 270 90 mm V 17 06 H x 10 66 V Operating conditio...

Page 14: ...omputer If the other end of the video cable is not attached permanently to the LCD display tightly secure it to the LCD display Adjust brightness and contrast If you are using an Macintosh older than...

Page 15: ...viewsoniceurope com uk Support Calldesk htm Europe Middle East Baltic countries and North Africa www viewsoniceurope com Contact your reseller Australia New Zealand www viewsonic com au AUS 1800 880...

Page 16: ...soft lint free cloth and wipe the screen To clean the case 1 Use a soft dry cloth 2 If the case still not clean apply a small amount of a non ammonia non alcohol based mild non abrasive detergent onto...

Page 17: ...o Customer Support page You will need to provide your product s serial number 2 To obtain warranted service you will be required to provide a the original dated sales slip b your name c your address d...

Page 18: ......

Reviews: