background image


Installation 


Please install the device on a flat place while the car is stopped.   


Please double-check the accessories and fully understand the installation instructions before you install 

the device. 


Please be noted not to let the device hinder driver

s visibility. 


Look for the best recording spot before you fix the bracket on the windshield. 


Try to hide cables for safety and beauty purpose.


After fixing the bracket, please adjust the camera angle to get better recording results (no more than 1°). 


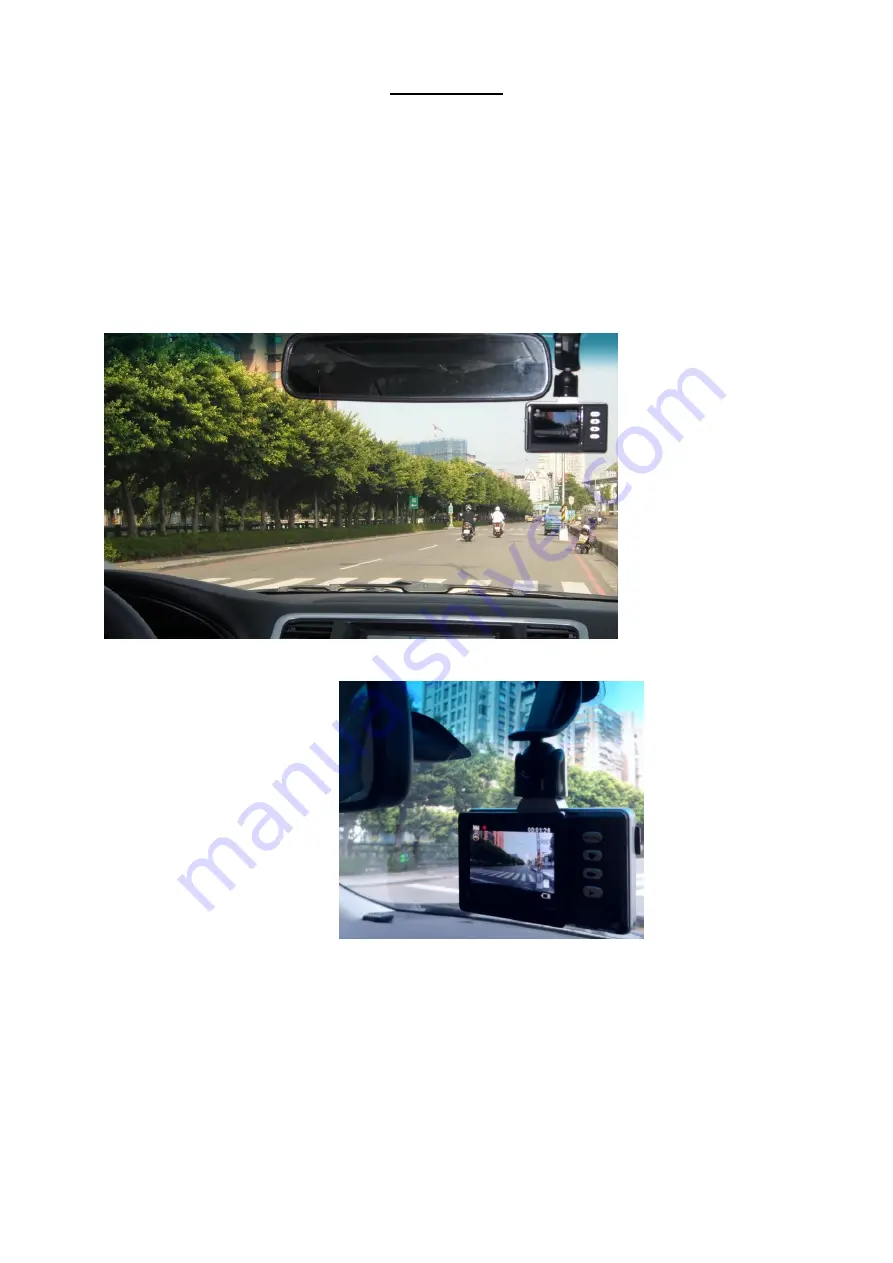
Recommended place to fix the bracket (see below):


Summary of Contents for VR-101 Series

Page 1: ...inition Handheld Driving Recorder User Manual Please read the user manual carefully before use and keep for future reference All rights reserved Mitech Technologies Co Ltd This user manual is subject...

Page 2: ...use neutral cleaner to cleanse the device Please remove power cable when device is not in use Please switch the device off and remove power cable when you leave your car also put the device in a place...

Page 3: ...discard batter in the fire Please use the genuine power cable for battery charging For environmental protection please recycle used battery Do not litter Product Introduction Features This product is...

Page 4: ...anguage interface Traditional Simplified Chinese English French German Spanish Italian Portuguese and Japanese Accessories HD Smart DVR Driving Recorder 1 Mini USB power cable 1 Mounting Bracket 1 Use...

Page 5: ...Power Switch 8 Microphone 15 Micro SD Card Slot 2 Bracket Tenon 9 Play Button 3 Lens 10 Rightward Button 4 REC OK Button 11 Downward Button 5 Speaker 12 Menu Button 6 Product Logo 13 LCD Screen 7 HDM...

Page 6: ...efore you install the device Please be noted not to let the device hinder driver s visibility Look for the best recording spot before you fix the bracket on the windshield Try to hide cables for safet...

Page 7: ...tton for system parameter setup Menu Button Switch Record Mode Playback Mode and System Setup when device is not recording When device is recording press Menu will turn off the screen for energy savin...

Page 8: ...s REC OK to confirm Auto Power Off Press Menu twice Downward twice REC OK to enter submenu Off 2 Minutes 5 Minutes 10 Minutes press Downward to select and then press REC OK to confirm Beep Sound Press...

Page 9: ...de press Rightward to select recorded video files press REC OK to play When playing back video files press Downward to adjust volume levels loud to quiet Delete Videos Under Playback Mode press Menu t...

Page 10: ...de to Format Memory Card Memory Card has been formatted at the factory If you use other memory card format it before use How to format memory card under Non Record Mode press Play to switch to Playbac...

Page 11: ...H 264 Advanced Video Coding Image File Format AVI can be played on Windows Media Player Resolution 1280 720 HD 848 480 320 240 FPS 720p 30 fps Output HDMI Time Date Display YYYYMMDD HHMMSS Photo shoot...

Reviews: