background image

DVB Setup Menu

Channel Grouping

Group channels according to Movies, Sport, Music, Kids, Fashion 
etc.  

Edit Channel

Have such operations as Add, Delete and Rename to channels.

Delete All

If you do not like one or some channels, you can delete it/them in 
Channel Organizer menu, but if you do not like all TV or Radio, 
you can enter Delete All menu to choose to delete all TV, RADIO, 
Carriers.

Configuration

Configuration provides individualized system setup function, you 
can configure the system according to your own hobby and 
demand.

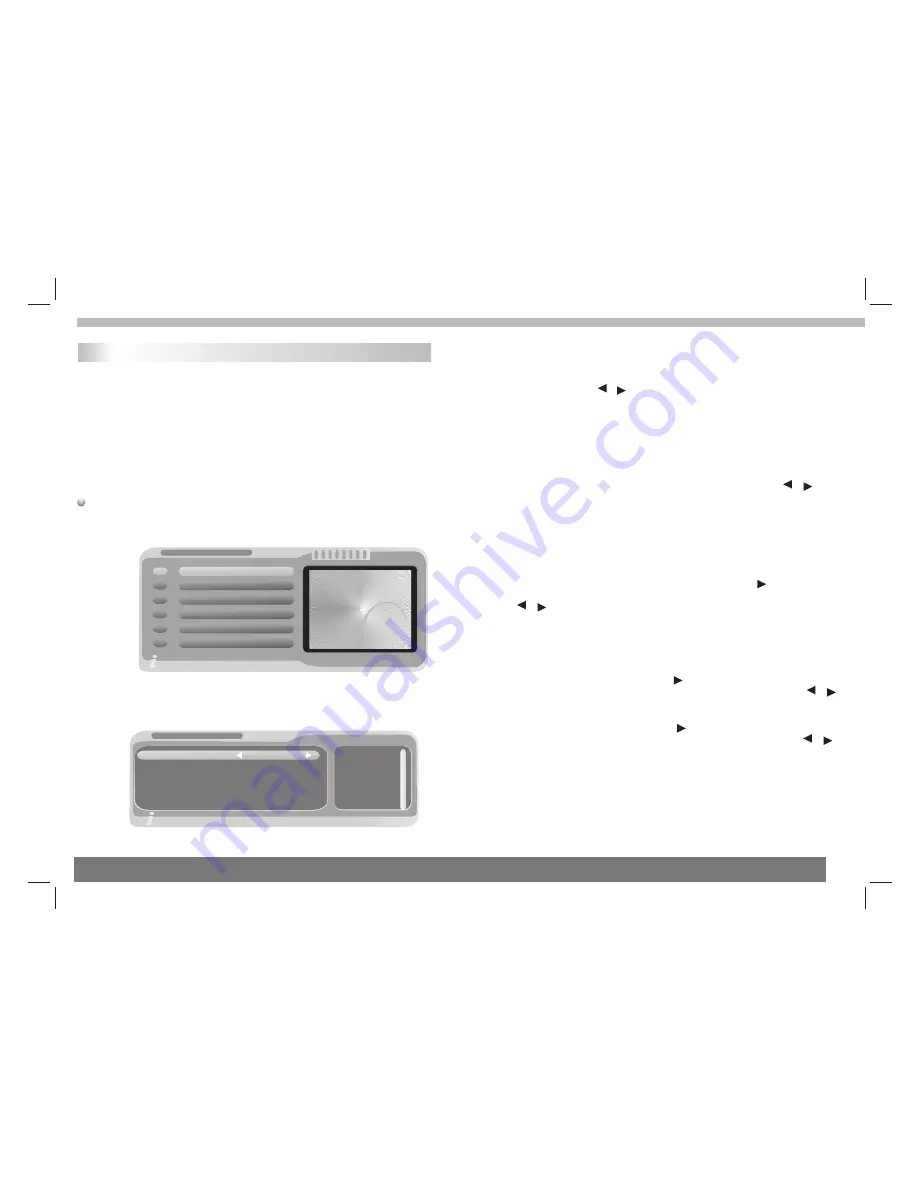
OSD
Via OSD option setup, you can set the user interface display mode 
according to your own demand. Via the menu ( MENU->Digita TV
->Configuration -> OSD), you can enter OSD menu.

Configuration

TV

System Setup

OSD

Time

Wakeup Timer

Parental Look

OSD

Channel Name     New Channel

OSD Trans                                  10%
OSD Language                       English
1st Audio Language               English
2nd Audio Language             English

Time on OSD                              Off

OSD                                         Theme1

Theme1

All options are listed on the left of the OSD menu, when the cursor moves 
on the option in OSD menu, the values corresponding to this option on the 
right of the menu, press      /     key to move upward and downward to 
choose the options in OSD menu.

There are following options in OSD menu: 
(1).OSD Option sets system menu mode; currently, one mode is 
supported.

(2).Time on OSD Option sets whether to display system time in full-screen 
play channel. Move the cursor to time on OSD option, press      /
key to choose between On and Off, the default is Off.

(3). Trans option sets menu transparency, press Left/Right key to adjust 
betwee %0-%60.

(4). OSD Language option: The system has the user interface supporting a 
couple of languages, you can set language via OSD Language option: 
(1)Move the cursor onto OSD Language option , Press      key to enter 
OSD Language List.
(2)Press     /     key choose language.
(3).Press OK key to confirm system interface language selection, then 
the setting is effective, and then the interface language turns into the 
currently chosen language, the cursor can move onto OSD Language 
option on the left.

(5). 1st  Audio Language option: Press      key to enter the currently 
supported Audio Language list, in the Audio Language list, press     / 
key to choose language, press OK key to confirm.

(6). 2nd Audio Language option: Press       key to enter the currently 
supported Audio Language list, in the Audio language list, press     / 
key to choose language, press OK key to confirm.

DVB Operation

8

Summary of Contents for VTD40

Page 1: ......

Page 2: ...in Unit P5 Remote control unit P4 Battery charge P6 Chapter 2 1 First Time Installation P6 First Time Installation P7 P16 Chapter 2 2 Initial OSD Setting P16 P18 Chapter 2 3 Convenient Functions P19 P...

Page 3: ...e no user serviceable parts inside Refer servicing to qualified service personnel 2 Safety Precautions Before using the player please ensure that the local AC voltage is suitable for this unit N Warni...

Page 4: ...V mode 6 ENTER Activates the highlighted menu item 7 MODE Adjusts the TFT panel parameters 8 EPG Displays EPG 9 MENU Displays on screen menu 10 EXIT Returns to previous screen 11 VOLUME CONTROL 15 POW...

Page 5: ...not using the DVD player for a long time Insert the battery Identification of Controls Battery Pack 1 2 Match the battery pack into the holes on the back of the player Combine the battery pack to pus...

Page 6: ...prev program 11 REPEAT Repeat play file in USB or CARD 12 TV RADIO To switch between standby operation mode 13 EXIT Returns to previous screen 14 DISPLAY Displays information of the current channel 15...

Page 7: ...cture CONTRAST Adjusts the contrast of the picture COLOR Adjusts the colour of the picture LANGUAGE Select the language of country 1 Press the MODE button to display the PICTURE menus 2 When a menu it...

Page 8: ...page 2 prior to auto searching you need to configure relevant parameters includeing 1 Start Freq KHz the default frequency is 474000KHz You can input relevant difitals to midify it 2 End Freq KHz the...

Page 9: ...nu press key to move upward and downward to choose the options in OSD menu There are following options in OSD menu 1 OSD Option sets system menu mode currently one mode is supported 2 Time on OSD Opti...

Page 10: ...u receiving equipment Brightness Adjust the system brightness Contrast Adjust the system contrast HUE Adjust the system hue Saturation Adjust the system saturation System Setup System Setup menu can p...

Page 11: ...sent system can support usual USB media players and upgrade to system software This product supports the play of MP3 JPEG and MPEG 4 AVI It can support only the files displaying in the list and the fi...

Page 12: ...ces 1 Storage circumstances Temperature Humidity 2 Work circumstances Temperature Humidity 6 months 20 C 45 C 20 C 65 C 65 20 65 20 1 week Standard charge Standard discharge 0 C 45 C 20 C 65 C 65 20 6...

Page 13: ...e control is effective Turn the unit off and then back to on Alternatively turn off the unit disconnect the AC power cord and the re connect it The player may not be operating properly due to lightnin...

Page 14: ......

Reviews: