background image

A

150


Digital Recorder 

8


3.2 FIND-2 Sweep 

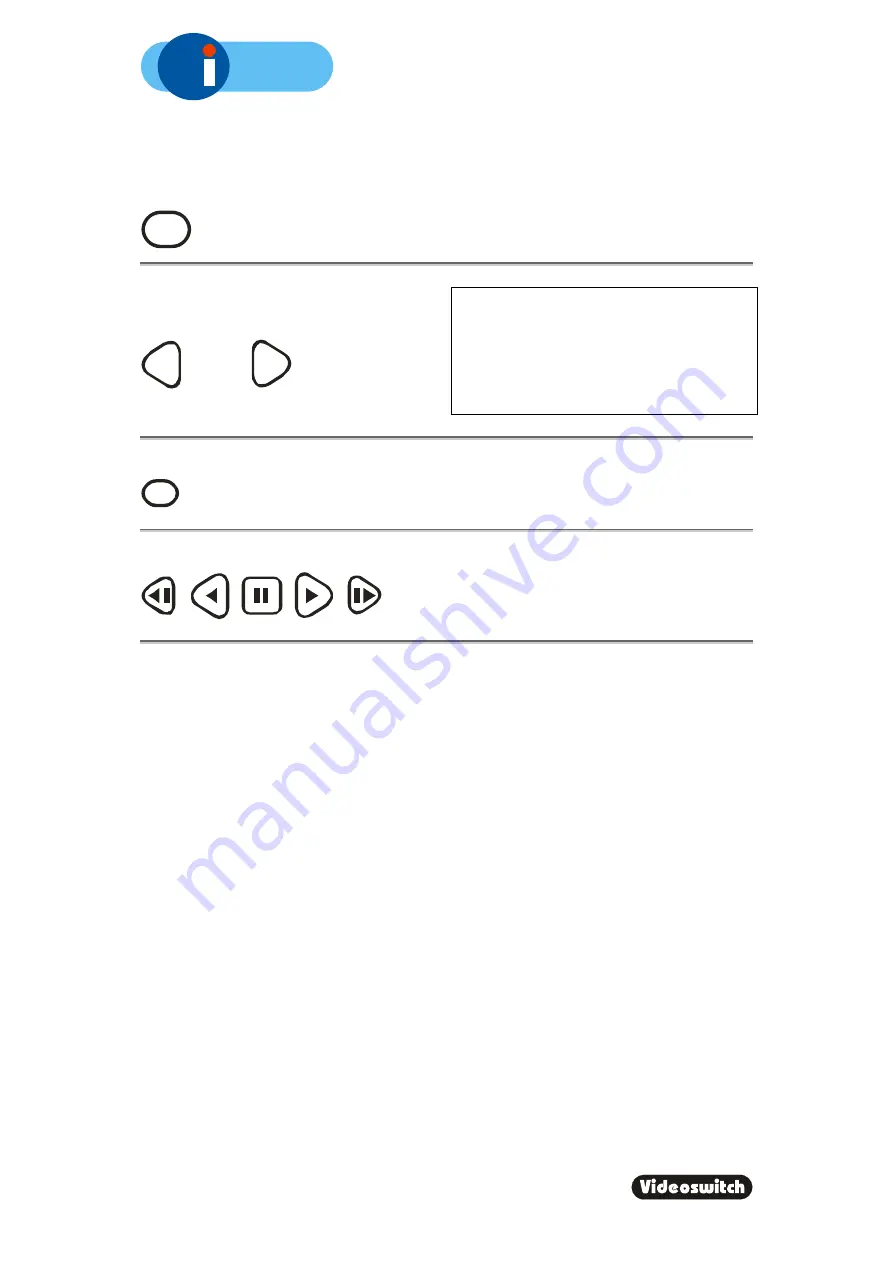
An alternative to the date/time search, is the sweep facility. Press this key until the sweep 
mode is displayed: 

F IN D


Use these keys to scan through the whole 
range of recorded images: 

To step in finer time increments, press the 

OK

 key to access the fine mode. 

Note that the slider changes from a solid 
block to a diamond. 

Press again to cancel. 


Í

Í


To quickly step between start, middle and end, press this key: 

DEF


When you have found what you want, use the play keys to view the video: 


Summary of Contents for Ai150

Page 1: ...Gbytes Ai150 G300 4 300 Gbytes Ai150 G300 9 Document Reference Date Firmware Vi606c doc 21 10 2009 From Vi015B09 F Videoswitch Telephone 01252 851510 Ocean House Redfields Industrial Park Fax 01252 8...

Page 2: ...6 2 Log Off 13 7 FN 14 7 1 Auto sequence Yes 14 7 2 Auto sequence No 14 8 INFO 15 9 MENU 16 9 1 Date Time 17 9 1 1 Date Time 17 9 1 2 Summer Winter Time 18 9 2 Record 18 9 2 1 Days 18 9 2 2 Quality 1...

Page 3: ...Outs 23 11 4 1 Alarms 23 11 4 2 Remote Keyboard 24 11 4 3 PSTN ISDN Modem 25 11 5 Image Capture and Storage 25 11 6 Physical and Environmental 26 11 6 1 Power Requirements 26 11 6 2 CE Marking 26 11...

Page 4: ...c When the disc is full the Ai150 keeps on recording overwriting the oldest images Images are retained for a specified user programmable number of days typically 14 or 31 All images recorded within th...

Page 5: ...or output MAIN of the Ai150 to a Video Monitor to the using a BNC cable Make sure that the monitor termination is switched on i e to 75 Ohms Connect the a camera to Camera Input 1 on the Ai150 using a...

Page 6: ...D MM YY HH MM SS where DD is the day of the month 00 to 31 MM is the month 01 to 12 YY is the year e g 04 for the year 2004 HH is the hour in 24 hour format 00 to 23 MM is the number of minutes past t...

Page 7: ...play correctly Any potential problems with the cameras or recording system will then be detected as soon a possible rather than continuing un noticed until a critical incident needs to be recalled fro...

Page 8: ...y a power on reset See section 0 o If the problem persists contact your supplier HD1 Fail This alert indicates that the hard drive is not working o Check that the drive drawer is correctly fitted o Ch...

Page 9: ...ewing Full Screen Images Select full screen views of different cameras by pressing the NUMBER keys 1 4 7 2 5 8 0 3 6 9 2 2 Quad Display Select quad display by pressing the QUAD key live display only 2...

Page 10: ...d time for which there is still video available The format for the date and time is DD MM YY HH MM SS where DD is the day of the month 00 to 31 MM is the month 01 to 12 YY is the year e g 04 for the y...

Page 11: ...Use these keys to scan through the whole range of recorded images To step in finer time increments press the OK key to access the fine mode Note that the slider changes from a solid block to a diamond...

Page 12: ...alert problem still exists new alert events will be created FIND Use the up down keys to scroll through events and the left right keys to select different pages of events Up to 480 events can be recor...

Page 13: ...y you can use these keys to move forwards and backwards through the recorded video images Press the forward or reverse play keys repeatedly to increase the replay speed The function of each key is Ste...

Page 14: ...ndividually adjusted by using the UP and DOWN arrow keys to highlight the start or end times and the LEFT and RIGHT keys to adjust the time Alternatively if you highlight the start time and press BACK...

Page 15: ...see section 9 4 1 6 1 Log On To log on to the Ai150 and thereby gain access to the menus Press this key PSW Enter the correct password using the NUMBER keys 1 4 7 2 5 8 0 3 6 9 Press this key OK A mes...

Page 16: ...Recorder 13 6 2 Log Off When you have finished accessing the menu you should log off again to prevent other users gaining unauthorised access Press this key PSW Press this key OK The menus are now pr...

Page 17: ...vides additional functions as listed below 7 1 Auto sequence Yes Press these keys to start auto sequencing of all cameras on the monitor FN 7 OK 7 2 Auto sequence No Press these keys to stop auto sequ...

Page 18: ...ll you about the Ai150 and to confirm that it is operating in the way that you intend INFO 1 Configuration INFO 2 Status INFO 3 Drives INFO 4 Record INFO 5 Play Press this key to step through these va...

Page 19: ...ove through the menus and to alter settings within the menu If you are uncertain about a menu setting the default option can be selected using this key DEF In parts of the menu you may need to initiat...

Page 20: ...keys to enter the date and time The format for the date and time is DD MM YY HH MM SS where DD is the day of the month 00 to 31 MM is the month 01 to 12 YY is the year e g 04 for the year 2004 HH is...

Page 21: ...esults in fewer images per second Fewer days results in more images per second The image rate may be viewed at any time using the INFO 4 screen see section 8 Note that the actual number of days retain...

Page 22: ...ooms result in smaller images The use of variable image size maximises the use of the available hard drive capacity 9 2 3 Image Size Control Select option to provide required image quality for applica...

Page 23: ...the brightness as required for each camera If the displayed image which is digitised is too dim or is tearing increase the brightness setting If an image is too bright decrease the brightness setting...

Page 24: ...ISDN if an optional external Vi PSTN or Vi ISDN adaptor is attached 10 1 Vi PSTN This external adaptor is for use with a standard telephone line The adaptor plugs into the PSTN ISDN connector on the A...

Page 25: ...power from the Ai150 before removing the hard drive Wait for 30 seconds for the drive to stop spinning before moving the Ai150 or removing the hard drive Moving a drive that is still spinning can dama...

Page 26: ...al In Out 1 Alarm Common Ground In 5 Alarm 9 In 8 Alarm 1 In 9 Alarm 3 In 10 Alarm 5 In 11 Alarm 7 In 12 Relay N C Out 13 Relay N O Out 21 Alarm 3 In 22 Alarm 4 In 23 Alarm 6 In 24 Alarm 8 In 25 Relay...

Page 27: ...Electrical RS485 Pin Number Signal In Out 1 RS485 A In 2 RS485 B In 3 Not used N a 4 12V for Keyboard Out 5 0V for keyboard Out 6 Not used N a 7 Twisted Pair Video Out 8 Twisted Pair Video Out Note A...

Page 28: ...in Number Signal In Out 1 DCD In 2 RXD In 3 TXD Out 4 DTR Out 5 GND In Out 6 8V Out 7 RTS Out 8 CTS In 9 RI In 11 5 Image Capture and Storage Displayed Image Format 720 x 576 Pixels 16 Million colours...

Page 29: ...ake adequate measures 11 6 3 Dimensions and Weight Width Height Depth Weight Unit 165mm 200mm 310mm 6Kg Packaged 275mm 380mm 475mm 8Kg 11 6 4 Temperature and Humidity Operating Storage Temperature 10...

Page 30: ...A 150 Digital Recorder 27 Notes Notes...

Page 31: ...form is filled in fully and returned within 1 month of purchase the warranty on this product will be extended from 1 year to 2 years for no extra charge Serial Number of Ai150 this is on the label und...

Page 32: ...A 150 Digital Recorder 29 Notes...

Reviews: