


EN-33
○ ○ ○ ○ ○ ○ ○ ○ ○ ○ ○
. English .
User’s Manual
Projector
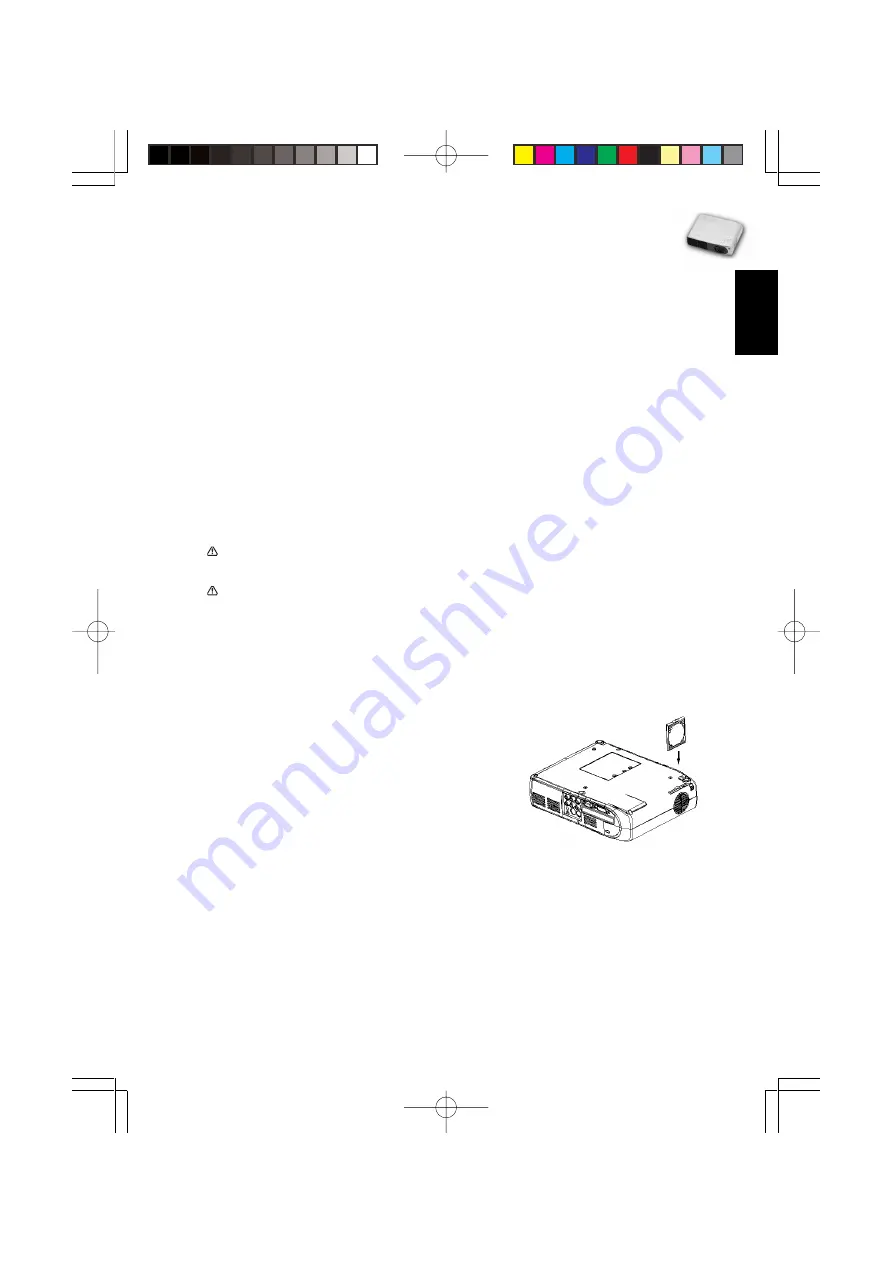
Cleaning the Air Filter
The air filter, which is located at the bottom of the projector, should be cleaned after
every 100 hours of use. If it is not cleaned periodically, it can become clogged with
dust and prevent the projector from being ventilated properly. This can cause
overheating and damage the projector.
To clean the air filter:
1.Switch the projector off and unplug the power cable from the wall socket.
2.Place a protective sheet (cloth) beneath the projector. Turn the projector over so you
can see its underside.
3.Remove the air filter by pulling the filter tab.
4.Clean the air filter.
Caution:
To clean the filter, you are advised to use a small vacuum cleaner designed
for computers and other office equipment.
If the dirt is difficult to remove or if the filter is torn, replace it.
5. Replace the filter.
6. Plug the power back into the projector.
Note:
Be sure that the projector is stable after turning it over.


