background image

Doc # INS-45MX-Series 

Issue Date: 9/28/2011 

Revision: E 

Page 1 of 26 


Prior to Using This Document: 

Videology reserves the right to modify the information in this 

document as necessary and without notice. It is the user’s responsibility to be certain they possess the 
most recent version of this document by going to 

www.videologyinc.com

, searching for the model 

number, and comparing revision letters on the respective document, located in the document’s footer. 


For technical assistance with this product, please contact the supplier from whom the product was 
purchased.    


Videology Imaging Solutions, Inc.  

USA


Videology Imaging Solutions, B.V. 

Europe


37M Lark Industrial Parkway 
Greenville, RI 02828  
Tel: 401-949-5332 
Fax: 401-949-5276 

www.videologyinc.com


Neutronenlaan 4 
NL-5405 NH Uden, Netherlands 
Tel: +31 (0) 413-256261 
Fax: +31 (0) 413-251712 

www.videology.nl


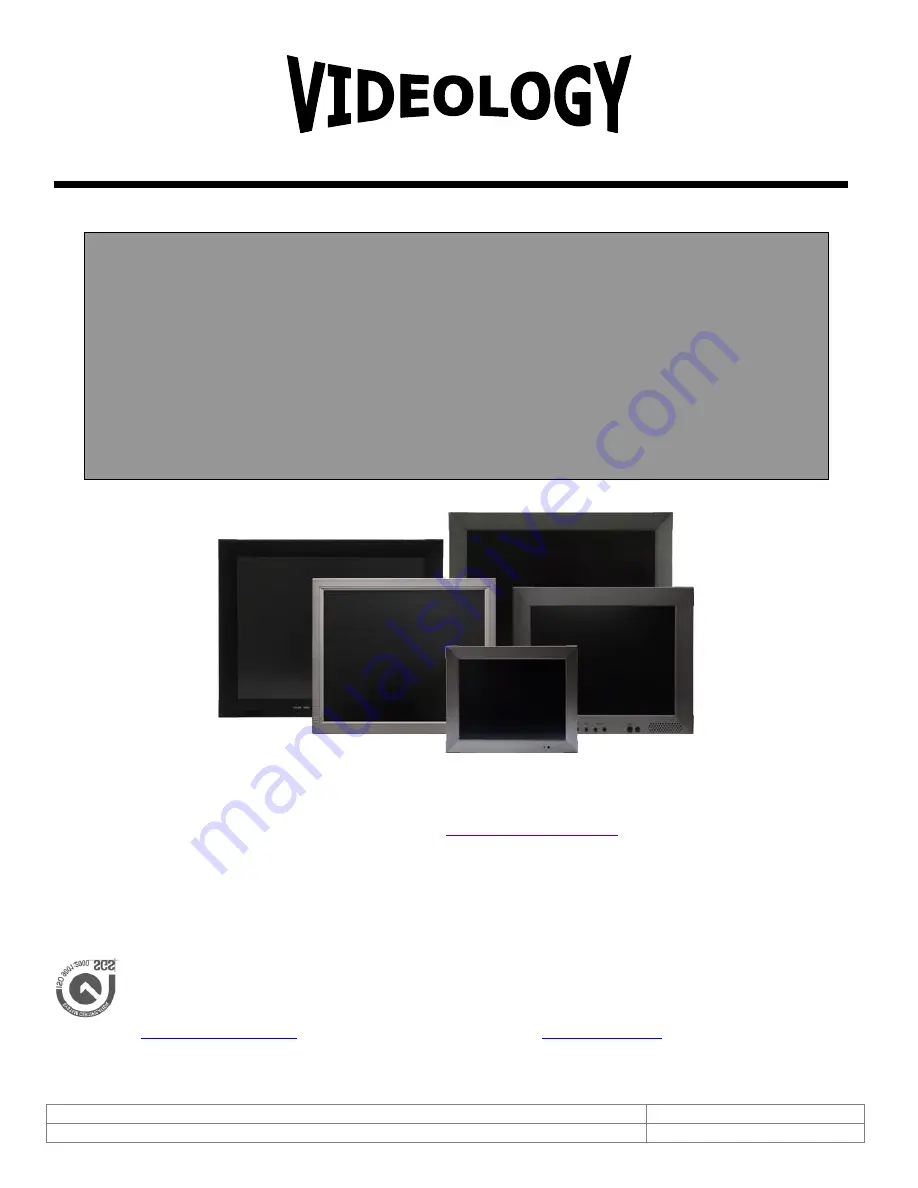
User Manual for LCD Monitors 

 
45M10-1  10.4” TFT 
45M15   

15” TFT 

45M17   

17” TFT 

45M20-1  20” TFT 

IMAGING SOLUTIONS INC. 

Original Equipment Manufacturer


Summary of Contents for 45M10-1

Page 1: ...ers on the respective document located in the document s footer For technical assistance with this product please contact the supplier from whom the product was purchased Videology Imaging Solutions Inc USA Videology Imaging Solutions B V Europe 37M Lark Industrial Parkway Greenville RI 02828 Tel 401 949 5332 Fax 401 949 5276 www videologyinc com Neutronenlaan 4 NL 5405 NH Uden Netherlands Tel 31 ...

Page 2: ... 1 10 4 Monitor Back Panel 8 7 2 17 Monitor Back Panel 9 7 3 15 20 Monitor Back Panel 10 8 OSD Architecture 11 8 1 Video Function 10 15 20 11 8 2 Video Function PC Mode Only 10 15 20 12 8 3 OSD Functions for 17 45M17 13 8 3 1 Source 13 8 3 2 Item Hot key simple operation 13 8 3 3 OSD Menu 13 8 4 Audio Function 10 15 20 18 9 LCD Monitor Mounting Guide 19 9 1 Desktop Mount 19 9 2 Wall VESA mount 19 ...

Page 3: ...t up Do not place the unit on surfaces rugs blankets etc or near materials curtains draperies that may block the ventilation holes Revision Issue Date Reason CN Rev A 09 21 2007 Initial release 05 0688 Rev B 07 24 2006 Added 45M10 1 removed 45M10 06 0153 Rev C 12 07 2007 Added 45M20 07 0228 Rev D 06 29 2010 Added 45M20DX 10 0102 Rev E 08 17 2011 New model for 17 monitor all sections updated remove...

Page 4: ...and if not installed and used in accordance with the instructions may cause harmful interference to radio communications However there is no guarantee that interference will not occur in a particular installation If this equipment does cause harmful interference to radio or television reception which can be determined by turning the equipment off and on the user is encouraged to try to correct the...

Page 5: ...Ohms VESA Standard Bracket Desktop Mount Easy OSD Menu User Interface Wall Mountable 5 3 45M17 17 TFT NTSC PAL Auto Selectable Ultra High Resolution 1280 x 1024 Pixels IR Remote Control Enabled Inputs Outputs 1 BNC Composite Video S Video 1CH Audio RCA PC IN Auto Termination 75 Ohms VESA Standard Bracket Desktop Mount Easy OSD Menu User Interface Wall Mountable 3D Comb Filter 3D De interlace techn...

Page 6: ... 2 Adjust Increase the value on the OSD menu or turn ON OFF function 3 Adjust Decrease the value on the OSD menu or turn ON OFF function 4 Item Chose sub menu from Audio Video Image Press again to enter selected option 5 Menu OSD menu ON OFF control 6 Source Select input signal from AV1 AV2 S Video or PC Note Push menu and up to put into key lock mode and push again to unlock 1 2 3 4 5 6 Figure 1 ...

Page 7: ...st Decrease the value on the OSD menu or turn ON OFF function 4 Item Select Choose sub menu Hot key selection for Brightness Contrast Backlight Sharpness Hue Color Volume Press again to enter selected option 5 Menu Function OSD menu ON OFF control 6 Source SDE Select input signal from AV1 S Video or PC SHDE Select input signal from AV1 AV2 S Video PC HD Used as Return Exit function in OSD menu Pus...

Page 8: ...Audio Signal Input this input is for PC or Av2 or S Video refer to note below 3 AUDIO 1 OUT Audio looping outputs for AUDIO 1 4 AUDIO 1 IN Stereo Audio Signal Input this input is for Av1 refer to note below 5 Y C IN S Video Y C separated signal input 6 VIDEO 2 OUT Video looping output for VIDEO 2 7 VIDEO 2 IN Composite signal Input for VIDEO 2 8 VIDEO 1 OUT Video looping output for VIDEO 1 9 VIDEO...

Page 9: ... Back Panel Connection SDE Series IN DC12V AUDIO IN PC AUDIO IN PC IN Y C IN VIDEO IN VIDEO OUT Figure 2 17 Back Panel 1 Regulated DC12V Power Input 2 AUDIO R L In Audio Signal Input this input is for Video and Y C 3 PC AUDIO IN 4 PC IN 5 Y C IN S Video 6 Video IN OUT 1 2 3 4 5 6 ...

Page 10: ...for AUDIO 2 6 8 AUDIO 1 IN L R Stereo Audio Signal Input this input is for Av1 refer to note below 5 7 AUDIO 1 OUT L R Audio looping outputs for AUDIO 1 9 Y C IN S Video Y C separated signal input 10 Y C OUT S Video Y C separated signal looping output 11 VIDEO 2 OUT Video looping output for VIDEO 2 12 VIDEO 2 IN Composite signal Input for VIDEO 2 13 VIDEO 1 OUT Video looping output for VIDEO 1 14 ...

Page 11: ...s of the picture Brightness Adjusts the overall picture shade and brightness Tip Use the Brightness to make details in the dark areas of the picture to be just visible and Contrast to brighten the picture without causing video noise and foreheads to turn white Color Adds color to the black and white picture content of a color signal and is usually set for viewer s preference in color saturation TI...

Page 12: ...ure to be just visible and Contrast to brighten the picture without causing video noise and foreheads to turn white H Position Allows adjustment for the horizontal position V Position Allows adjustment for the vertical position Clock Is used to adjust to the best picture quality It adjusts the number of the clock pixels across one timeline Therefore it can affect the picture s position and size No...

Page 13: ...e menu bar Brightness Contrast Backlight Sharpness Hue Color Volume 8 3 3 OSD Menu Push Menu button to display the Main menu Main menu includes Picture Sound PIP Display Function and Exit 6 categories Use Select button to select the function category to be adjusted Push the Menu OK button to enter the selected category 8 3 3 1 PICTURE Mode AV S VIDEO HD Mode PC D Sub Color Temp Use Select button t...

Page 14: ...Use Select button to select On Off all MENU FUNCTION MODE Brightness Use Select button to increase decrease the screen brightness all Contrast Use Select button to increase decrease the screen contrast all Back light Use Select button to increase decrease the screen backlight all Sharpness Use Select button to adjust the sharpness of the image AV S video HD Hue Use Select button to adjust the hue ...

Page 15: ... function works only when sub picture exists 8 3 3 4 Display Use Select button to select the item to be adjusted Push Menu to confirm the selected item use Select button to adjust and then push Source button to return Mode AV S VIDEO HD Mode PC D Sub MENU FUNCTION MODE H Position Use Select button to adjust the horizontal position of the image all V Position Use Select button to adjust the vertica...

Page 16: ...ction Use Select button to select the item to be adjusted Push MENU to confirm the selected item Use Select button to adjust and then push Source button to return MENU FUNCTION MODE OSD Language Use Select button to select the desired language all OSD Time Use Select button to increase decrease the OSD display time all OSD Blend Use Select button to increase decrease the transparent degree of the ...

Page 17: ...Doc INS 45MX Series Issue Date 9 28 2011 Revision E Page 17 of 26 8 3 3 6 Exit Push MENU to exit the OSD menu ...

Page 18: ...e monitor will store new settings Volume Controls built in as well as external speakers output volume Note Volume control can also be adjusted by hot key Remote Operation Balance Not available on 10 4 Monitor Controls built in speakers output volume Treble Audio treble adjustment Bass Audio bass adjustment Will not affect internal speakers Bass adjustment is dependant on external speaker response ...

Page 19: ...r Mounting Guide 9 1 Desktop Mount Adjust the viewing angle of LCD to fit the most comfortable monitoring status Figure 6 9 2 Wall VESA mount Please follow the fix hole size on back panel to install the LCD to the wall directly or use a VESA mount Figure 7 VESA Mount Wall Mounts ...

Page 20: ...n in the above picture See Table 1 for support resolutions b Connect External device such as DVD or Game Player to Monitor as shown in the above picture c Connect CCD Camera 1 and 2 to Monitor through Video Input 1 and 2 BNC Connect as showing in the above picture Note Please refer to Specification for auto detection after changing resolution setting If Applicable ...

Page 21: ...x 600 56Hz 1024 x 768 60Hz 640 x 480 72Hz 800 x 600 70Hz 1024 x 768 70Hz 640 x 480 75Hz 800 x 600 72Hz 1024 x 768 75Hz 800 x 600 75Hz 17 Monitor 640 x 480 60Hz 800 x 600 56Hz 1024 x 768 60Hz 640 x 480 72Hz 800 x 600 70Hz 1024 x 768 70Hz 640 x 480 75Hz 800 x 600 72Hz 1024 x 768 75Hz 800 x 600 75Hz 1280 x 1024 60Hz 20 Monitor s 640 x 480 60Hz 800 x 600 56Hz 640 x 480 72Hz 800 x 600 70Hz 640 x 480 75...

Page 22: ...In out impedance 75 ohms auto termination Audio input output 2CH L R 50 100mVp p 45M17 1CH L R 50 100mVp p Power source 90 260V AC 60Hz 50Hz adapter 12V DC Power consumption 1 1A 15W 1 5A 18W 2 5A 30W 3 5A 42W Environmental Ambient operating temperature 10 C 50 C 14 F 122 F Operating Humidity 10 85 20 80 Mechanical Dimensions W x H x D 10 48 x 8 4 x 2 26 266 2mm x 213 3mm x 57 4mm 12 2 x 15 2 x 3 ...

Page 23: ...host image 7 Desired video disappears Checking 12 2 Package Contents A LCD monitor B Power cord C Accessory kit a DB15 DB15 VGA cable b 1 8 male to 1 8 male mini stereo plug cable D User manual E 12V Power Adapter F Remote Control Power not connected or not engaged Change to correct input channel Check signal cable Any interference from other devices Adjust video control on OSD Adjust video source...

Page 24: ...ED Green Light Power On Red Light Standby mode 2 Adjust Decrease the value on the OSD menu or turn ON OFF function 3 Adjust Increase the value on the OSD menu or turn ON OFF function 4 Item Chose sub menu from Audio Video Image Press again to enter selected option 5 Menu OSD menu ON OFF control 6 Source Select input signal from AV1 AV2 S Video or PC Video Audio Up Down Item Menu Source 1 2 3 4 5 6...

Page 25: ... OK Menu Push to call out OSD menu Used as Confirm OK function in OSD menu 8 Select Change the function up or down 9 Display Press to display the information on the screen such as resolution signal source 10 Picture Toggle between the different picture modes Standard Soft Personal Bright 11 Freeze Press to freeze the picture AV1 AV2 SVideo press again to restore 12 PIP Press to activate the PIP fu...

Page 26: ...reenville RI 02828 USA Tel 401 949 5332 Fax 401 949 5276 Videology Imaging Solutions Europe Neutronenlaan 4 NL 5405 NH Uden Netherlands Tel 31 0 413 256 261 Fax 31 0 413 251 712 Please visit our website at http www videologyinc com VIDEOLOGY IMAGING SOLUTIONS is an ISO 9001 registered video camera developer and manufacturer serving industrial machine vision biometric security and specialty OEM mar...

Reviews: