29
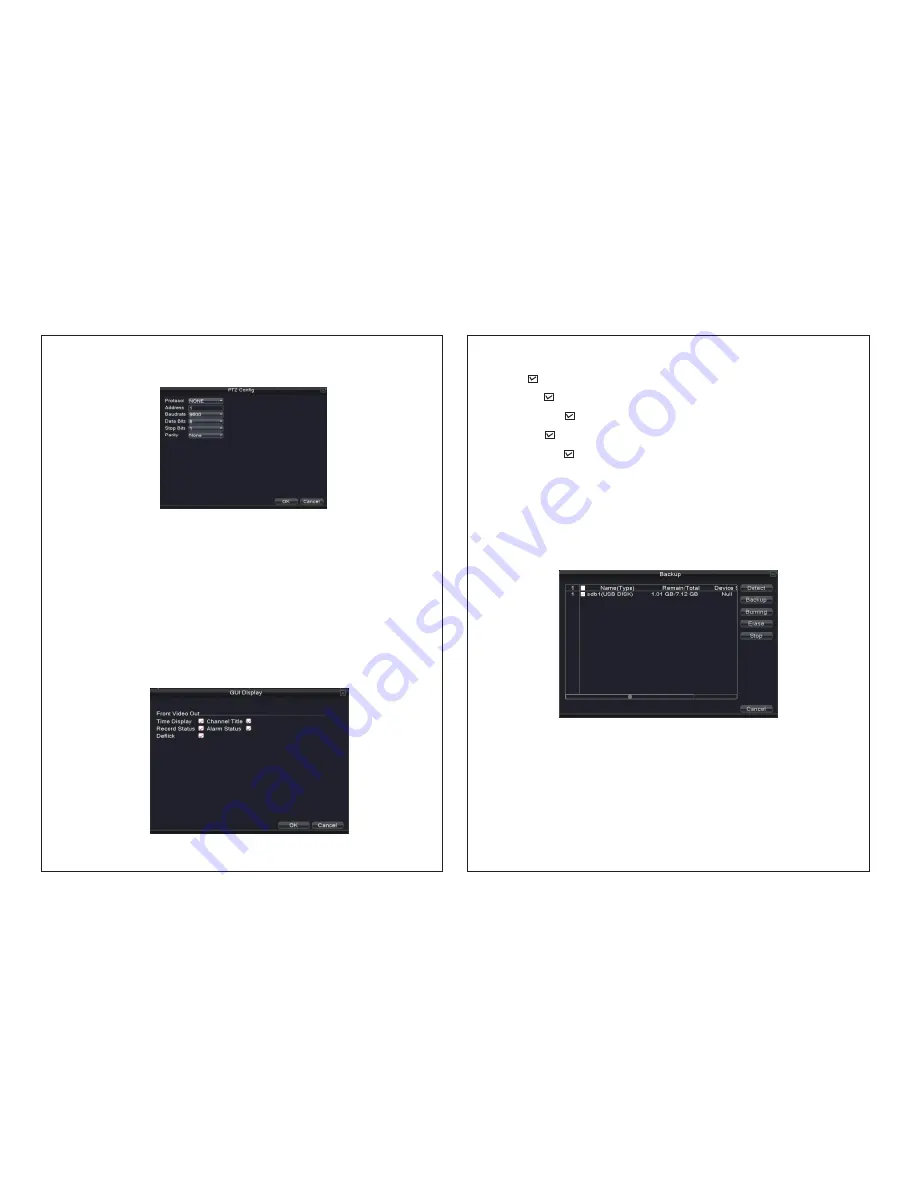
Picture 4.38 PTZ Config
4.6.2 PTZ Configuration
4.6.3 GUI Display
Channel:
Choose the dome camera input channel.
Protocol:
Choose the corresponding dome protocol. (PELCOD as an example)
Address:
Set as the corresponding dome address. Default address is 1.
Baud rate:
Choose the corresponding dome baud rate length. You can control the
PTZ and camera.
Default is 115200.
Date bit:
Includes 5-8 options. Default is 8.
Stop bit:
Includes 2 options. Default is1.
Check:
Include odd check, even check, sign check, blank check. Default is void.
Note:
parameters of protocol, address, baud rate should be consistent with relative
PTZ or dome. Or PTZ and dome can be controlled.
【
outputdisplay
】
setting the information in local preview: including time title, channel title.
Picture 4.39 GUI display
30
Picture 4.40 Backup
Time title:
means the selective state. Displays the system data and time in the
surveillance window.
Channel title:
means the selective state will display the system channel number in
the surveillance window.
Recording status:
means the selective state will display the system recording status
in the surveillance window.
Alarm status:
means the selective state will display the system alarm status in the
surveillance window.
De-flick :
select to, enable this function.
4.6.4 Backup
You can back up the video files to external storage.
Note:
The storage must be installed before the file backup starts. After the completion of
backup, the copied files can be played back individually. Even if the back is stopped
midway, the copied files can be played back individually.
Detect:
Detect the storage connected with the NVR such as hard disk or universal disk.
Backup:
Click “backup” button and the dialog box will appear as in picture 4.41. You
can choose the backup file accordingly.
Erase:
Choose the file to delete and click erasure to delete the file.
Stop:
Stop the backup.


