11
5.
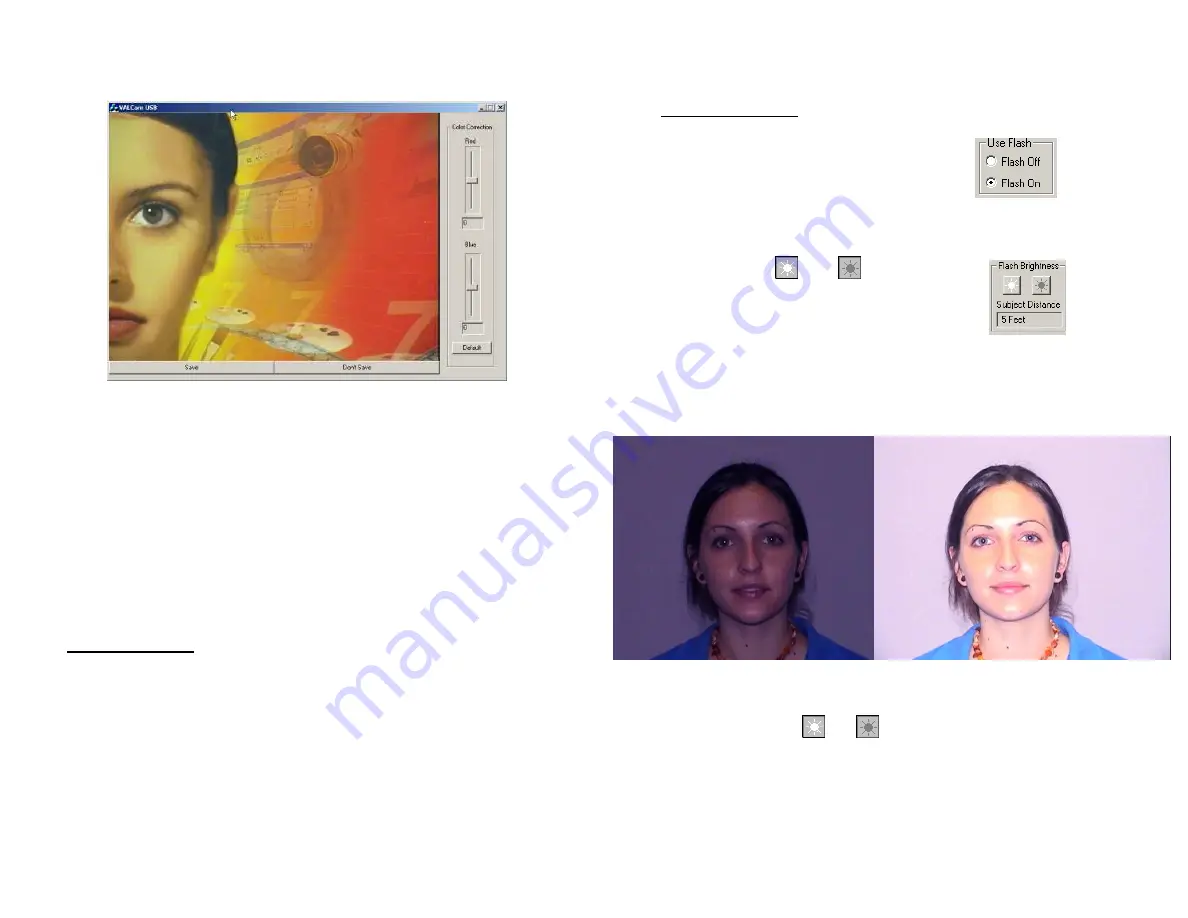
Adjust the “Red” and “Blue” scroll bars to adjust the image color balance.
The values can be adjusted from -50 to +50. Positive values increase Red
or Blue. Negative Colors decrease Red or Blue. These setting are
remembered between captures and sessions and will be restored on the
next capture without additional adjustment.
NOTE: If large positive or negative values of Red or Blue need to be
added, the “Live Red” and “Live Blue” adjustments should be set to
minimize the values of these settings. See “Tips on Quality Captures”
later in the manual.
6.
Click the “
Save”
button to send the image to clipboard or your
application. Click the
“Don’t Save”
button to discard the image and
prepare to take another capture. This is very useful when using the Twain
driver as you can immediately take another capture without restarting the
application.
Using the Photo-Flash
The photoflash allows optimal captures to be obtained in any environment with
the highest quality. You can even take captures in a completely dark room and
varying subject distances with no degradation of image quality.
Once the flash intensity is set for a given subject distance, all captures will be
identical even with different amounts of room light.
The
VALCam
stores different settings for Flash and non-Flash captures so both
live and Flash capture can be obtained without user intervention.
12
Taking a Flash Capture
1.
Click the
Use Flash
button to
Flash On.
The Flash will be triggered the next time the
capture button is clicked.
2.
Frame the subject with the camera controls.
Remember to zoom in as tight as your image composition will allow
for highest image resolution.
3.
Adjust the
and buttons for the
subject distance from the camera. Each time
these buttons are clicked the flash intensity will
be changed to accommodate for proper subject
distance.
4.
Click the Capture Button and after a short delay the flash will fire
and the image will be displayed. (Verify that
Use Preview
is set to
Yes
)
Flash set too dark
Flash set too Bright
5.
Fine tune the and
adjustments for optimal capture
exposure and take another capture. Repeat this process until
optimal image exposure is obtained. The live preview will not
change because
Use Flash
is set to
Flash On.


