


15
NORMAL PLAYBACK
The
indicator will light and the VCR will power-up auto-
matically.
• If a tape without a record protect tab is inserted, the unit will
start the playback automatically.
Press
REC/PLAY HOURS
E
E
or
D
D
button to choose the desired
time mode.
The selected time is displayed in the VCR indicator panel.
Select the time while the tape is stopped or being played back.
6H
➔
18H
➔
30H
➔
72H
➔
96H
• If the tape reaches the end before STOP is pressed, the VCR
will automatically stop.
If noise appears on the screen during playback, press either
TRACKING (
D
D
/
E
E
)
buttons until the noise on the screen is
reduced.
• In case of vertical jitter, adjust these controls very carefully.
• Tracking is automatically reset to normal when the tape is
ejected.
TRACKING CONTROL
NORMAL PLAYBACK
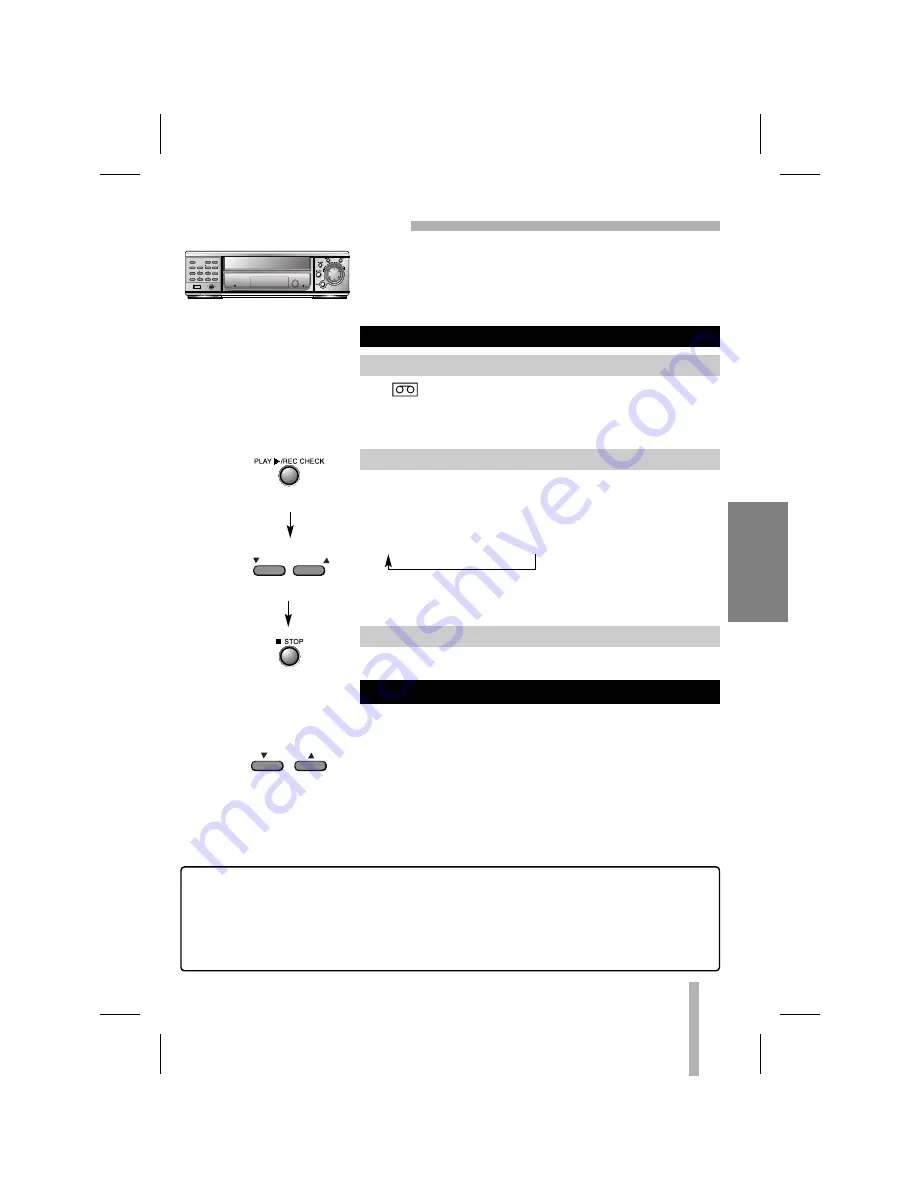
1
Insert a prerecorded video cassette.
2
Press the
PLAY
button.
3
Press the
STOP
button to stop playback.
PLA
YB
A
C
K
PREPARATION
• Turn on the power of both the VCR and the monitor.
• If you have a TV instead of monitor, turn on the power of TV
and then set the TV’s source selector to VIDEO.
SHARPNESS
HARD
POWER
TIME/CNT/REM
ALARM INDEX
COUNTER
CLEAR
TIMER
V-POS
REC/PLAY HOURS
CURSOR
TRACKING
H-POS
MENU
ENTER
SOFT
LOCK
ON
OFF
ALARM
KEY
LOCK
REC/PLAY HOURS
NOTES:
• A picture may vibrate vertically, but this is normal.
• A distortion may appear on the top of the screen, but this is normal.
• A sound may be muted during playback, but this is normal.
• If the recording hour and playback hour are different, the sound may not play back normally. (Set the
AUDIO PLAY on the SETUP menu to OFF mode.)
TRACKING
Summary of Contents for VCR30RT
Page 2: ...BLANK ...
Page 33: ...31 RS 232C PROTOCOL VCR30RT ...


