Vicon Vantage V16 Quick Start Manual Download Page 3

Vicon Motion Systems

Page 3 of 12

Check what's in the box

Check what's in the box

Before setting up your Vicon Vantage system, check 

that you have all the necessary components, which are 

described in this section.

Tip

For a list of components supplied with your specific Vicon system, see your 

shipment Bill of Materials.

Hardware

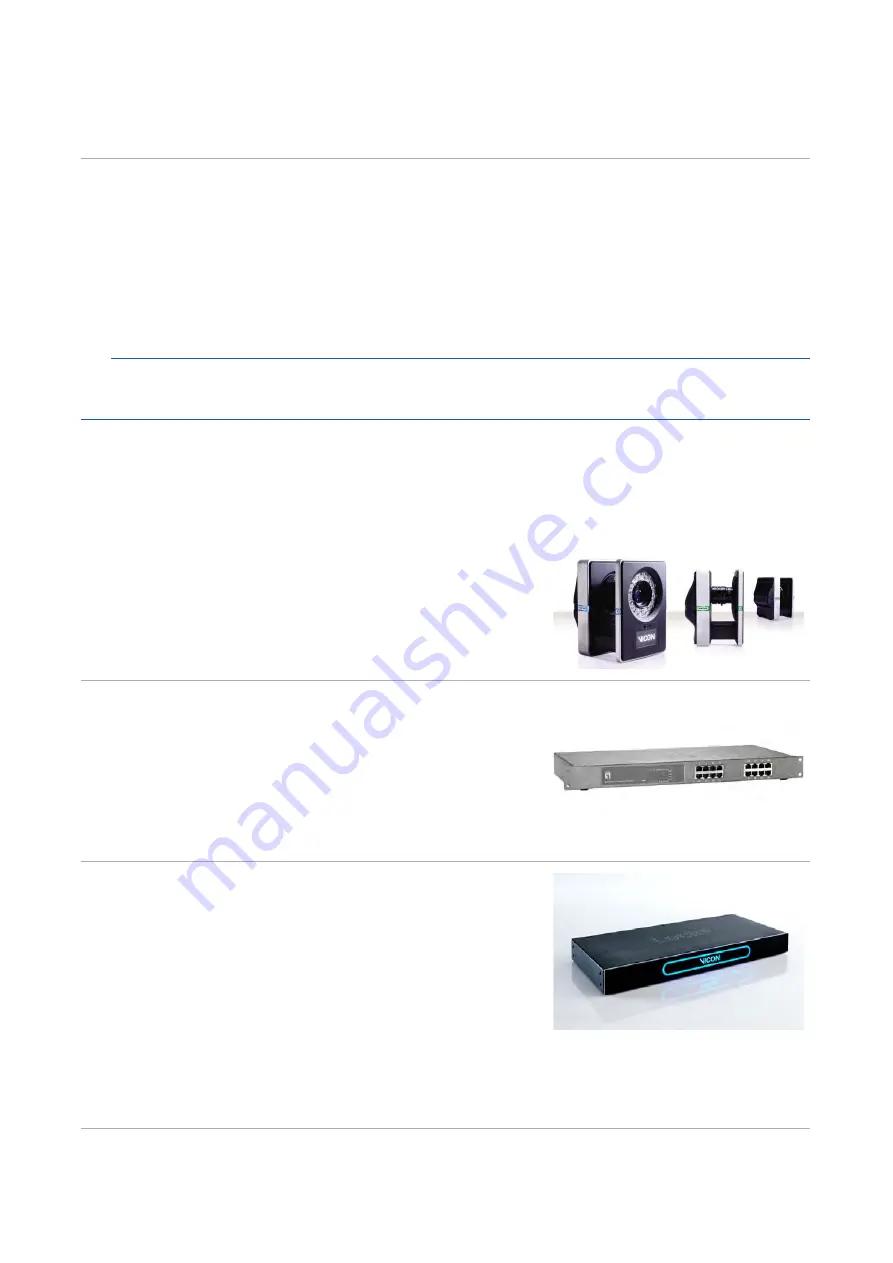
Vicon Vantage cameras (V16, V8, V5) 

Vicon’s newest optical cameras with custom-engineered 
sensors and lenses, high-power strobes, on-board 
processing, Gigabit Ethernet connectivity and a new 
design. Available in high-performance resolutions up to 
16 megapixels at 120 fps full-frame capture speeds.

PoE+ switch

The supplied PoE+ switch provides the power source and 
connectivity for your Vicon Vantage system.

Vantage cameras require a PoE+ switch.

Vicon Lock and Vicon Bonita cameras can also connect to 
a PoE+ switch.

Vicon Lock+

Vicon’s optional connectivity device for the Vantage 
system. The Vicon Lock+ synchronizes with your Vantage 
and Bonita cameras. It also provides interfacing to third-
party analog devices, timecode, genlock and sync out 
functionality.

Summary of Contents for Vantage V16

Page 1: ...Quick Start Guide...

Page 2: ...tion Systems Limited reserves the right to make changes to information in this document without notice Companies names and data used in examples are fictitious unless otherwise noted No part of this p...

Page 3: ...h power strobes on board processing Gigabit Ethernet connectivity and a new design Available in high performance resolutions up to 16 megapixels at 120 fps full frame capture speeds PoE switch The sup...

Page 4: ...cables Camera cables include a ferrite at the camera end only If you are using one or more Vicon Lock units or MX T Series cameras with a Giganet additional cables are supplied Vantage calibration de...

Page 5: ...r to include height as well as width and depth in your volume calculations Install and connect the cameras 1 Installeachcameraonatripod onthewall or on a ceiling mounted rig You can order mounting bra...

Page 6: ...PC open Windows Network Connections right click the NIC to which the system is to be connected and then click Properties If you are connecting more than one card right click the first NIC 3 In the Pr...

Page 7: ...to dongles 3 If you are prompted to restart your PC do so as soon as possible License the Vicon application software Vicon application software uses Safenet licensing and a built in licensing utility...

Page 8: ...ade the Selection editor make sure all of the cameras in your system are listed 4 Ensure that at the top left of the screen thesystemisshownasliveandconnected Position the cameras 1 In the System Reso...

Page 9: ...volume Zoom in to a marker by right clicking and draggingthemouse Noticehowthepixels change as you lower the light to view pictures from a grayscale blob Grayscale Mode must be set to All 7 Notice th...

Page 10: ...otate the focus ring note that the marker images get smaller and then begin to get larger again Good focus is when the marker is at its smallest size c Observe that with the aperture fully open the ma...

Page 11: ...the system You calibrate the system to enable the cameras to capture subject movements throughout the volume You can also set the volume origin and orientation of axes in relation to the capture volu...

Page 12: ...old is not too high a good default is 0 2 When I tap a calibrated camera to select it the camera indicates that it has been bumped To change the sensitivity of the camera to taps in the camera s Prope...

Reviews: