VIAVI Solutions
Contact Us +1 844 GO VIAVI
(+1 844 468 4284)
To reach the VIAVI office nearest you,
visit viavisolutions.com/contacts.
© 2018 VIAVI Solutions Inc.
Product specifications and descriptions in this
document are subject to change without notice.
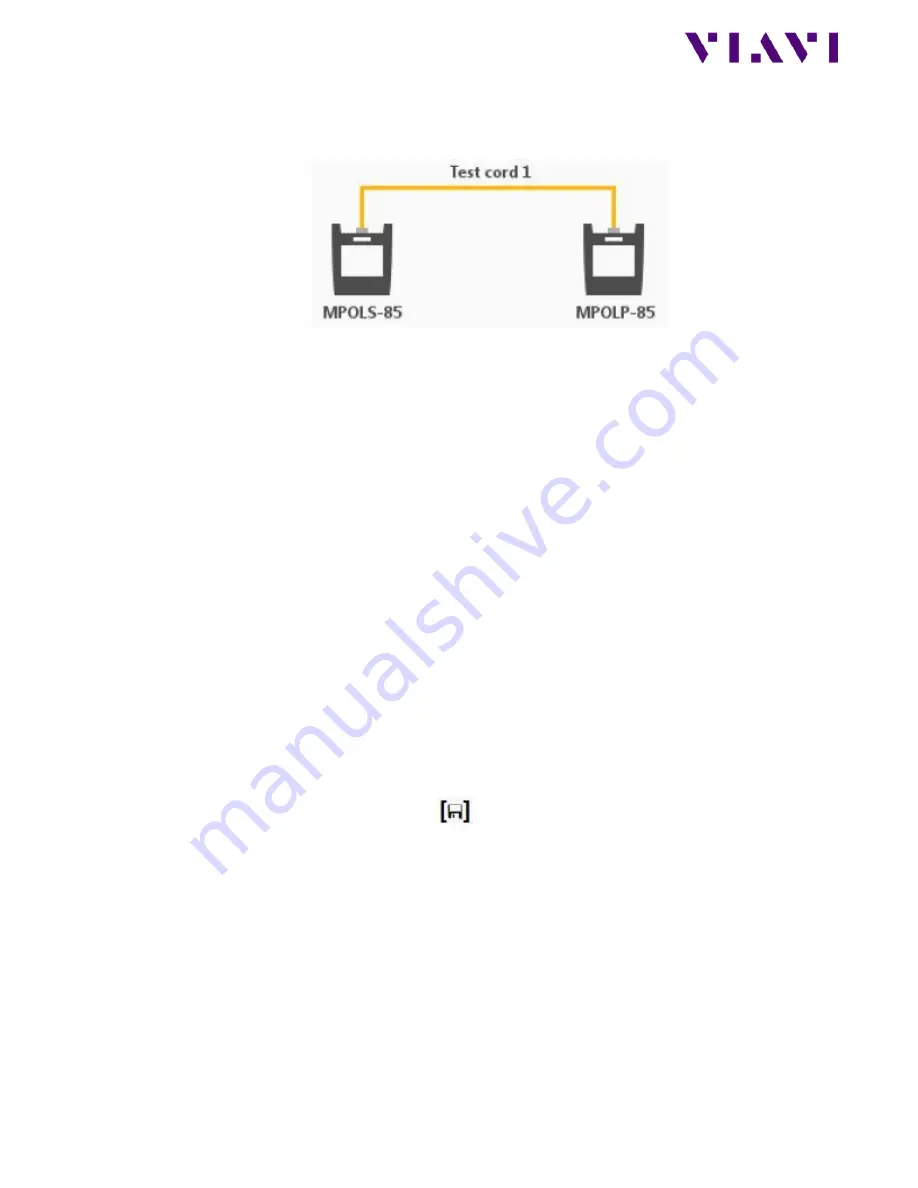
Set the reference between the two units prior to testing:
•
IMPORTANT:
Inspect all end-faces of the test cords using the built-in patch cord microscope
and clean if necessary.
•
Connect the units together using the supplied unpinned-to-unpinned cable as shown above.
•
Units will “beep” and show a graphic indicating they are
connected.
•
Press the Set Reference button.
•
Unit will inform you “Referencing successfully completed”. If unsuccessful, re
-inspect all fiber
end faces, clean where necessary, and try referencing again.
Verify that the reference was performed properly:
•
Disconnect the launch cord from the MPOLP only. Leave the cord plugged into the MPOLS.
•
Add the un-pinned to un-pinned receive cord to the MPOLP.
•
Add two adapters (couplers) to the end of the launch cord on the MPOLP and MPOLS.
•
Connect the supplied pinned to pinned cord between launch and receive cords.
•
Note the units indicate they are connected via sound and screen indicator
.
•
Press auto-test
–
top right of screen or via menu
–
and review the loss measured when testing
through the couplers only.
o
Ensure loss is below 0.7dB on all fibers
Perform a Loss/Length Test:
•
Remove the center cord from the verification test set up.
•
Replace the center (pinned-to-pinned) test cord with the fiber you wish to test, by connecting
the launch cord from the MPOLS and the receive cord attached to the MPOLP to the fiber you
wish to test.
•
From the menu screen, press the AUTO TEST button.
•
Results are stored simply by pressing the key key.
Create Test Reports:
•
Using the supplied USB to micro USB cable, attach the MPOLP to a PC with the latest version of
FiberChek Pro running on it.
•
FiberChek Pro will automatically recognize the MPOLP device and begin to load the project data
that is stored on the device.
•
Check the box next to the project that contains the test results you would like to generate a pdf
report for.
•
Click on the IMPORT PROJECTS button in FiberChek Pro.
•
Test reports will be generated in pdf format and saved in the location listed at the top of the
screen in FiberChek Pro.


