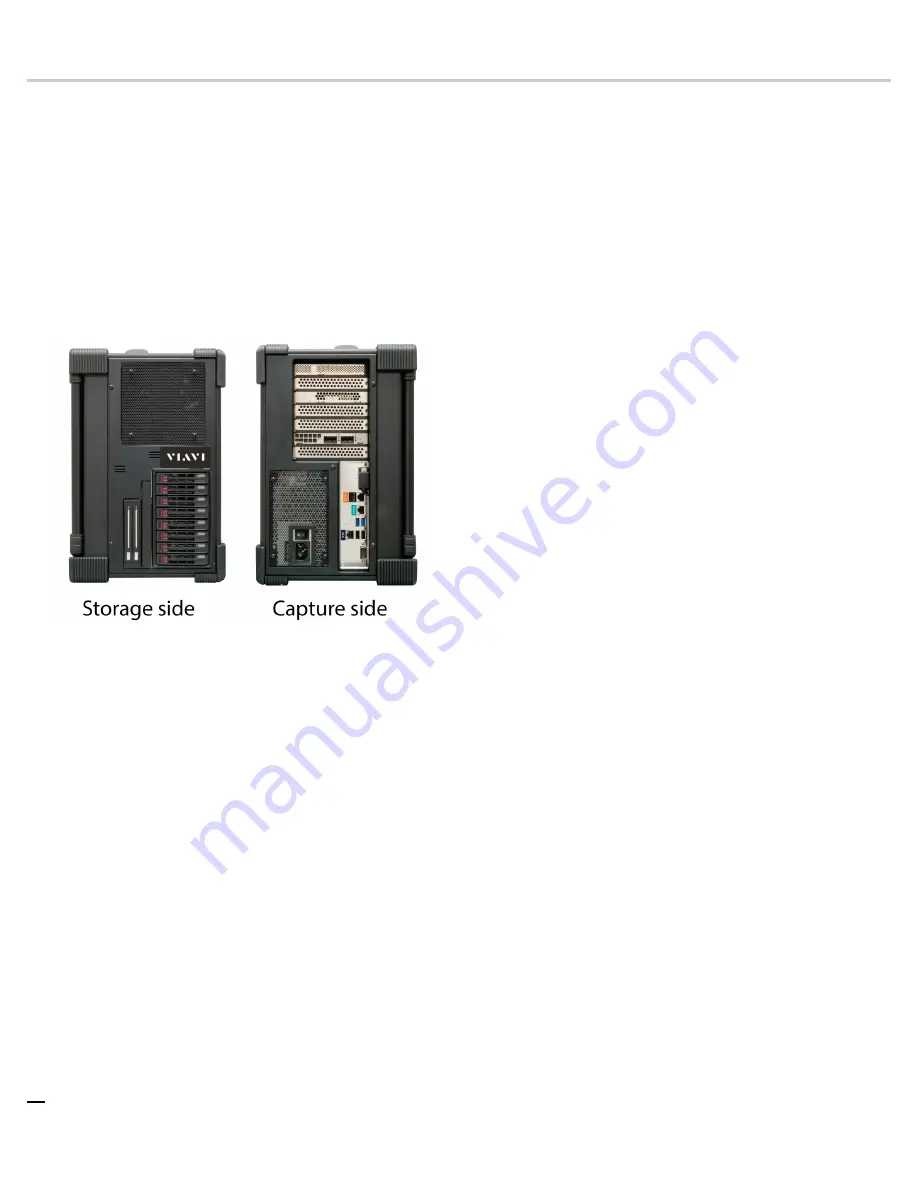
3 — G4-PT-040-8T installation
G4-PT-040-8T installation
Getting your appliance installed is the first step to greater visibility of your
network. This topic covers installing your appliance in the cabinet and
connecting it to your network.
1.
Using an Ethernet cable, connect the ETH0 port to the network.
Connecting the ETH0 port allows you to use Windows Remote
Desktop or other tools to control or configure Windows or Windows
applications, such as Observer Analyzer.
2.
(Optional) Connect an Ethernet cable from your router or switch to the
LOM or IPMI port.
(Optional) A Lights Out Management or IPMI port provides you a
dedicated management channel for device maintenance. It allows you to
monitor, start, stop, and manage your appliance remotely regardless of
whether the appliance is powered on.
3.
into the open slots on the back of
the capture card(s).
4.
If you are connecting to SPAN/mirror ports of a network switch:
connect a straight-through Ethernet cable from the SPAN/mirror ports
on your switch to the SFP transceivers on the capture card.
5.
Connect a monitor, keyboard, and mouse to the hardware appliance.
switch if desired. (The KVM must be compatible
with the operating system used on the appliance.) The user input
devices or KVM switch are only temporarily needed to set the IP
address, so you can disconnect them after the IP address is set.
6.
Turn on the appliance and wait for the RAID to initialize.
The power button is located on the front of the appliance on the top left.
This process may take a couple of minutes. The RAID lights on the
front will cycle through a sequence and then be dark. Each light only
blinks when there is activity for that specific RAID drive.
After plugging in the power cords, wait until the blue Information LED
starts to blink. Press the power button once. The power button is located
on the front of the appliance. The control board initiates the power up
sequence in three seconds. The entire process may take a couple of
minutes.
The entire process may take a couple of minutes.
7.
Ensure the time zone settings match your environment.
8.
Double-click the Observer icon on the Desktop to start Observer.
Your hardware appliance is installed and on your network.
Next, give the ETH0 IP address and IPMI port address, if using, to the
Observer administrator. They need the addresses to add this GigaStor probe
to Observer to capture network traffic with a probe instance.
1. SFP, SFP+, QSFP+, and QSFP28 transceivers are sold separately.


